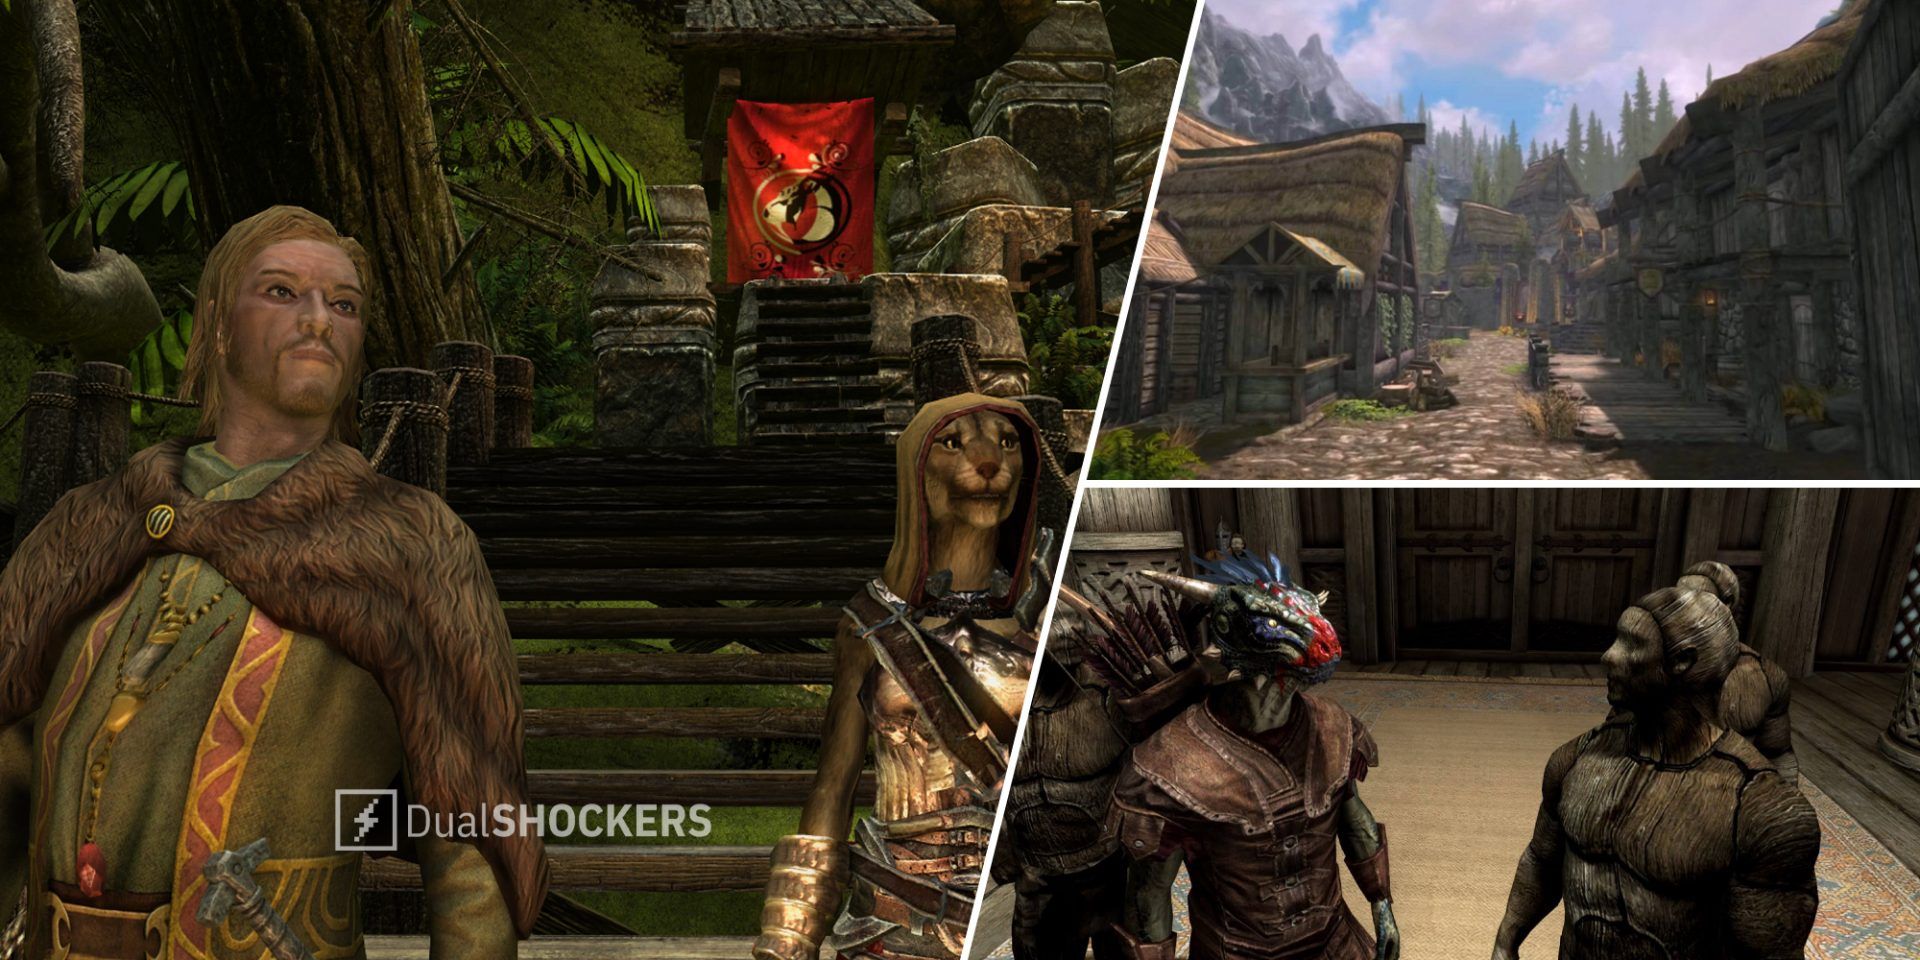
After a simple setup and several steps, accessing Skyrim mods is as easy as ever. Because of fan loyalty and Bethesda’s continuous additions to the game, modding on Skyrim maintains its freshness and everlasting community. Even though the PlayStation 4 library is considerably smaller than the PC, there’s still an ample variety to choose from and keep in the queue.
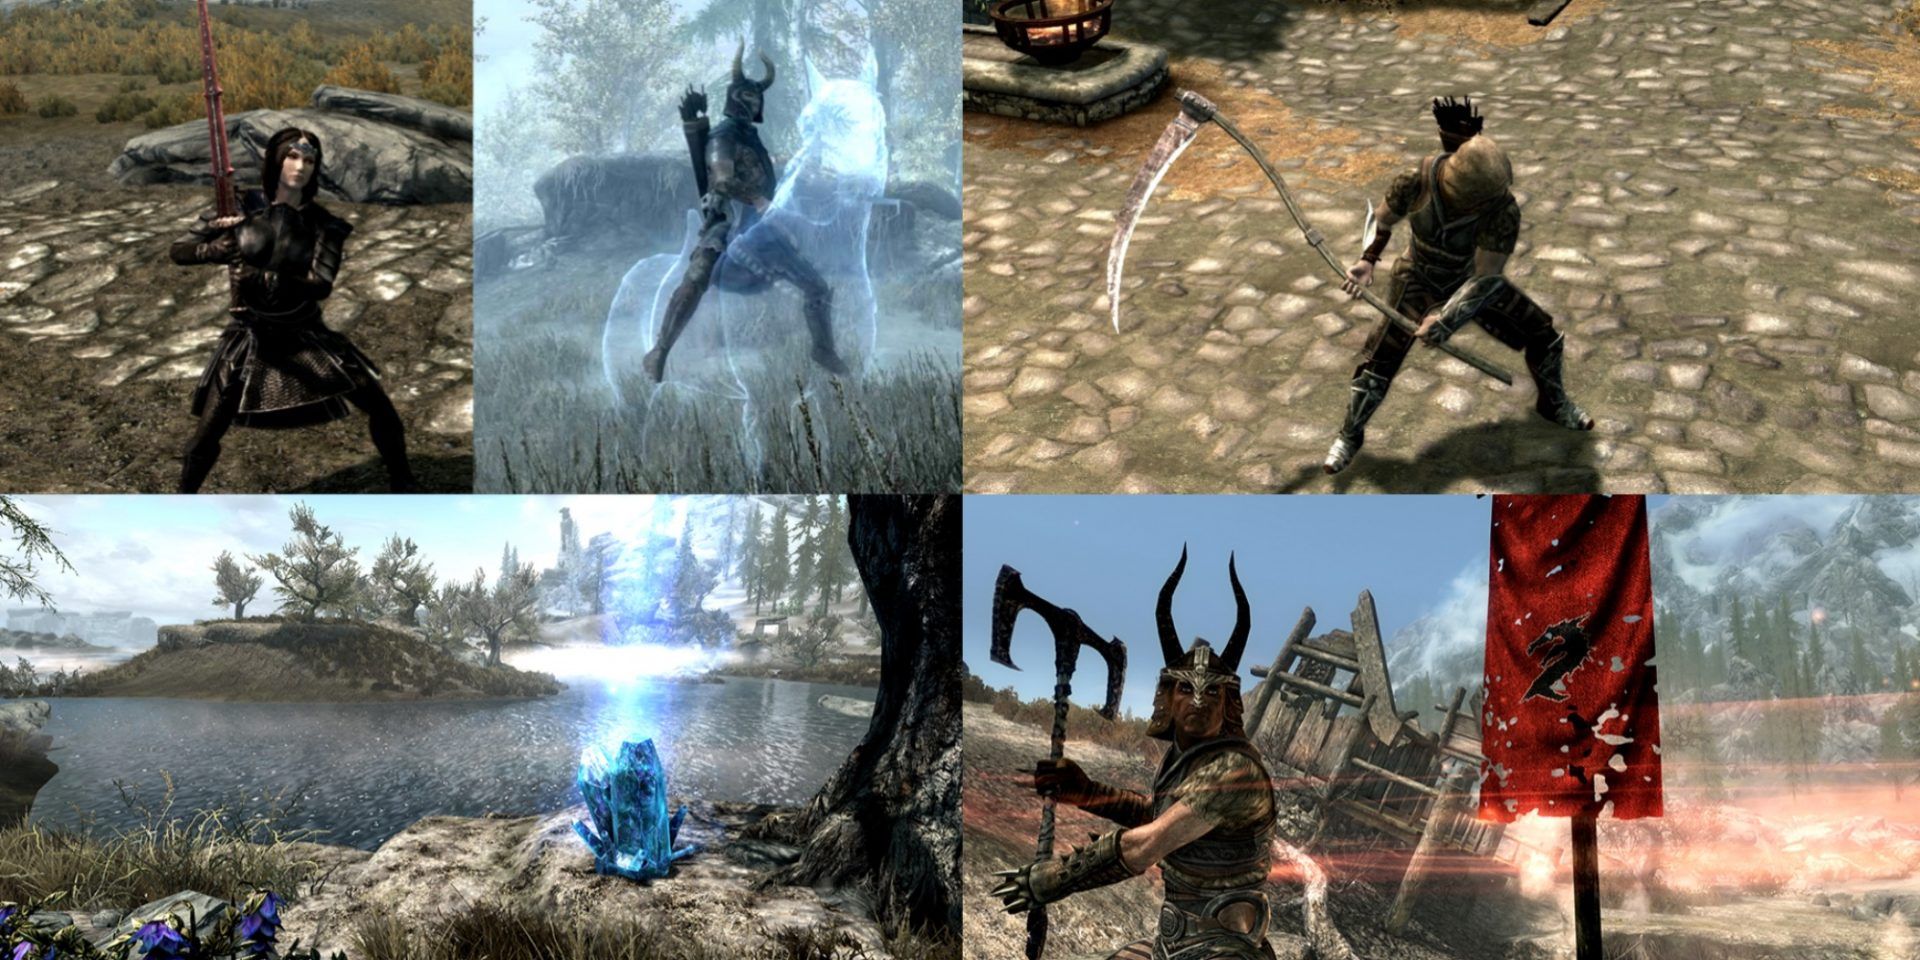
Moreover, the types of mods players can install range from special abilities, differing races, quests, graphics enhancements, cosmetics, cheats, spells, and so on. Depending on the mod(s) installed, they can drastically improve or compliment the original vanilla game.
Create a Bethesda Account
Without divulging any further, it’s imperative to keep in mind that you cannot install mods on Skyrim without first creating a Bethesda account. Go to Bethesda.net and sign up, taking note of your account credentials. This process is free, and players should not have to enter card numbers or payment methods. Even though this step is required, upon downloading and enabling mods, internet access and connection are not required, as mods will still be present in-game.
Login to Bethesda on PS4
After opening Skyrim on the PS4, select mods in the main menu. You’ll be prompted to log in to your Bethesda account. Plug in your login details from the previous step.
Searching for Mods
After logging in, the first thing visible is the mods menu, which will load about 14 mods per page. The front page will have featured mods, but you can also search for specific mods. Selecting a mod will enlarge an in-depth description, entailing what the mod is for, its location (if it has one), the creator’s username, ratings from other users, and so forth. To narrow the search for things like enhanced graphics, type in keywords that pertain to that subject, like “graphics”, or “hair”. Getting more specific is fine too, like searching “Thomas the Train”.
Downloading, Installation, Enabling
After finding the mod(s) you want to install, select them and choose “download”. After downloading, re-select it and choose “enable” on the options list. If multiple mods are downloaded, a load order is a viable option, usually putting graphics mods first in the downloading queue. After enabling all mods, the system will adjust and reload the game with the mods enabled. Usually, a message will appear that lets players know that certain mods enabled have changed the course of the game. Even if players choose to load a previous save, the mods they’ve just enabled will be in-game and ready to use.
Disabling Mods
Sometimes players get carried away and install tons of demanding mods at once, causing the game to crash. Other times, mods can get boring or perhaps not what the player expected. Disabling mods and deleting them is just as simple as downloading and enabling mods. Go back to mods in the main menu and locate the library. Select the mod(s) you want to remove. On the drop-down menu, choose to delete or deactivate. Deactivate will keep the mod in the library but it will not appear in-game. Deleting the mod will not only remove it from the game but it’ll also be removed from the library.


