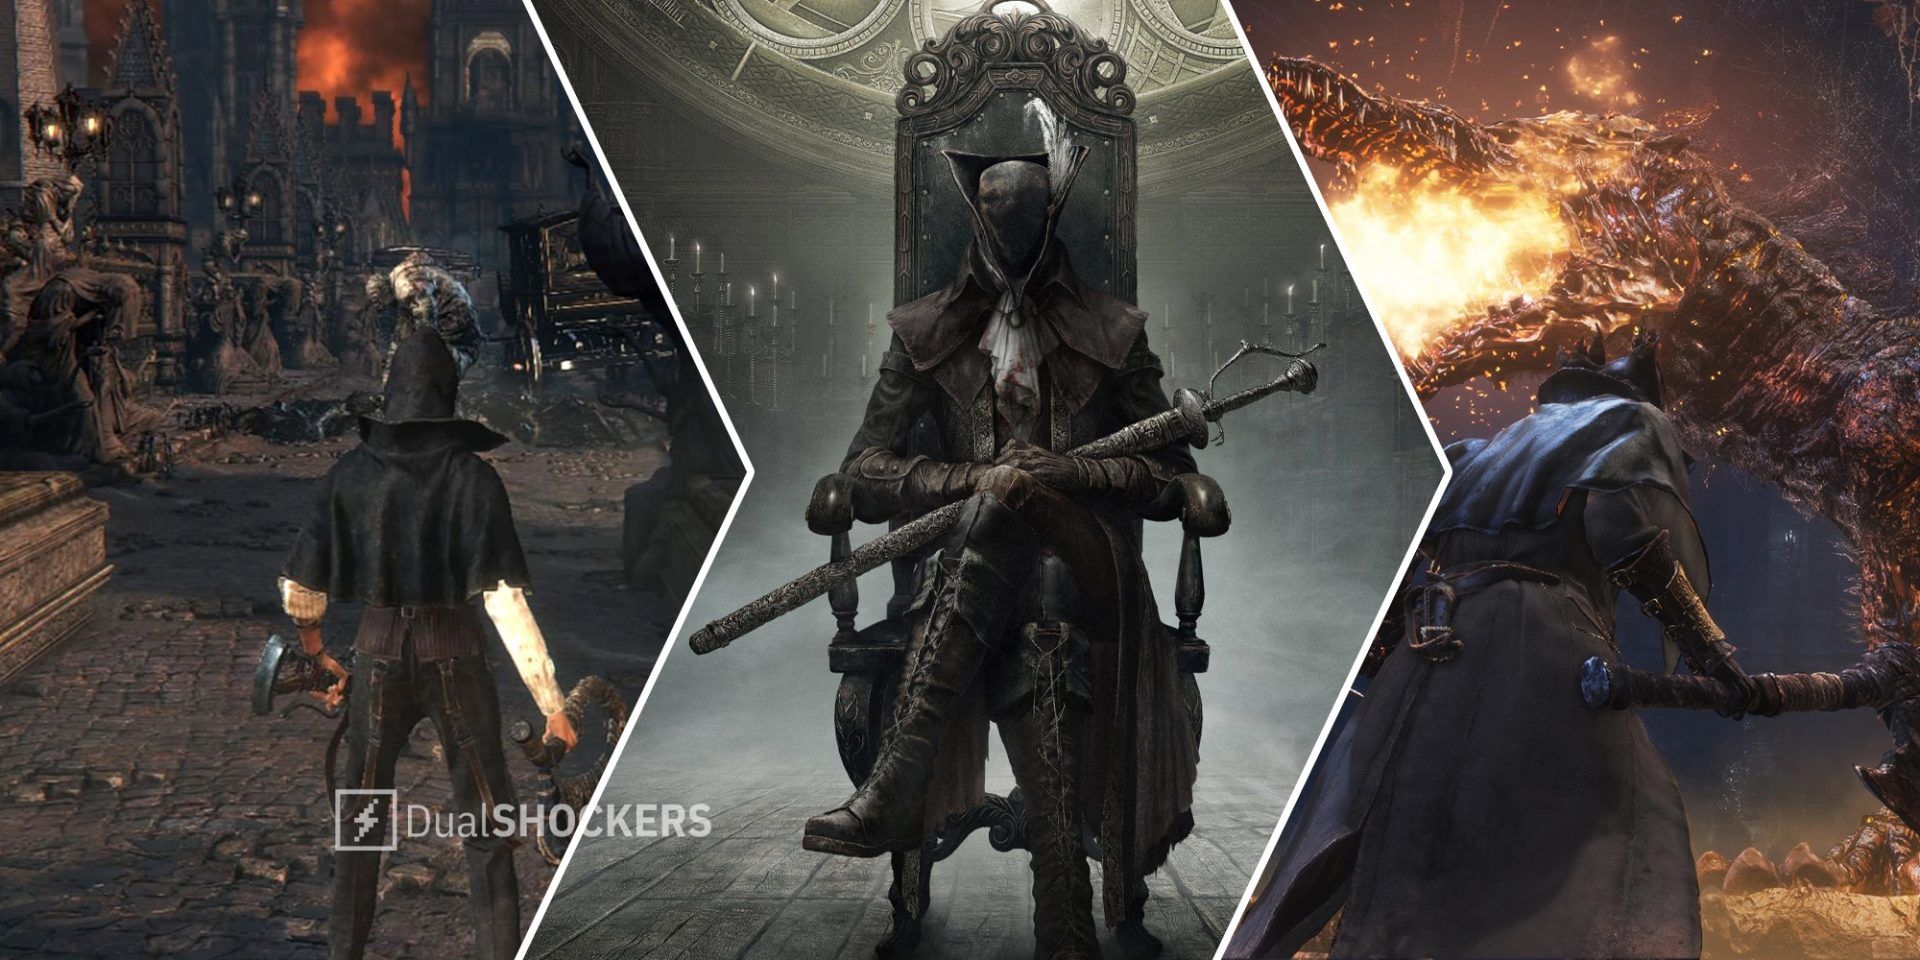
Ever since its release in 2015, Bloodborne has held a special place in gamers’ hearts. The game is packed full of creepy, dangerous, and downright unsettling locations where death lurks around every corner—and sometimes above you—along the cramped streets and winding wooded paths of Yharnam. But some locations stand a head above the rest, delivering a challenge that sets them apart from the other areas in the game.
Whether they contain extra tough enemies, devious traps, confusing layouts, or all of the above, these locations are worth celebrating.
10 10. Old Yharnam
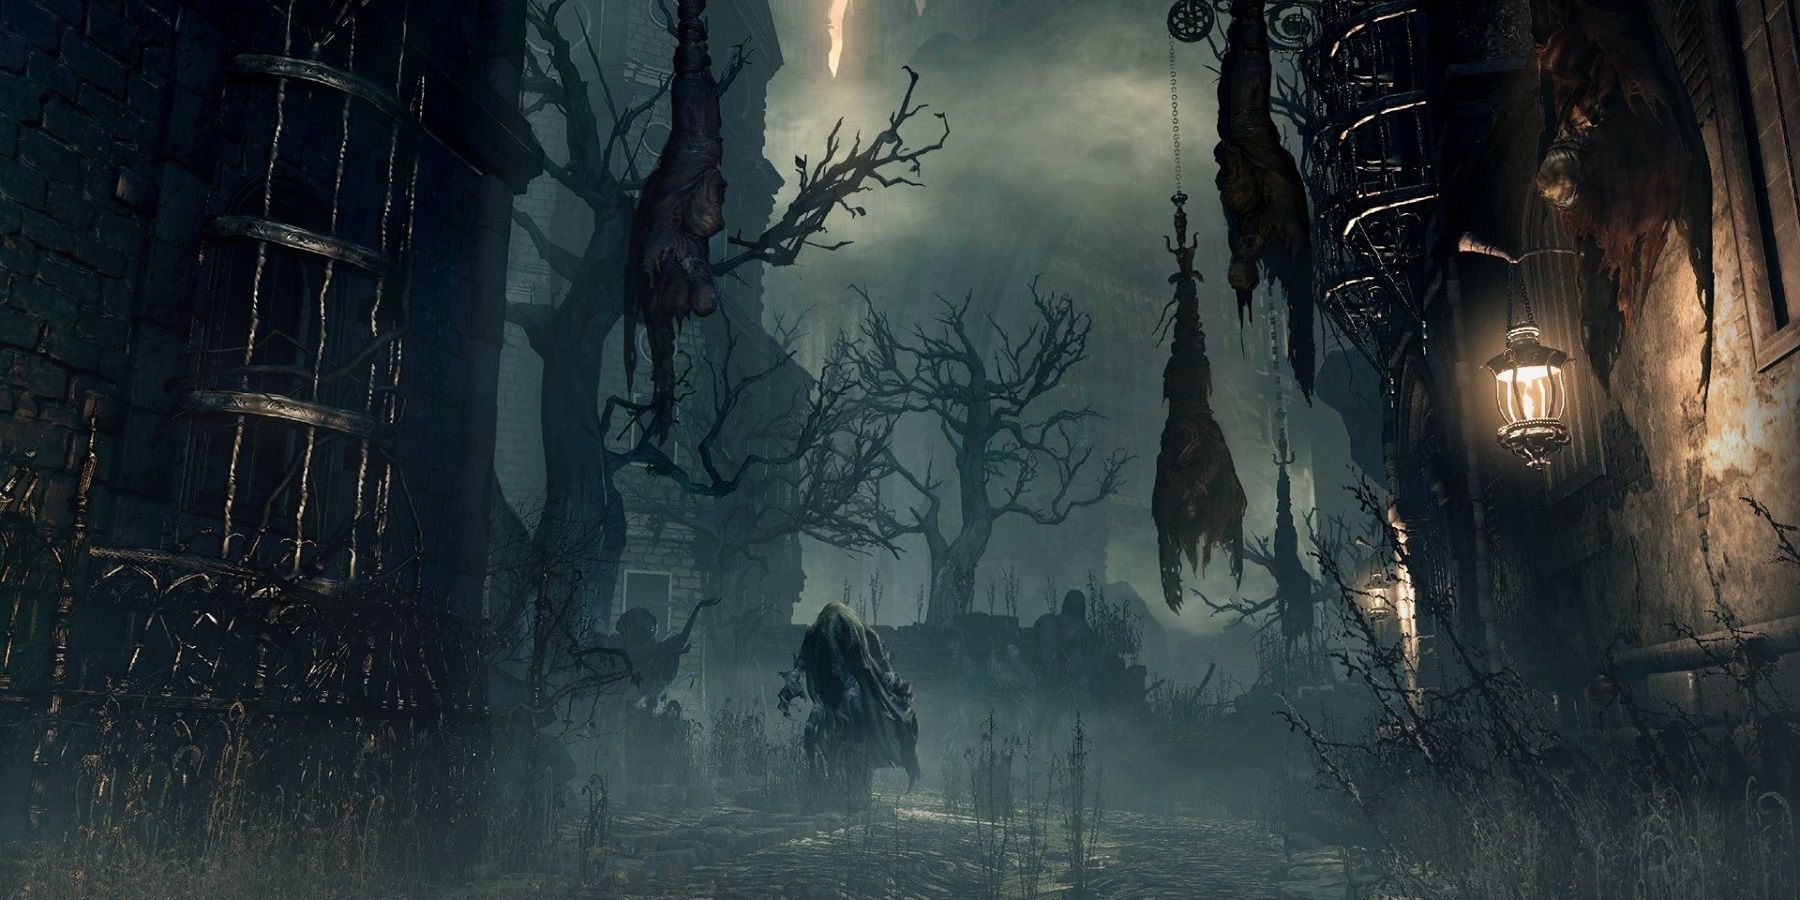
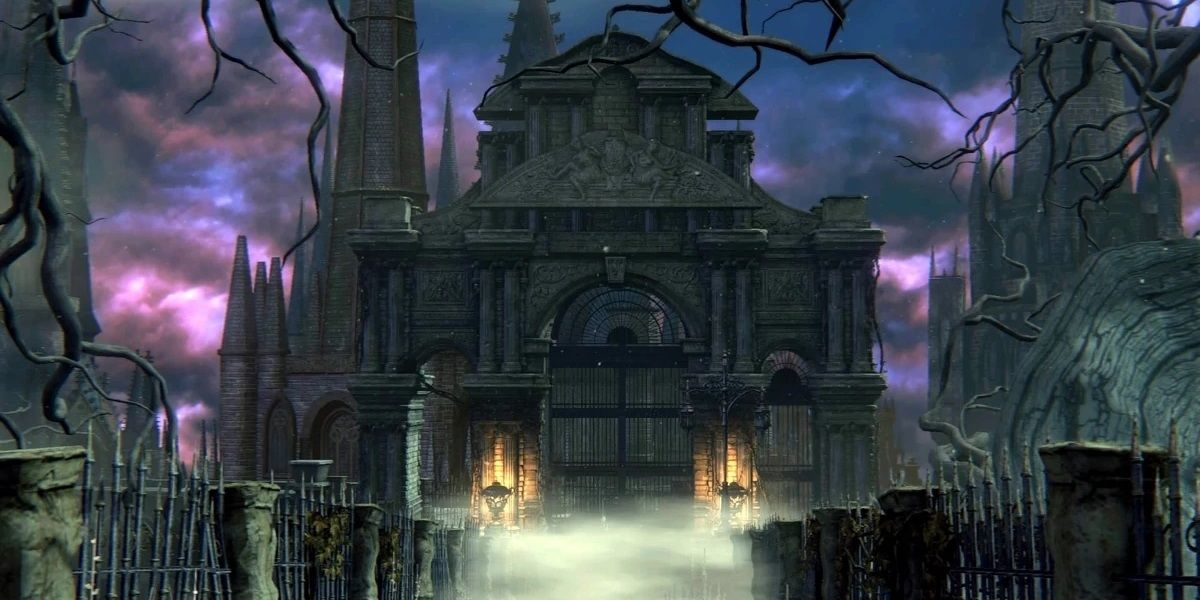
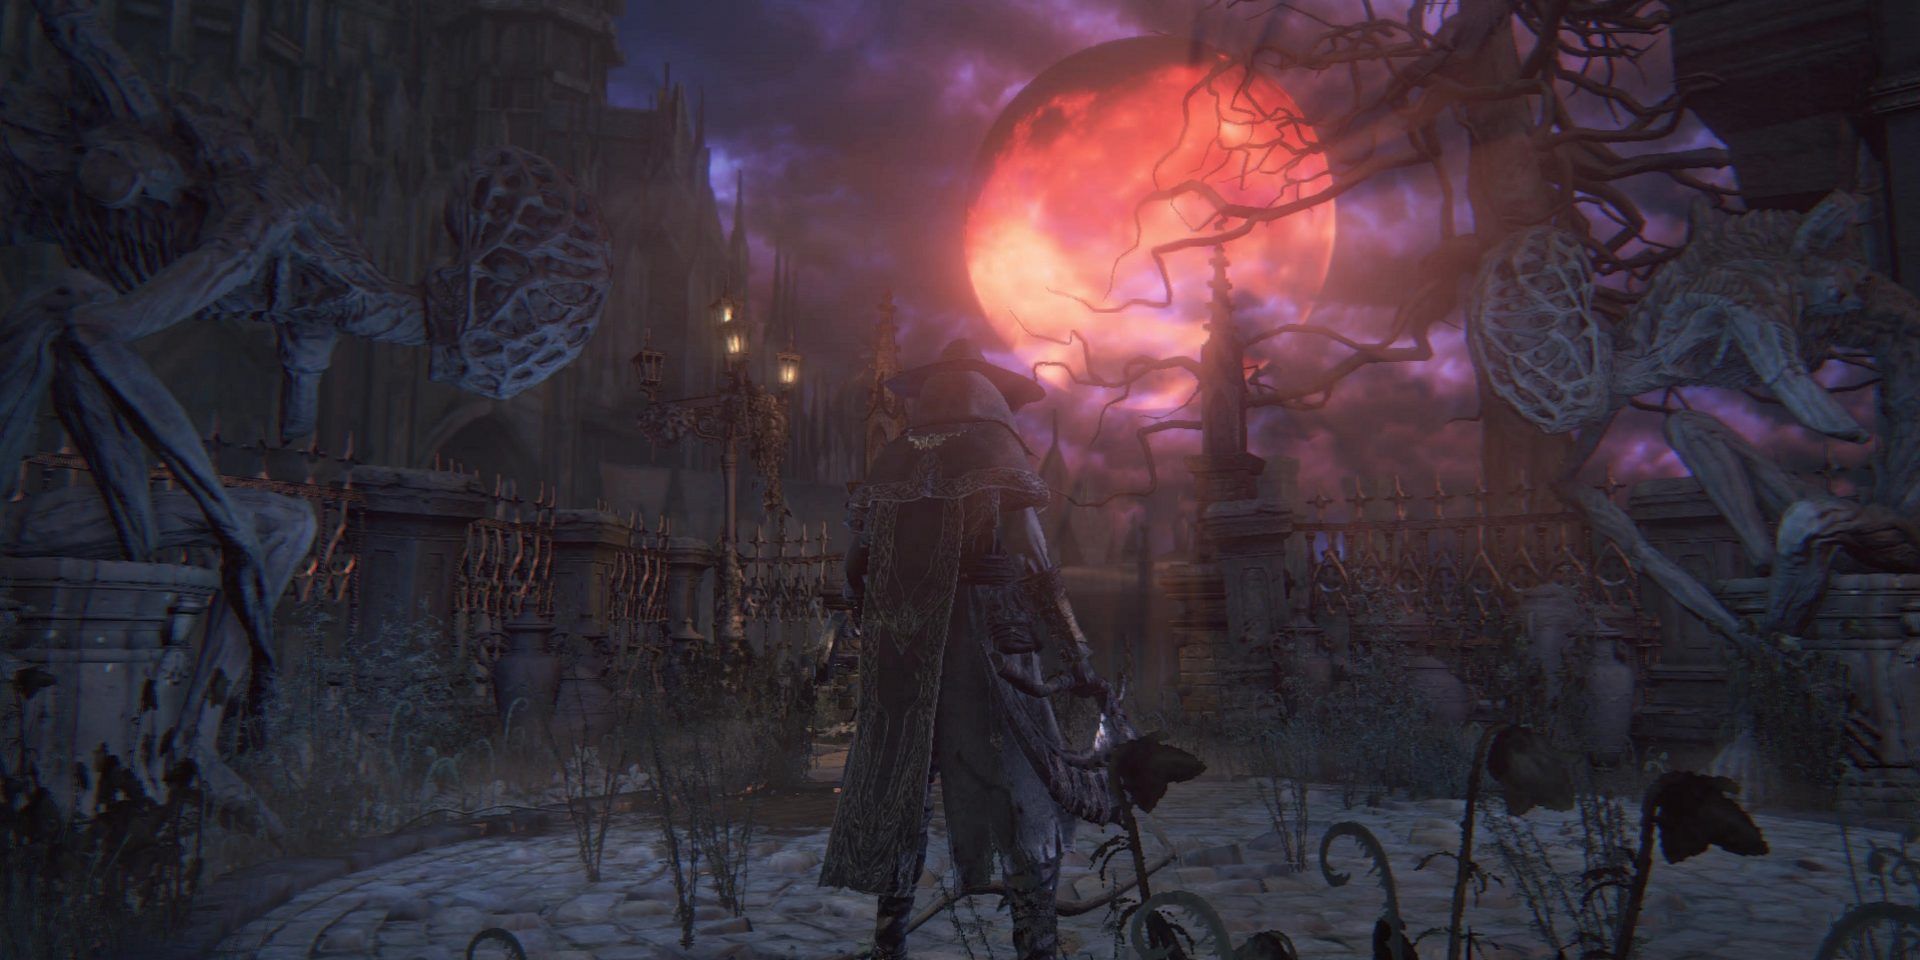
At this point in the game, you’ve dealt with blood-drunk hunters, villagers gone mad, and a slurry of bizarre creatures, but Old Yharnam is your first glimpse of a world completely fallen to the plague of beasts. The zone immediately leaves an impression, with this lower part of the city burned and left to rot.
Piles of burning and crucified corpses litter the winding streets, and Beast Patients lurk behind obscuring smoke, waiting to attack. Aside from the many beastly enemies littering the path, you also have Djura, an old hunter, who has decided to defend these creatures against intruders with a devastating gatling gun and eager trigger finger.
9 9. Forbidden Woods
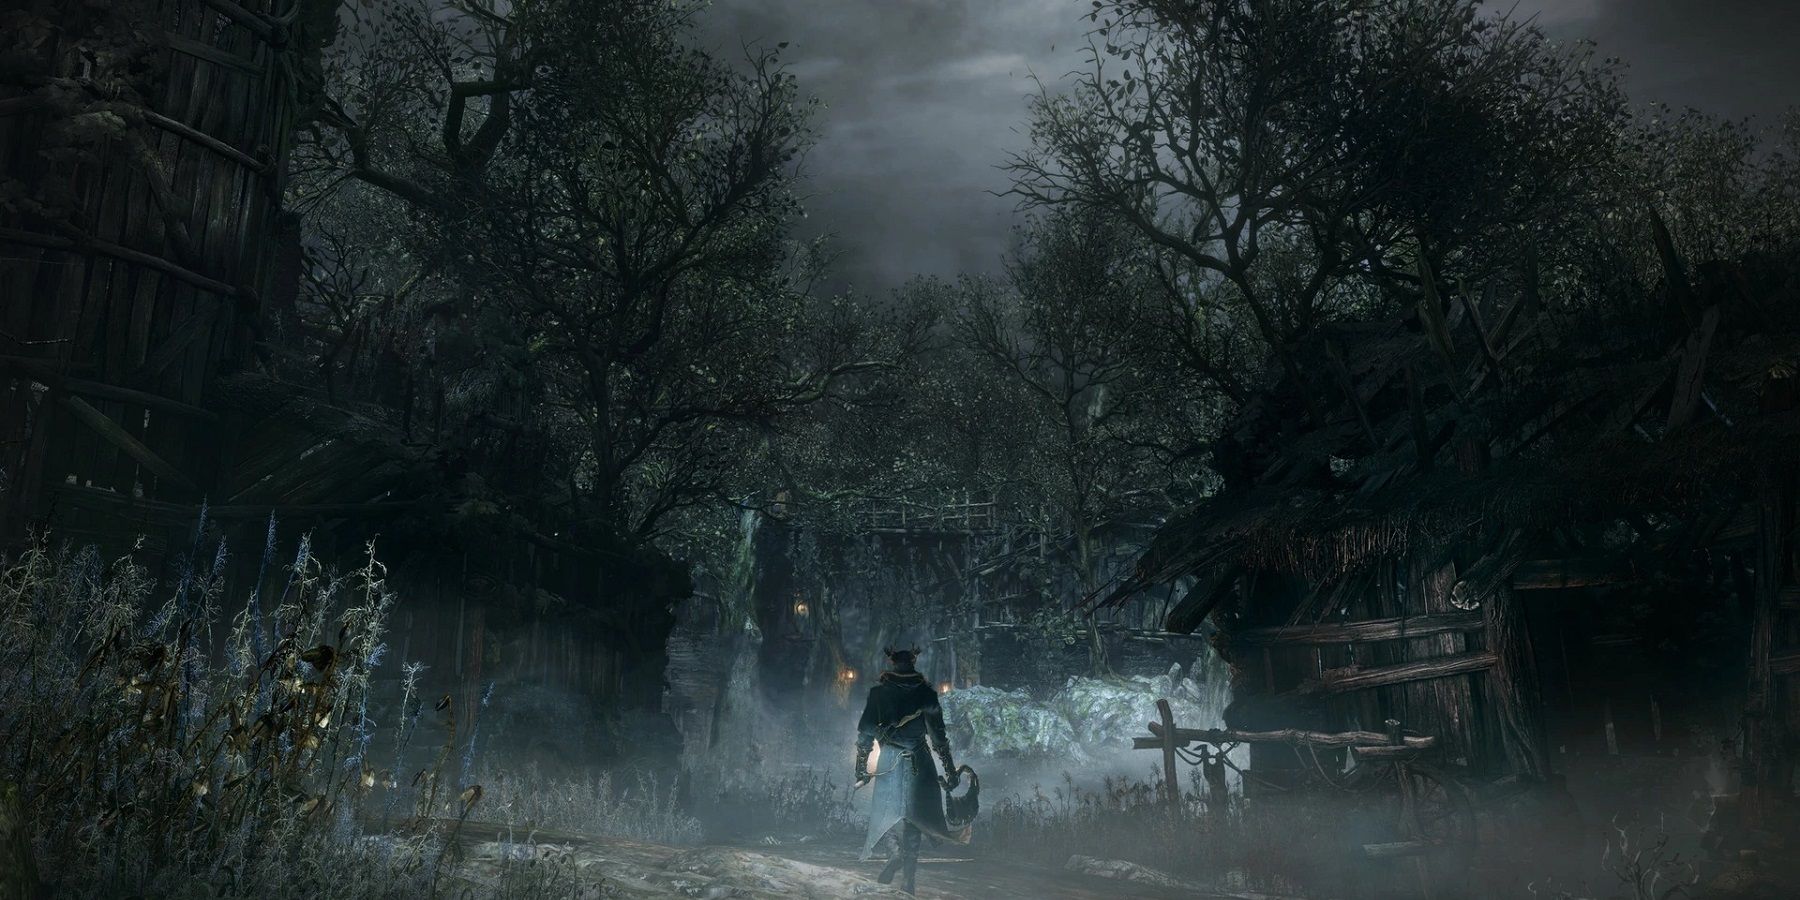
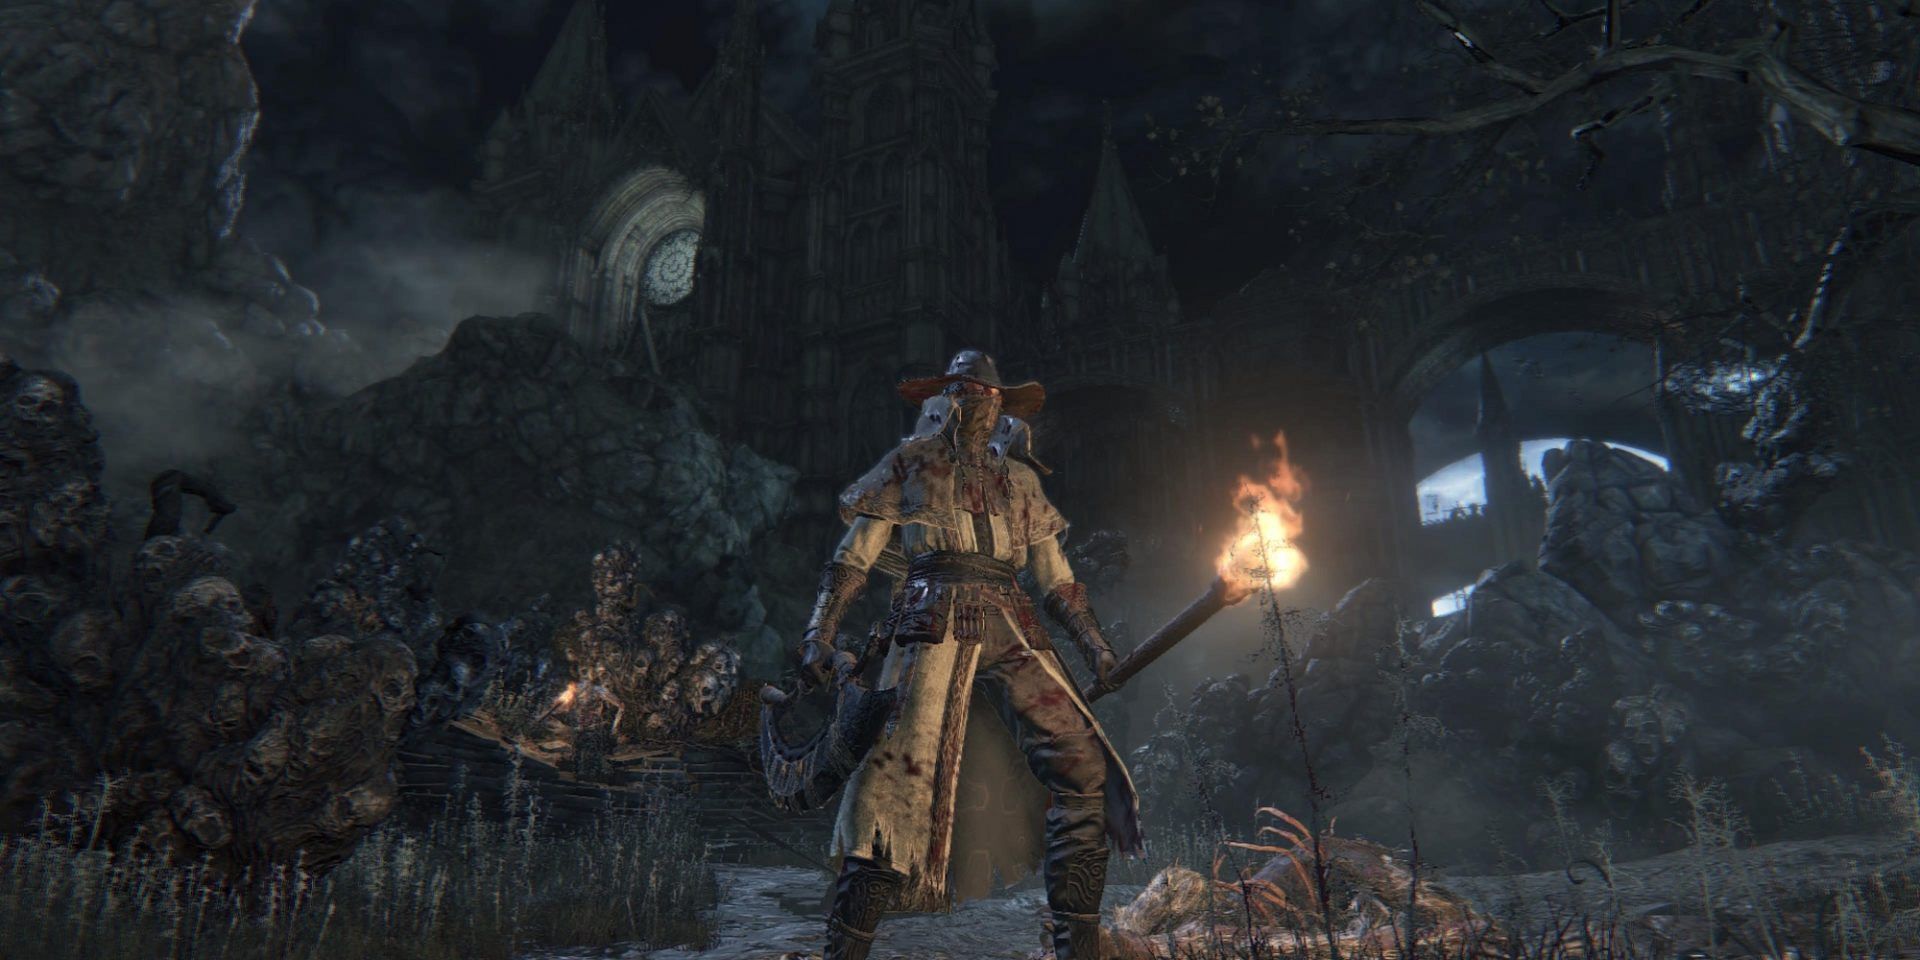
Perhaps the most confusing zone in Bloodborne, this area truly provides the feeling of being lost in the woods. And those woods are full of murderous villagers, rabid dogs, giant snakes (so many snakes), and some of the most devious traps in all of Bloodborne.
It’s incredibly easy to become turned around in this area, and it sports one of the longest run-backs to a boss in the whole game. Complete with a clinging mist, howling wind, and a cacophony of creature sounds, the area provides a perfectly ominous presence.
8 8. Nightmare Frontier
This optional area is the players’ earliest opportunity to venture into the Nightmare, and it is just as unwelcoming as you’d expect. Barren craggy rock, a swirling impossible sky, and a warped landscape filled with crooked tombstones are only your first impressions.
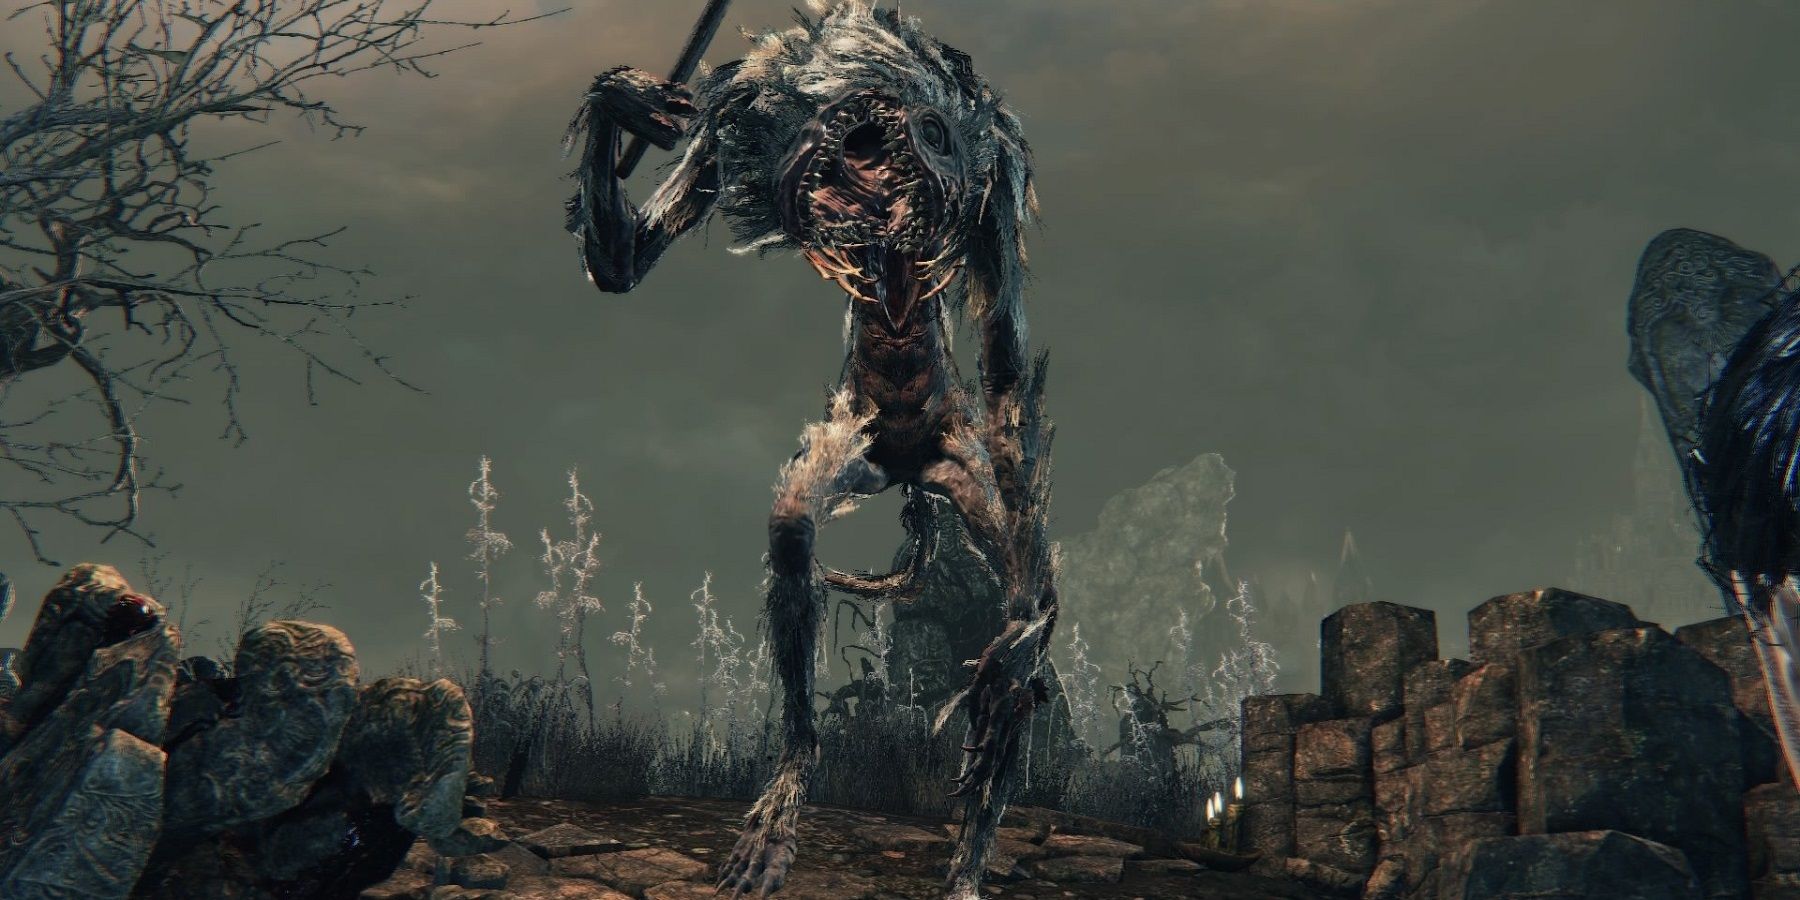
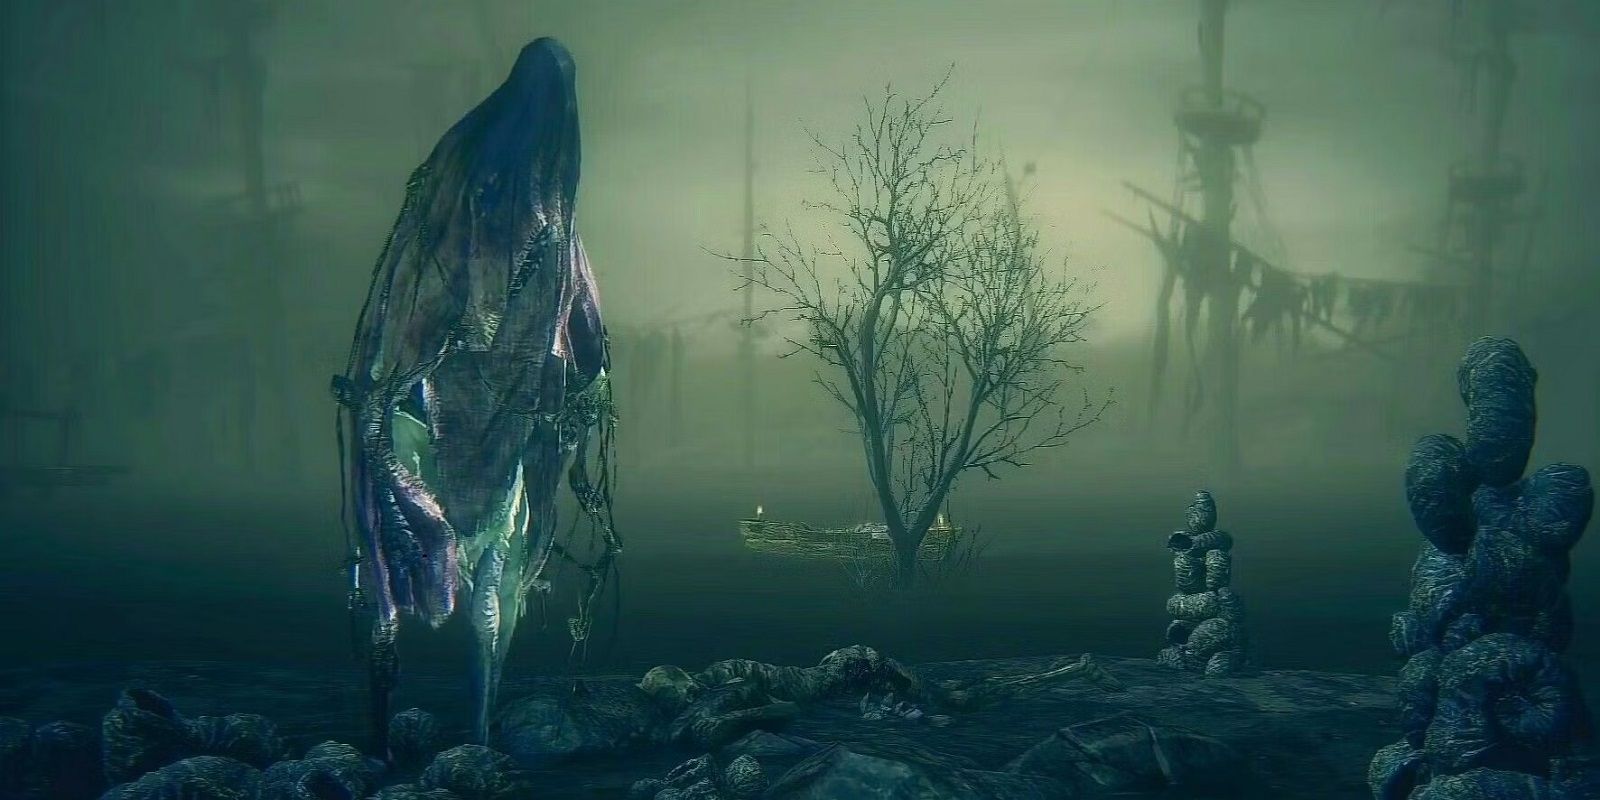
Soon, you’ll find yourself completely lost in a poisonous swamp battling Silverbeasts, swarmed by Parasitic Leeches, and all this while Yetis are hurling boulders at you as the poison eats away at your health. Nightmare Frontier is also the first location you’ll run into the Winter Lantern enemy, one of the most unsettling and devastating enemies you’ll encounter in the Nightmare areas of the game.
7 7. Upper Cathedral Ward
By the time you gain access to this late-game optional area, you’ve already begun peeling back the layers of reality present in and above Yharnam. Upper Cathedral Ward presents with a powerful foreboding as you step further into the high secrets of the Healing Church.
Beyond the dizzying lore implications, this area is hair-raising and brutal. You’ll face multiple Brainsuckers, who drain your precious Insight (and hit pretty hard to boot), along with a sizeable and aggressive group of Scourge Beasts (who can be pretty dangerous on their own). Upper Cathedral Ward isn’t a terribly large zone, but the lighting, atmosphere, and soundtrack, paired with the vicious enemies, leave an indelible mark.
6 6. Yahar’gul, Unseen Village
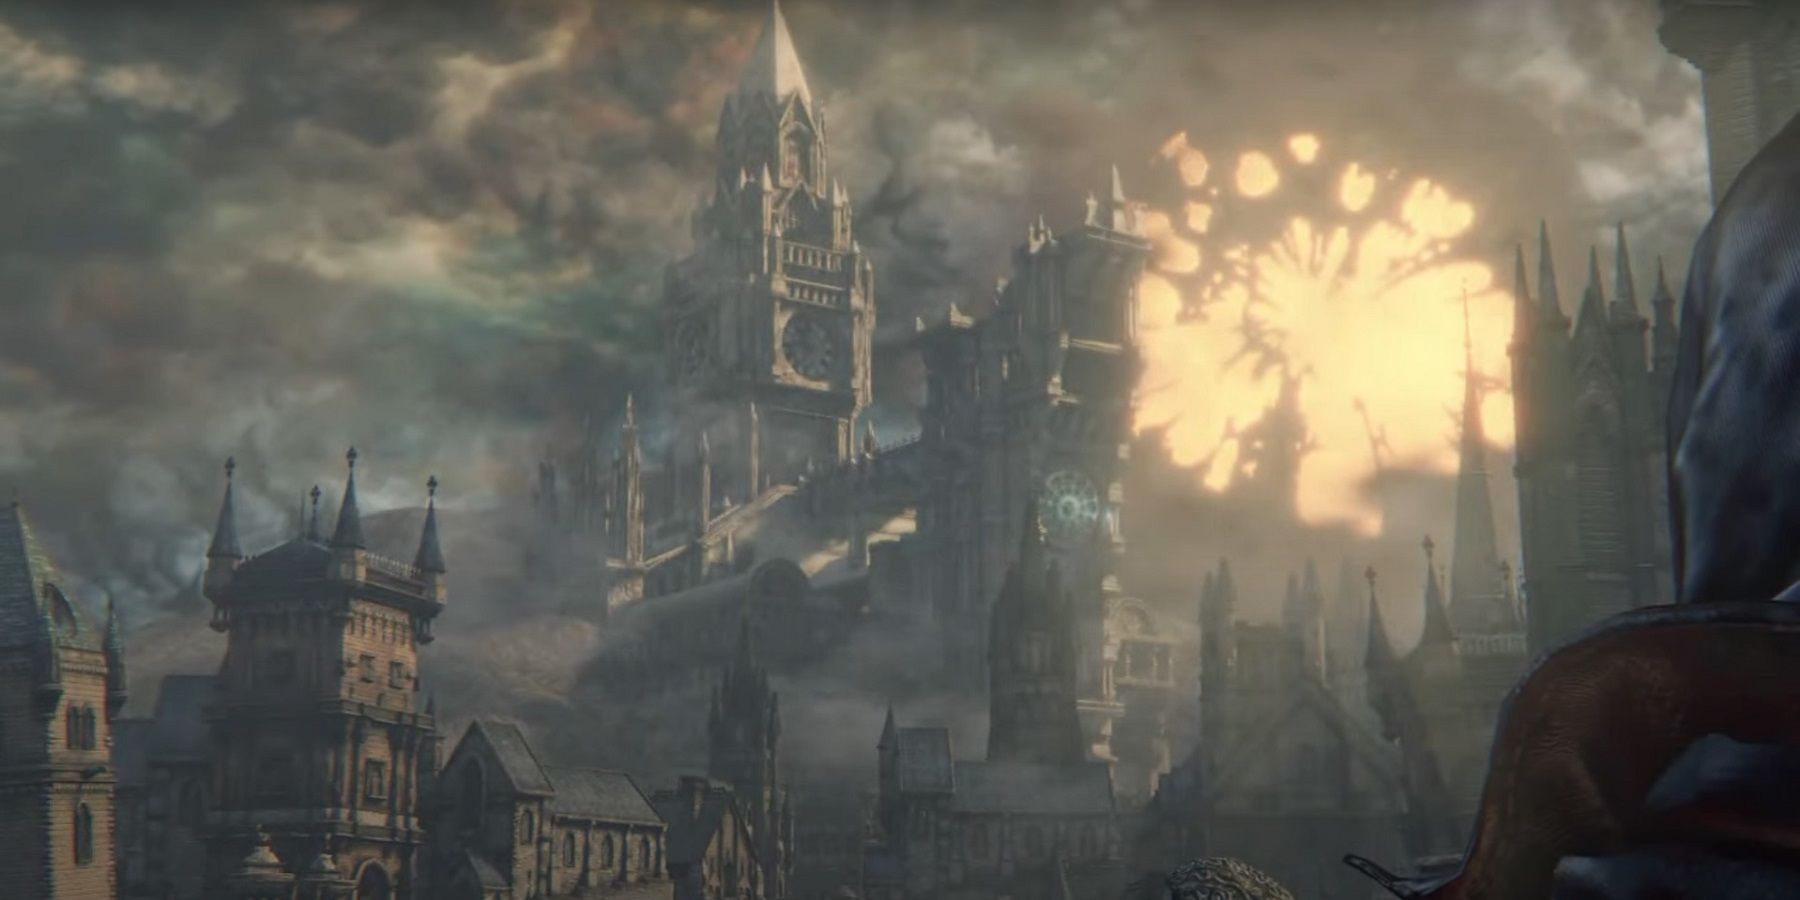
After defeating Rom, the Vacuous Spider, you’re transported to the entrance to Yahar’gul. If you haven’t accumulated 40 Insight by this point in the game, this is when the nightmarish reality of Yharnam sets in—when you see the massive Amygdala which have been clinging to the towers across the city.
The area is littered with enemies, and they’ll keep respawning until you manage to hunt down their corresponding Chime Maidens who keep resurrecting them. You will also encounter 3 hostile hunters waiting for you in the chapel later on, each of which is a tough fight on their own. Beyond them, the streets are littered with the Cramped Casket enemies—an amalgamation of bone and flesh erupting from coffins.
5 5. Nightmare of Mensis
You’ll encounter a few familiar foes in your return to the Nightmare—namely the Silverbeasts and leeches, though this time the leeches burst out of the Silverbeasts once they’ve been defeated. The Eye of Mensis up in the castle tower damages you during most of your run up to the castle, dealing variable damage depending on your Insight—which, at this point in the game, might be detrimentally high.
This usually results in a mad dash up the winding slopes, dodging Silverbeasts and Yeti boulders as you desperately search for shelter from the menacing gaze of the Eye of Mensis. Once you enter the castle, you have to deal with giant spiders, Mergo’s Attendants, a hostile NPC hunter, and later on, groups of the Shadows of Yharnam—a previous boss in the game now turned into another enemy group.
4 4. Forsaken Castle Cainhurst
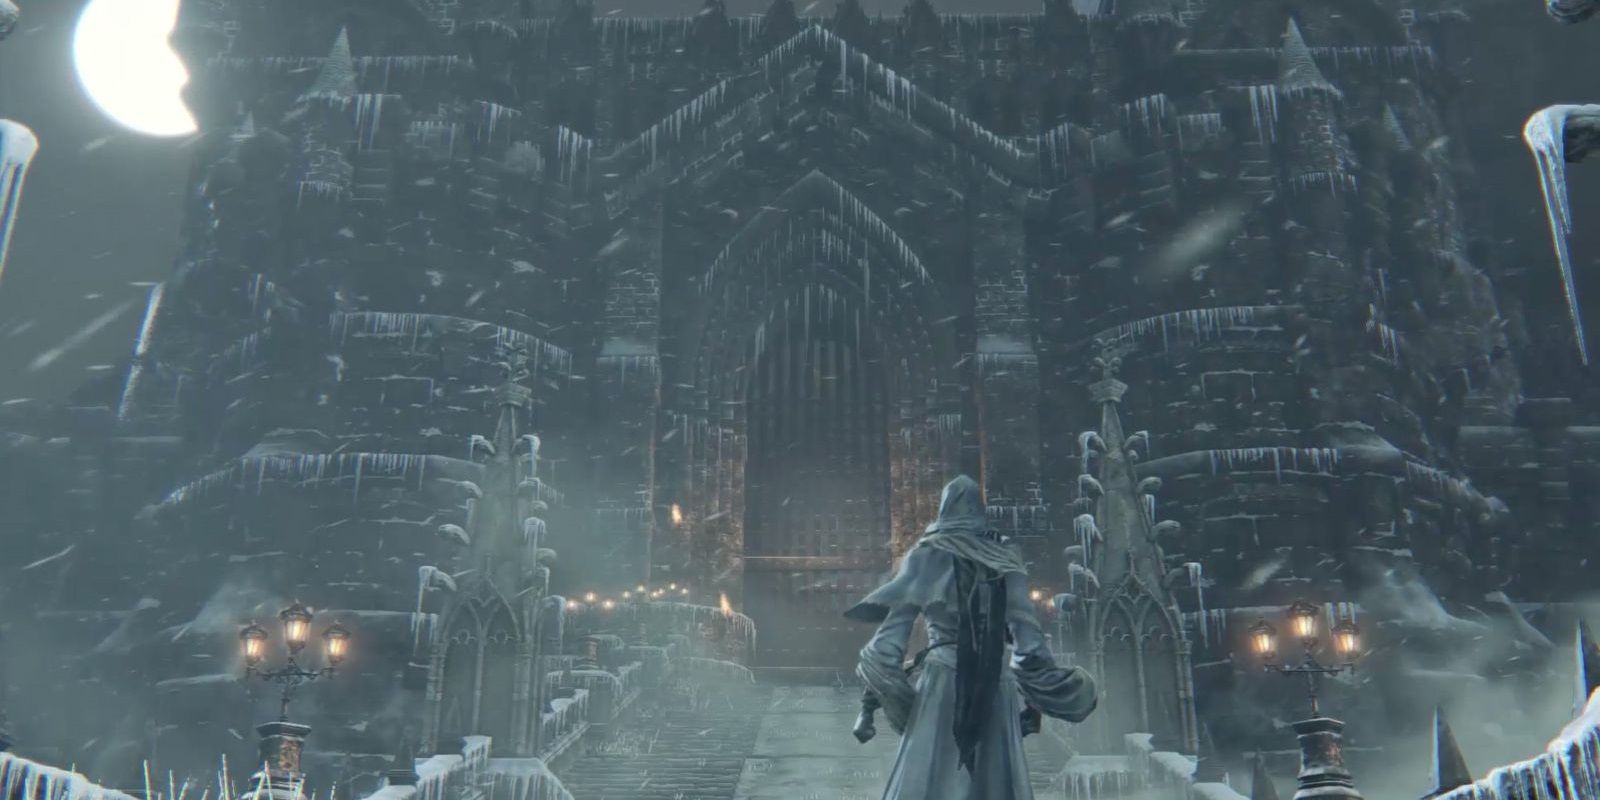
In a game chock-full of mysterious optional areas, none leaves such a haunting impression as Castle Cainhurst. The snow-covered castle feels like it was plucked straight out of Dark Souls, but the enemies themselves are very Bloodborne.
The dreaded Bloodlicker enemies swarm over the exterior grounds of the castle, and if you happen to aggro more than one, it’s better to run away and reset than deal with that smackdown. Once you’re inside, you’ll have to contend with the Silver Ladies, ethereal spirits who are invisible until you get too close. They're fairly easy to contend with on their own, but they’re a real problem later on in large groups when they become more aggressive and can paralyze you with a scream.
3 3. Central Yharnam
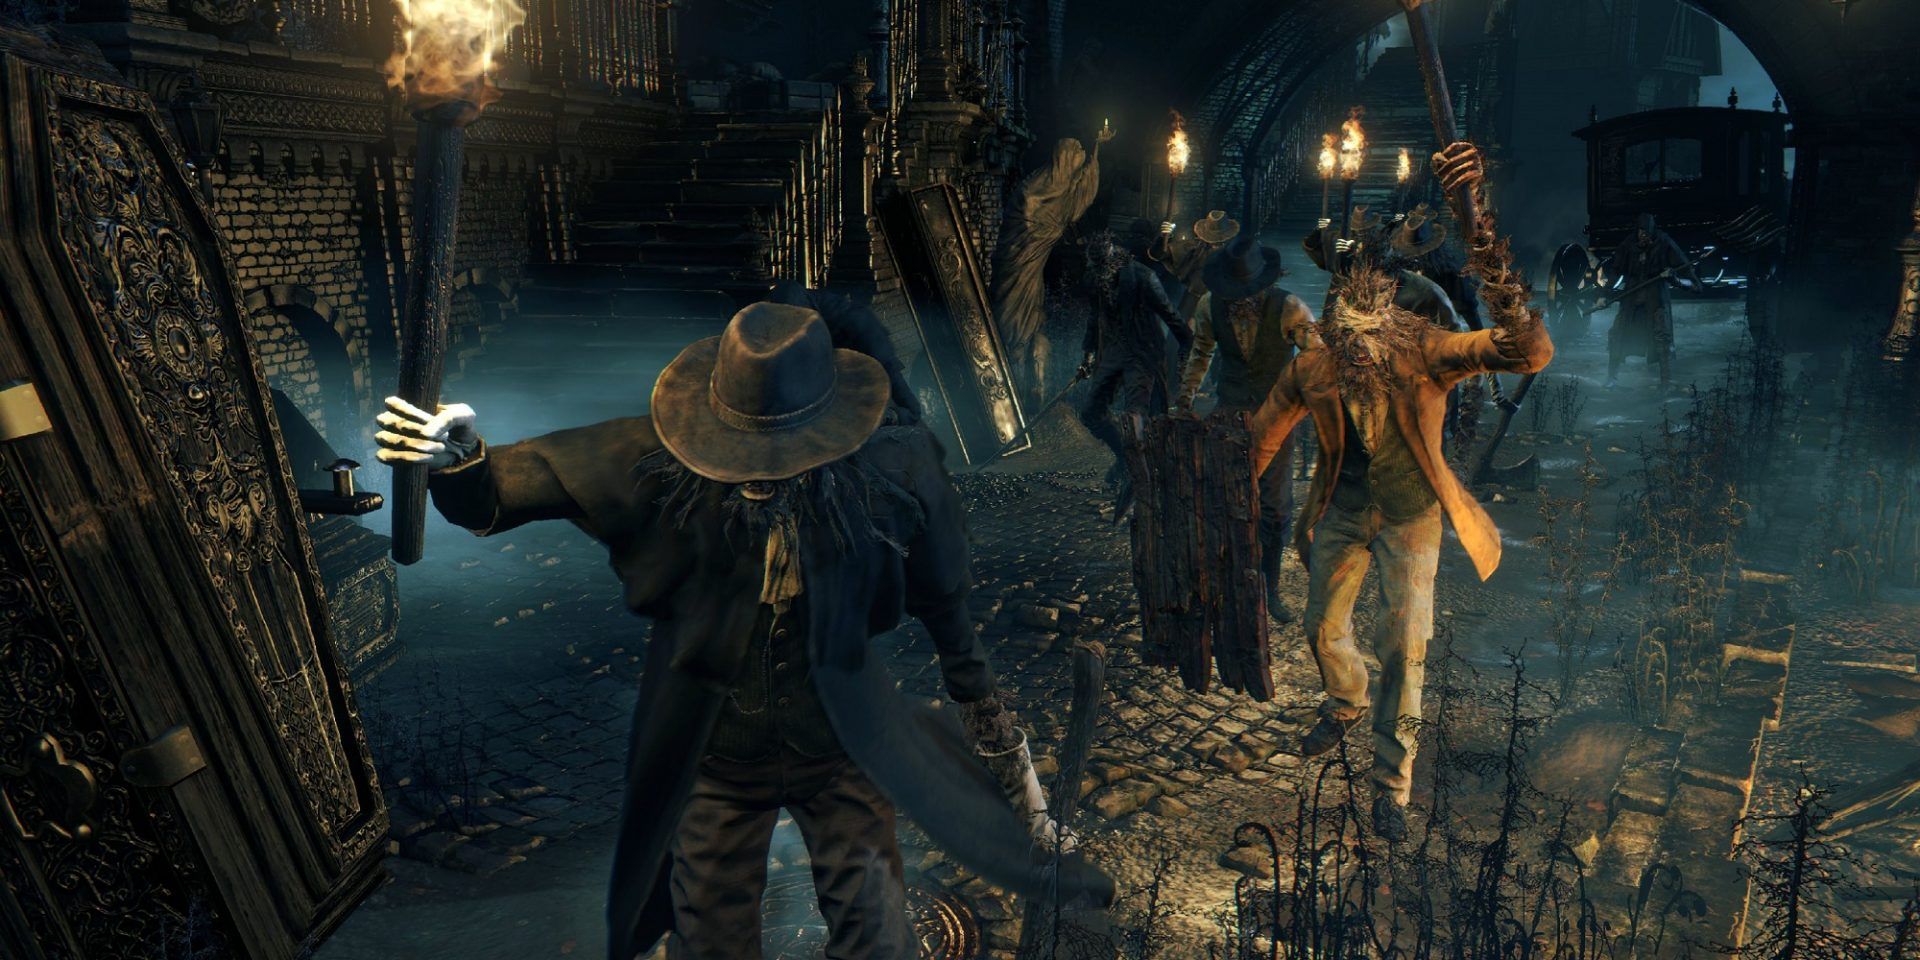
This might be a surprising entry this high on the list, being the first area of the game. Yes, once you know how to navigate the area and become more adept at combat, Central Yharnam isn’t so bad. But for first-time players, Central Yharnam is an unforgiving meatgrinder.
You’re dumped out onto a cramped street with wandering groups of huntsmen, and it’s incredibly easy to aggro five to eight at a time. Central Yharnam is the crucible through which all hunters must triumph. This area teaches you the importance of checking your corners for lurking enemies, isolating your foes to take them on one or two at a time, and the all-importance of spatial awareness. If you can make it through Central Yharnam, you’re ready for anything this game throws at you.
2 2. The Hunter’s Nightmare
A twisted nightmare version of Central Yharnam and the Cathedral Ward, this zone exudes a strange familiarity with the itching sensation of something even more sinister. Blood-drunk hunters wander the area, cursed to forever hunt the hordes of beasts prowling the streets. Further along, you’ll encounter a river of blood swarming with deadly Bloodlickers—even more than found at Castle Cainhurst. At one end of this river of blood, you’ll find a dark cave occupied by a gatling gun hunter along with the Blood-Starved Beast, a familiar optional boss from Old Yharnam.
The twisting path along the river of blood leads through so many enemies that running through them becomes fairly appealing—but if you don’t know where you’re going, you’ll end up at a dead-end or running into another group of creatures. Oh, and don’t forget the Nightmare Executioners, the hulking brutes with tentacled faces, enormous health pools, and attacks that can put you down in only a couple hits.
1 1. Fishing Hamlet
The final zone in the Old Hunters DLC, and by far the most grueling and difficult to get through, the Fishing Hamlet easily earns the number 1 spot on this list. Is it because of the Shark-Giants? They certainly play a major role. Those brutes are devastating on their own, but combine them with spear-hurling fishmen, fishwitches, and their aquatic-themed hounds, and the area becomes a deathtrap.
All of these enemies can kill you in just a few hits, and they’re incredibly aggressive, not to mention quick. The Fishing Hamlet is also home to the infamous Shark-Giant well, in which you can find the rare and powerful weapon, Rakuyo—but it only drops after defeating the pair of Shark-Giants lurking in said well. The Winter Lanterns in the area, one of the most dreaded enemies in the game, almost become an afterthought as you desperately search for the way forward in this twisting, haunting location. To top it all off, the area ends with the most brutally difficult boss in the entire game.

