Highlights
- Bloodborne features challenging bosses with unique attacks and strategic weaknesses.
- Players must use dodging, parrying, and strategic item usage to defeat the toughest bosses.
- Each boss presents a unique challenge, from fast-moving adversaries to long-range attackers.
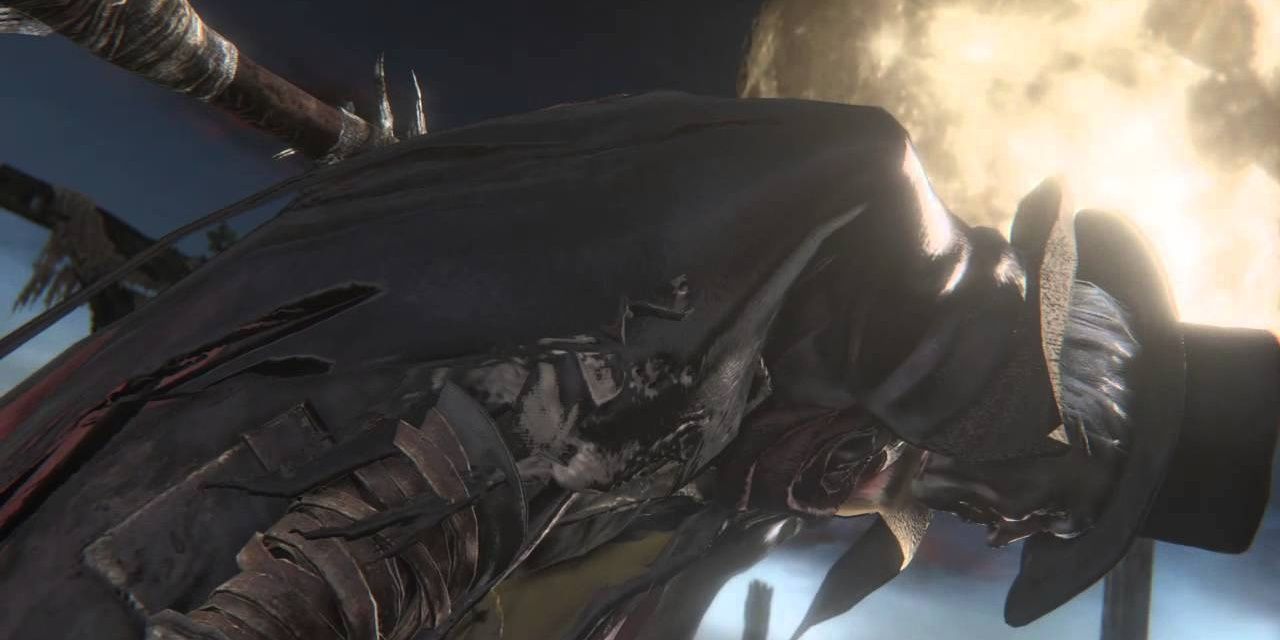
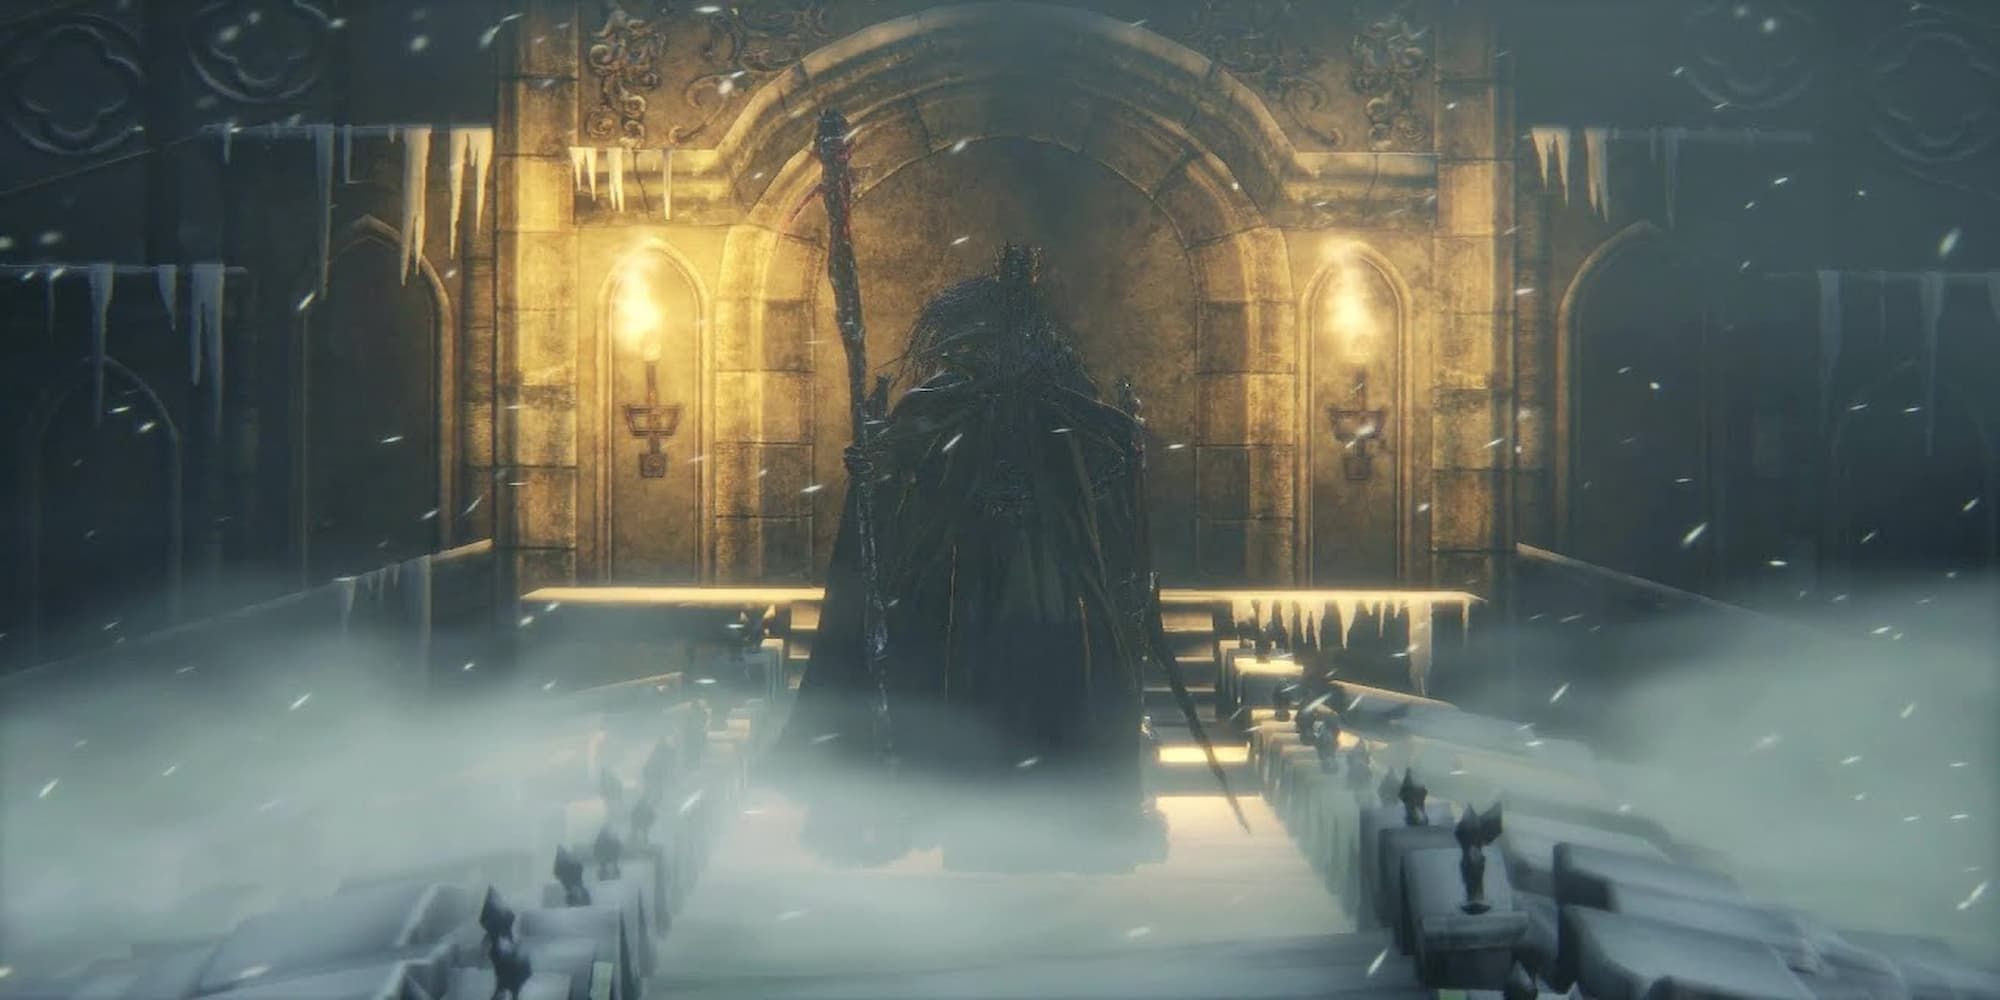
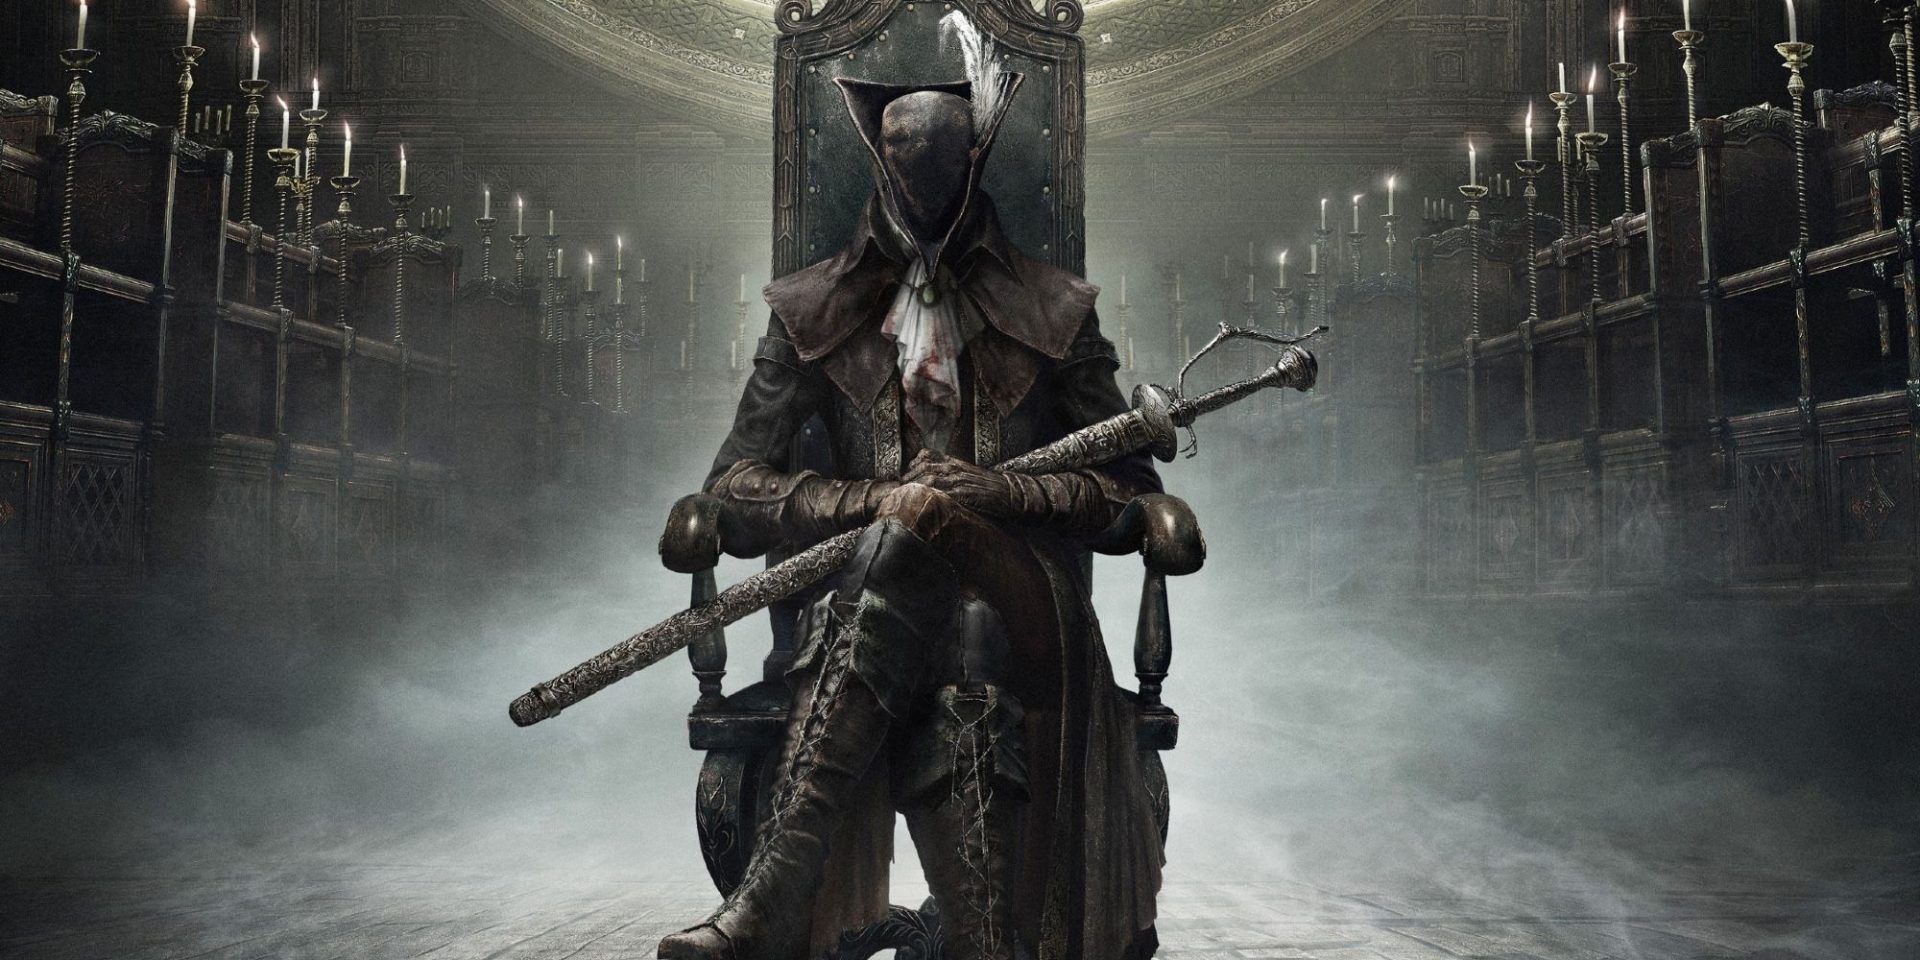
The Soulsborne series is well known for its difficulty. In fact, it's one of the reasons the series has become so popular. Bloodborne bosses are no exception. The gothic Victorian setting of this game is horrifying, to say the least, yet a feast for the eyes of veteran Soulsborne players. The one thing more frightening than the bleak setting, along with the jagged camera movements, is the array of gruesome and difficult bosses Hunters will have to tangle with.
Bloodborne has its share of some of the best and hardest bosses in the entire series. The game boasts a wide variety of challenging bosses across the course of the main adventure, most of which prove difficult for even the most skilled of Soulslike players. Here we have comprised a list of the hardest bosses in Bloodborne, each ranked by difficulty. It should be worth noting that, although bosses from the main game make their appearances, we have also included Chalice Dungeon bosses, along with bosses present in The Old Hunters DLC.
Updated by Nathan Round on 23rd February 2024: We have updated this guide with comprehensive stats on each boss, along with introducing additional links to other Bloodborne-related guides and lists. We have also introduced additional entries to this list, along with adjusting the rankings.
18 Pthumerian Descendant
Fast & Aggressive Boss That's Difficult To Parry
|
Location |
HP |
Weaknesses |
Drops |
|---|---|---|---|
|
Pthumeru Ihyll |
16843 |
|
|
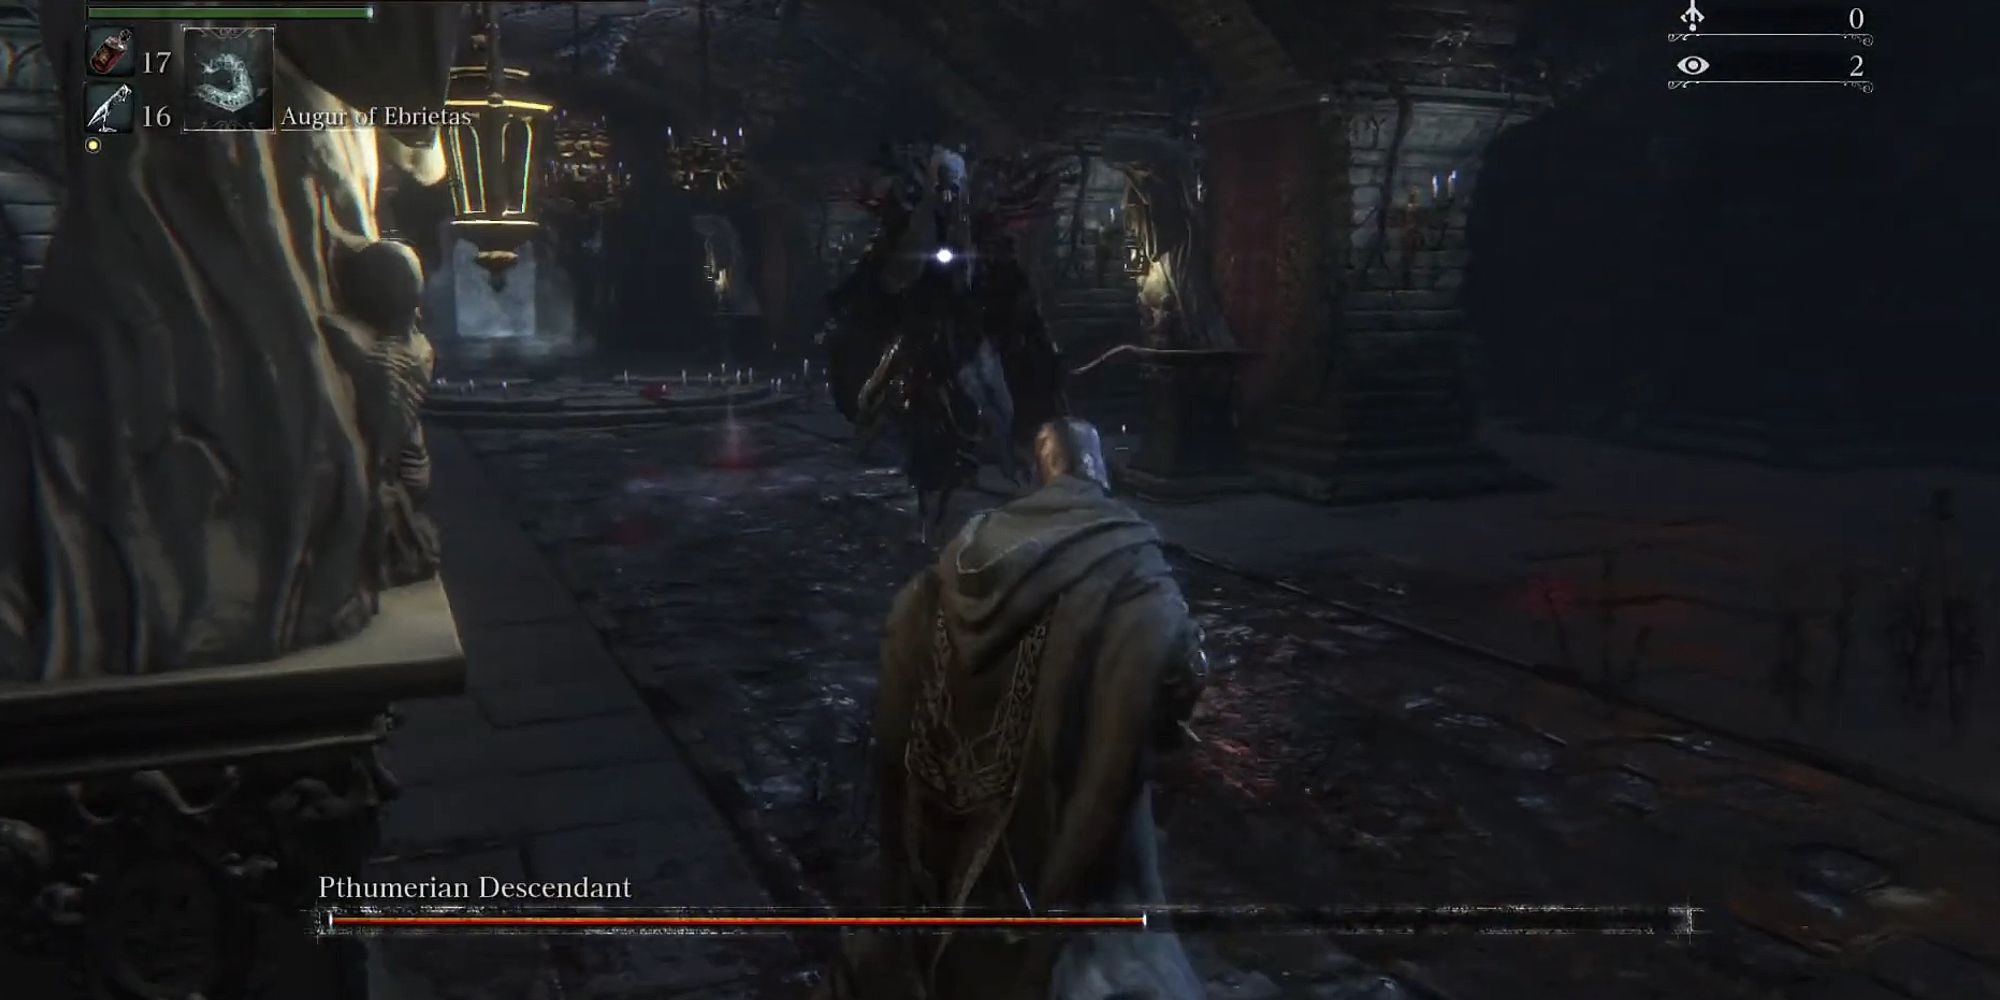
Pthumerian Descendant is quite the infuriating Chalice boss to take on in Bloodborne. This boss is fast and aggressive, giving players very little time to breathe during its frenzy of attacks. The arena is also pretty unforgiving, with the various pillars around the area failing to form as effective cover for the Pthumerian Descendant's attacks.
Another thing that makes the Pthumerian Descendant difficult is its lack of distinctive attacks, making it rather difficult to get a read on him. Dodging and Parrying seems to be the most effective means of taking this boss out. However, with the sheer speed of this boss, even that can be quite hard to do.
17 Headless Bloodletting Beast
Large Boss With Long Reaching Attacks
|
Location |
HP |
Weaknesses |
Drops |
|---|---|---|---|
|
Pthumeru Ihyll |
24052 |
|
|
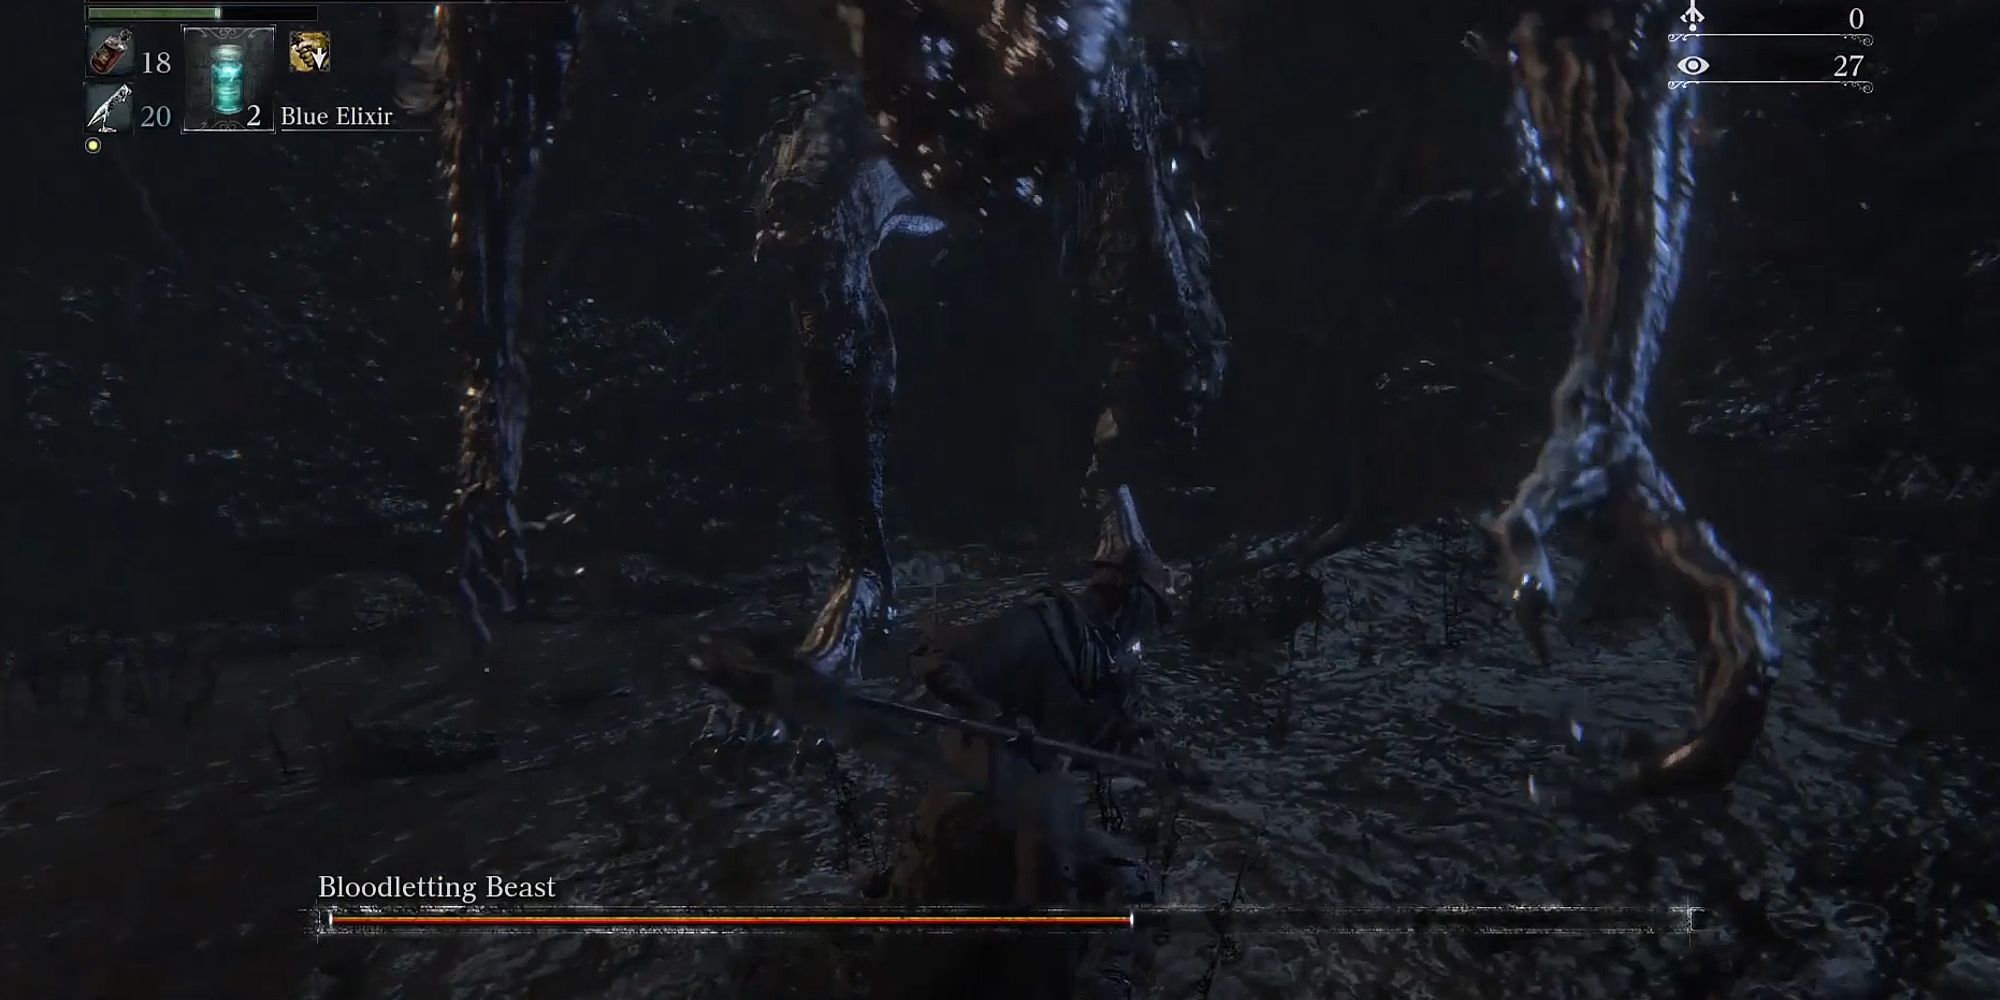
Though earlier encounters with the Bloodletting Beast are much more forgiving, the Pthumeru Ihyll headless variant is a lot harder to deal with. With long-reaching attacks that can sometimes span across the entire arena, players may often find themselves unable to dodge many of its moves. The Bloodletting Beast also employs a pesky stomp attack, one which can deal an immense amount of damage.
What makes matters worse is the Bloodletting Beast's ability to deal Poison damage during its second phase, which can rapidly decrease your health over time. The most straightforward way of taking out this beast is to dodge into its attacks, and concentrate your efforts on damaging the monster's left leg to stagger. Employing Fire and Serrated will also prove handy in beating this large boss.
16 Abhorrent Beast
Beast With Lightning Fast Combo Attacks
|
Location |
HP |
Weaknesses |
Drops |
|---|---|---|---|
|
Lower Loran |
15251 |
|
|
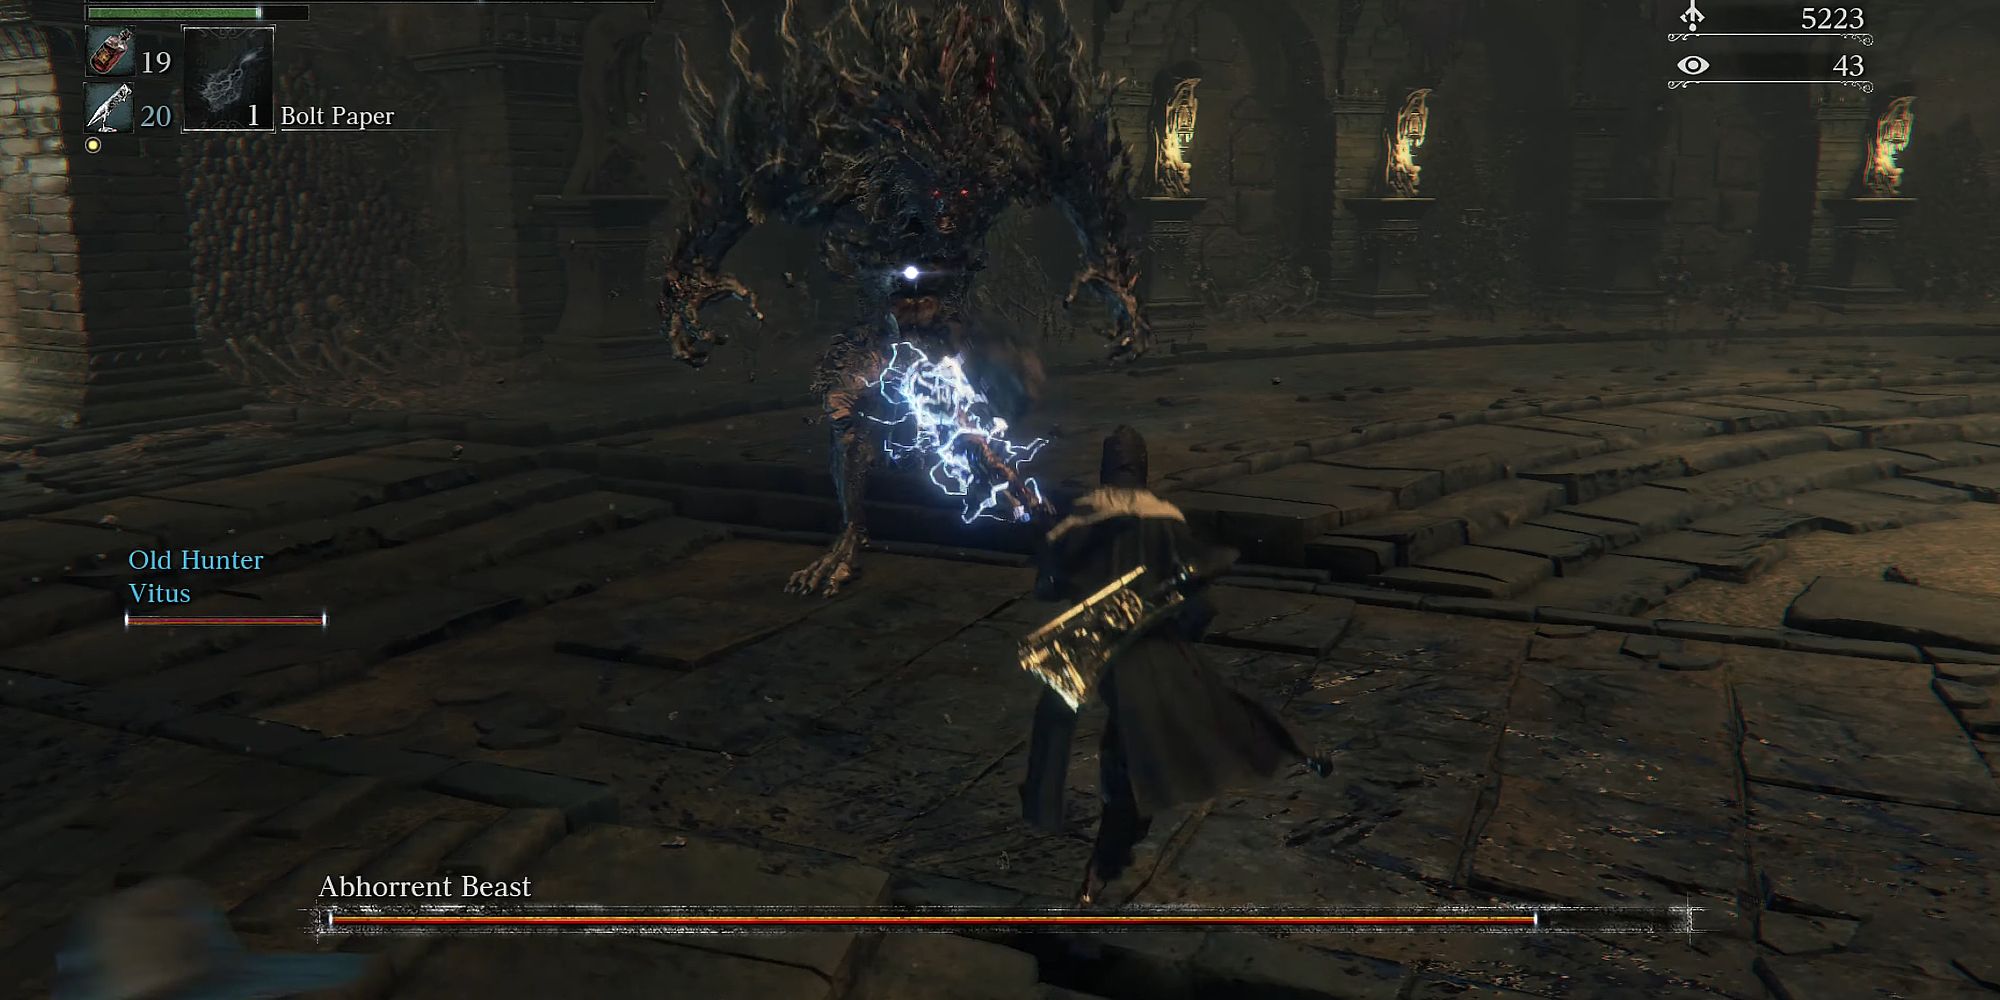
Earlier renditions of the Abhorrent Beast may seem like a breeze to beat. However, the one located at Lower Loran is quite the beastly encounter. With a larger pool of health and ferocious and fast attacks, this boss is quite tricky to beat. Not to mention that this beast can close the gap on you in an instant if you decide to keep your distance.
To further the difficulty of this boss fight, the Abhorrent Beast employs a series of lightning-fast combos - ones which can be pretty hard to anticipate. This leaves players with very small windows to dish out some series damage. The key to beating this boss is patience, waiting for an opening to attack and seizing the opportunity when you get it.
15 The One Reborn
Slow Moving Boss With AoE Attacks
|
Location |
HP |
Weaknesses |
Drops |
|---|---|---|---|
|
Yahar'gul, Unseen Village Advent Plaza |
10375 |
|
|
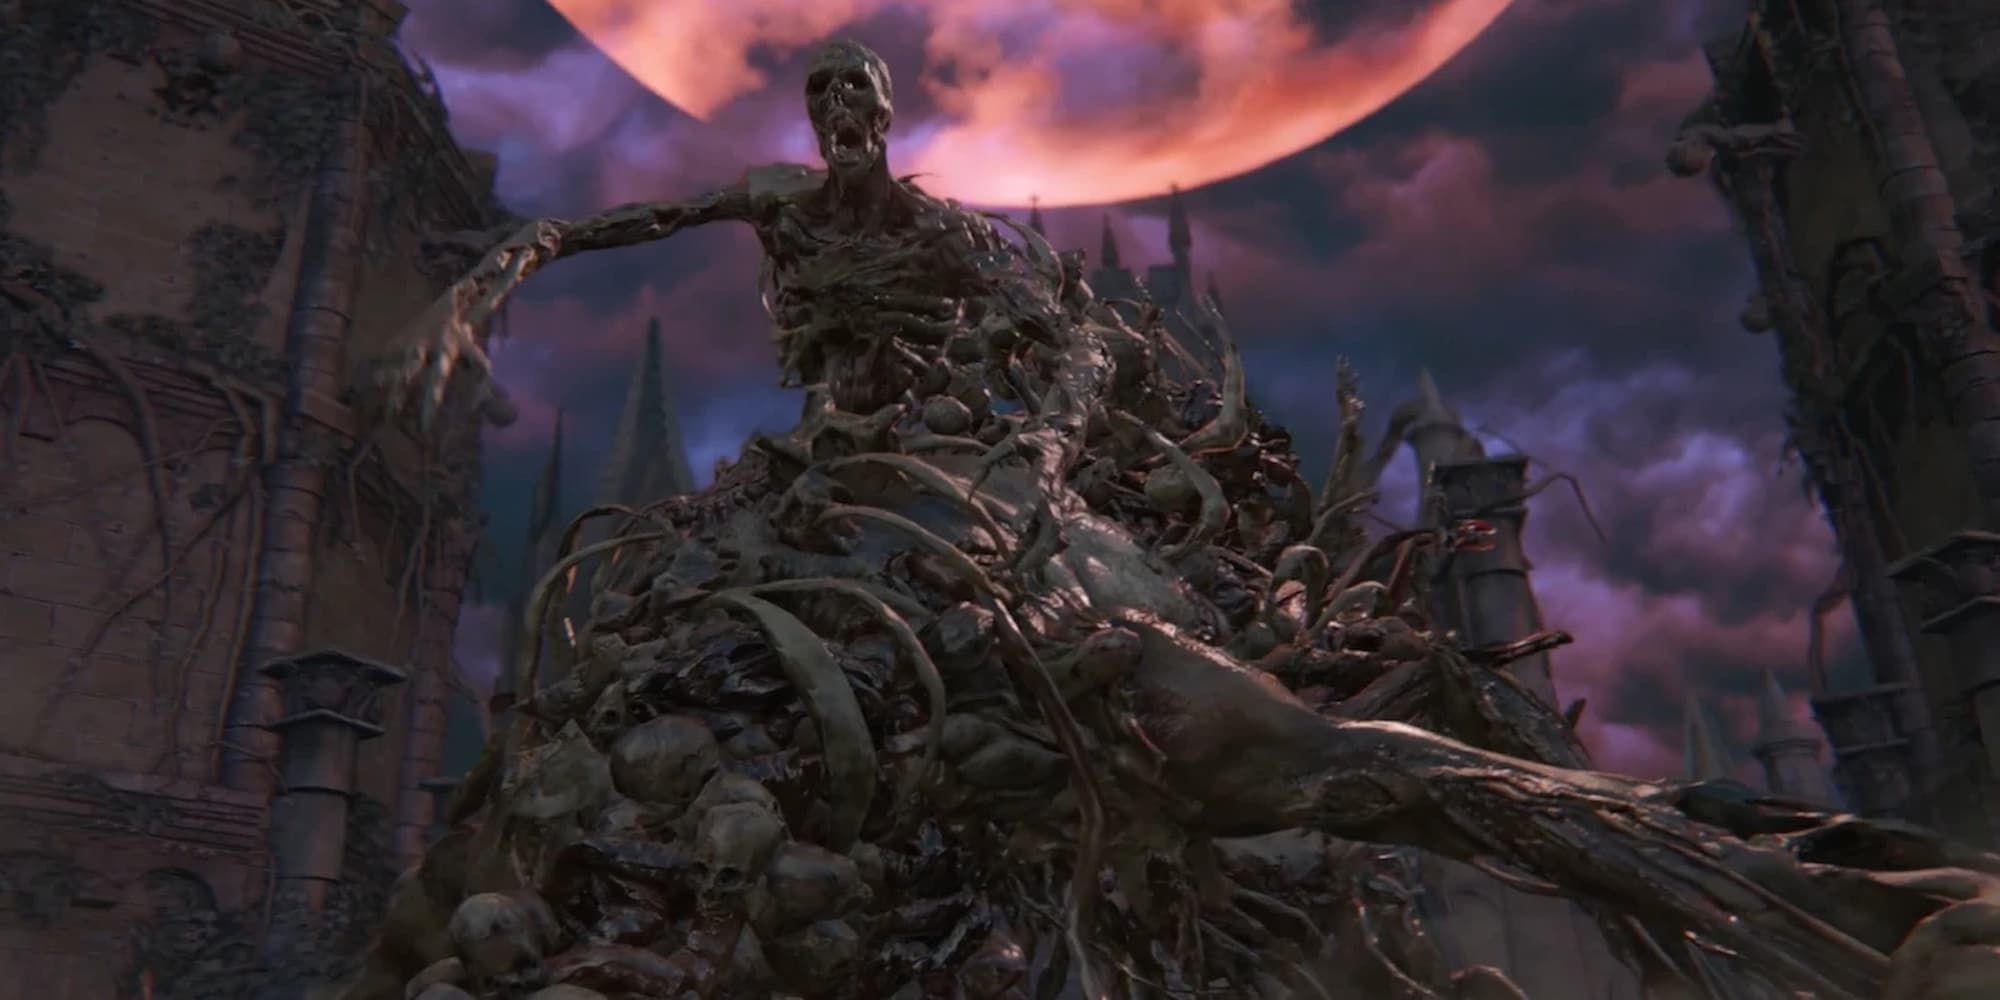
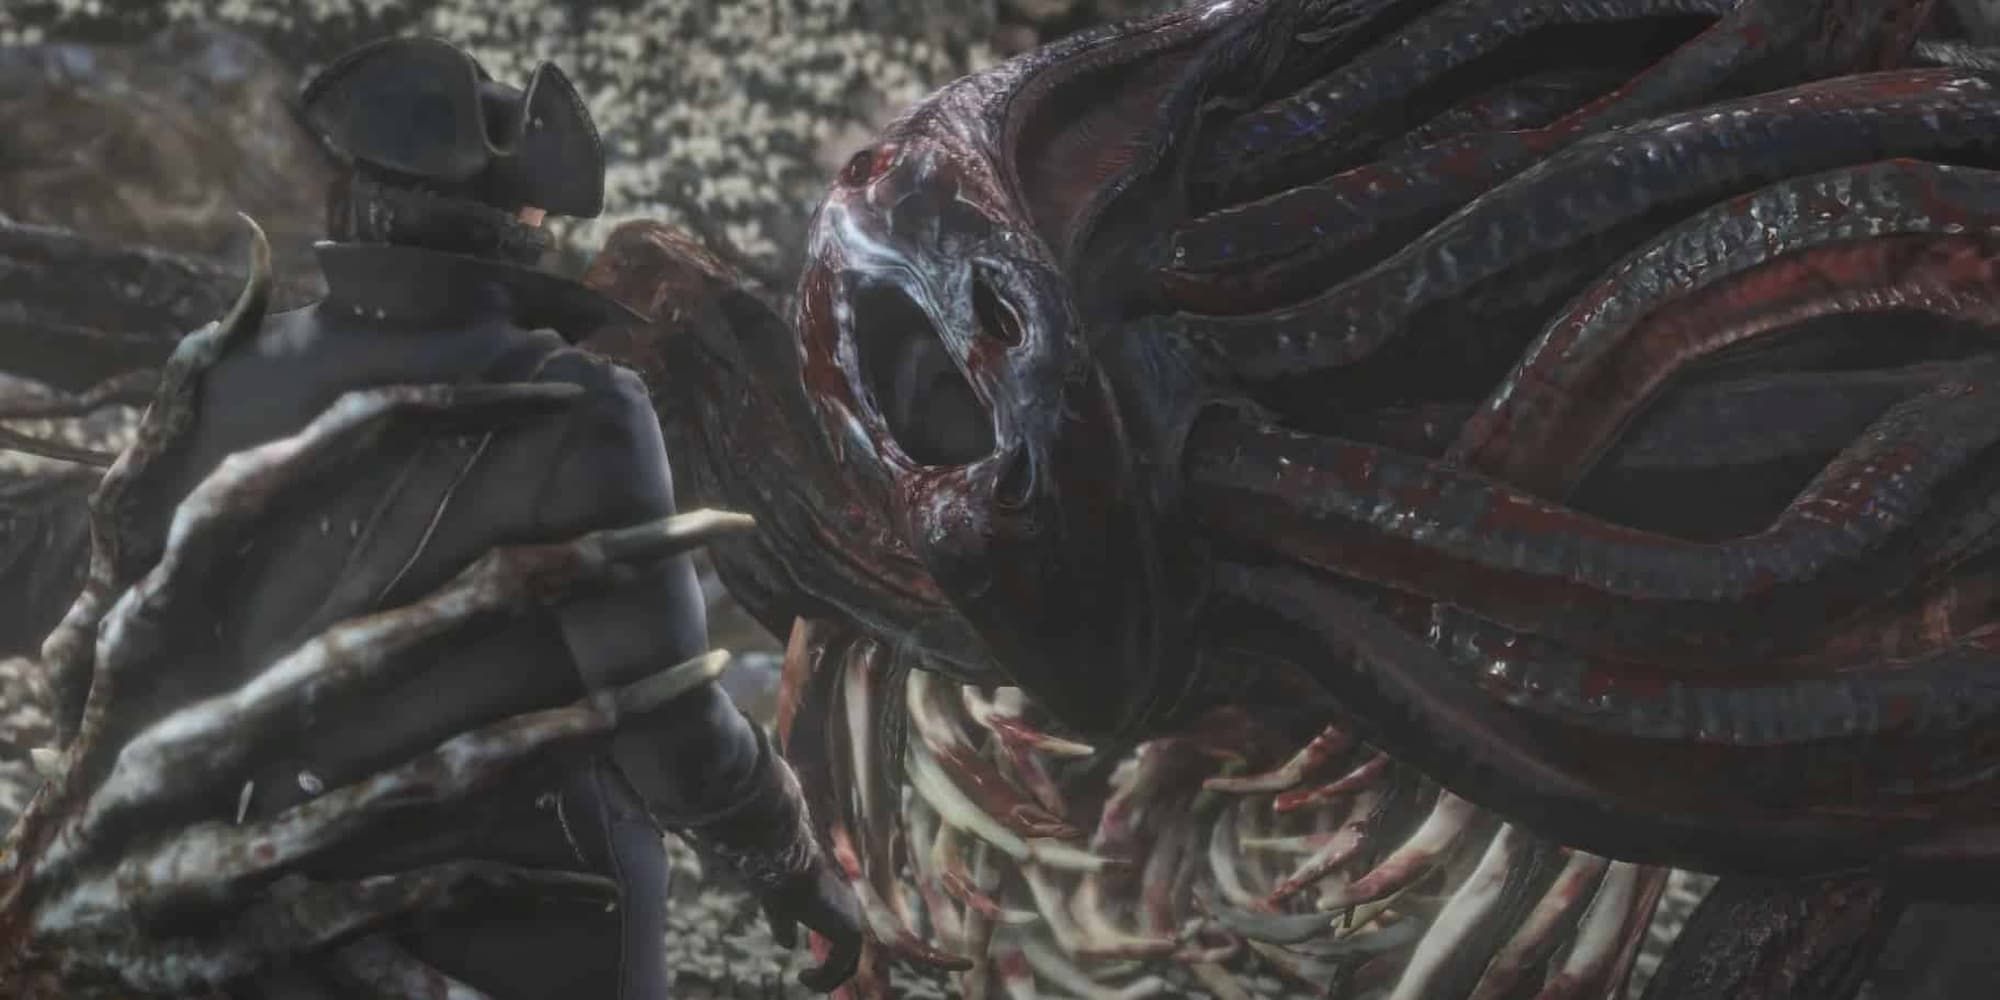
The One Reborn is one of those bosses that starts out as pure nightmare fuel, largely down to its grotesque design and terrifying intro. This boss is pretty big and slow, making it rather easy to time your dodges correctly with incoming attacks. However, getting caught in its grasp can chomp off a large chunk of your health, so don't get too greedy when tackling this boss.
The main difficulties of The One Reborn are made apparent from the start, as the arena will house quite a few base enemies capable of attacking you across range. This makes the boss fight quite a chore if you neglect to take them out first. The One Reborn also employs an easily anticipated, yet annoying AoE attack, along with a rather deadly acid vomit attack. Both can be predicted and dodged rather intuitively but can leave lasting damage if not avoided. However, once you get into the habit of focusing your attacks on the boss's weak spot, slaying it becomes a breeze.
14 Micolash: Host Of The Nightmare
Trickster Boss With Hordes Of Puppets
|
Location |
HP |
Weaknesses |
Drops |
|---|---|---|---|
|
Nightmare of Mensis |
5250 |
|
|
The peculiar thing about Micolash: Host Of The Nightmare is that it is not the boss itself that makes the fight challenging. Instead, it is a combination of the arena, along with the various enemies that inhabit it. When entering the arena, you will need to chase Micolash through various corridors, before cornering him for the first phase of his fight. The first phase is actually quite easy to deal with. That is, if you are able to keep the swarms of puppets off your back. Ignoring these pesky critters can knock you down a notch, leading to a quick death.
Bloodborne: 10 Best Firearms, Ranked
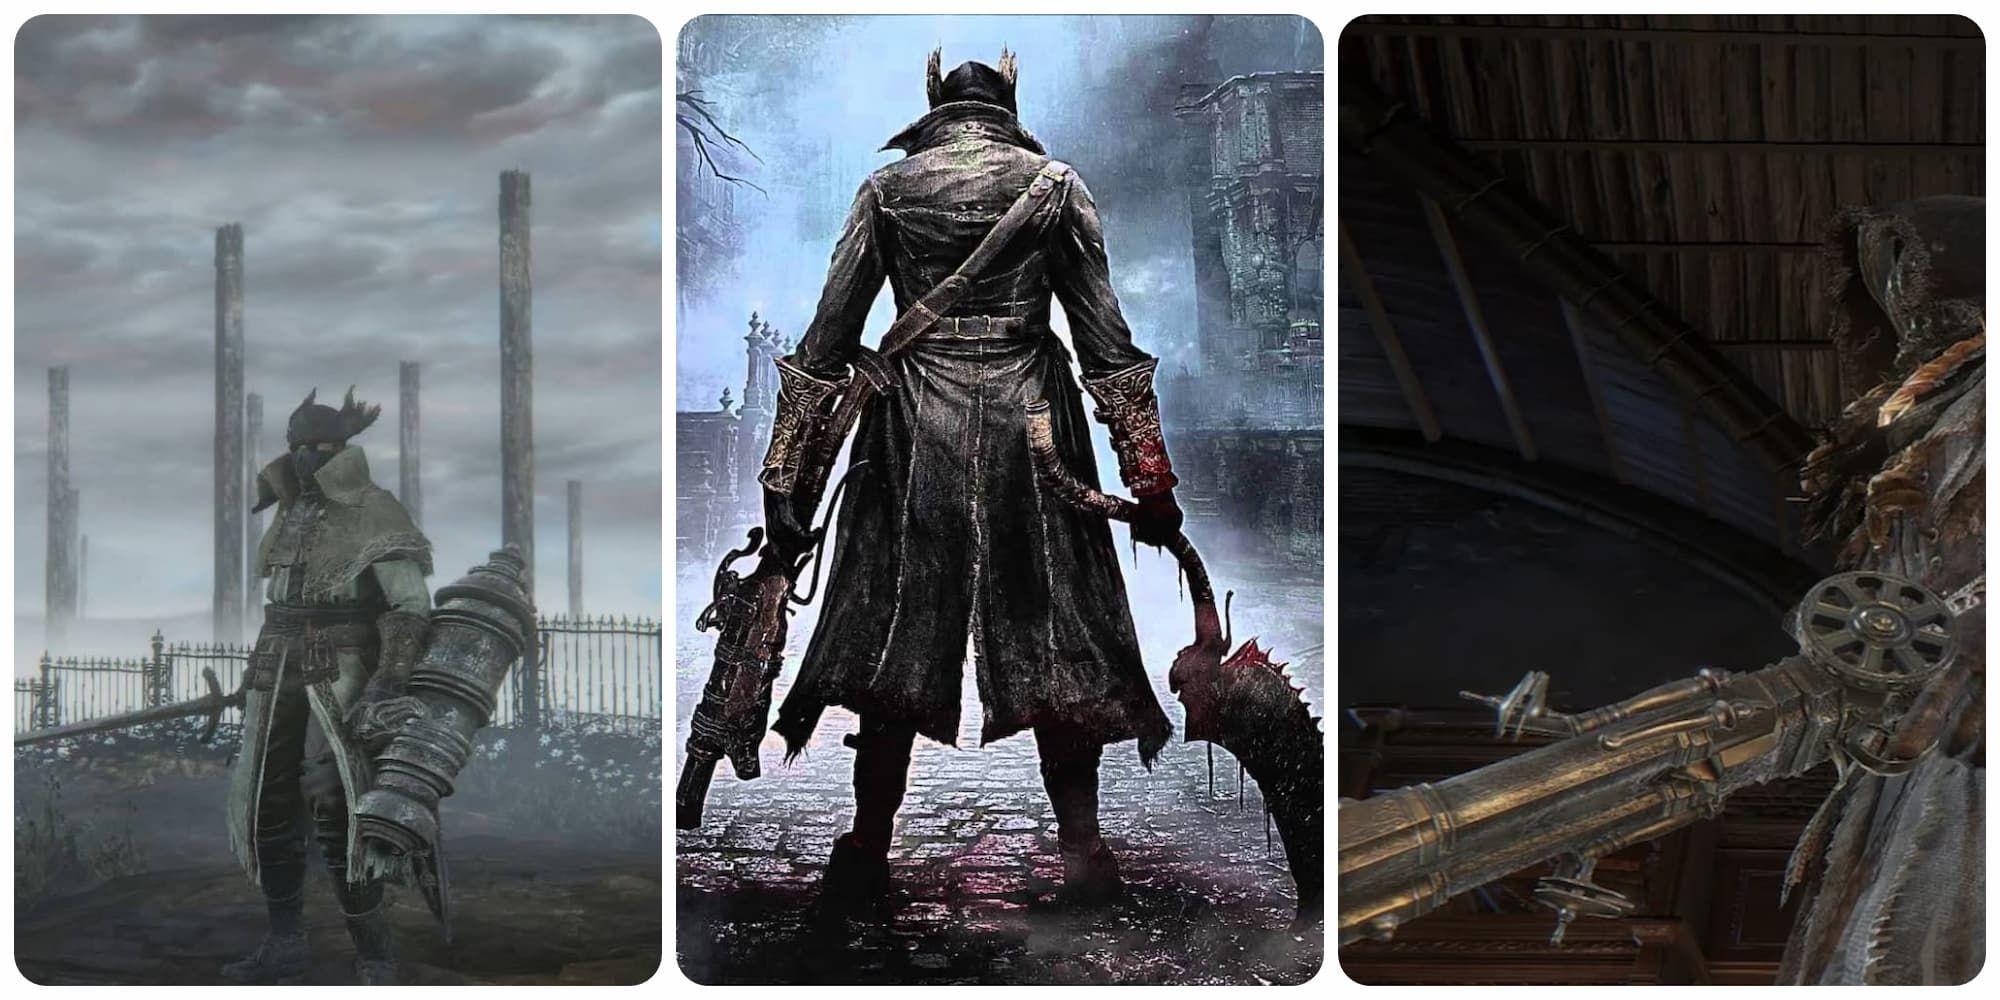
From the Gatling Gun to the Evelyn and Repeating Pistol, these are some of the very best Firearms available in Bloodborne.As for the second phase, the difficulty is cranked up slightly, largely thanks to Micolash adopting a slightly different moveset than before - along with an annoying ranged attack that covers much of the arena. However, taking him out is quite the breeze, especially if you are able to deal a decent amount of Fire damage. The ironic part about the second phase is that reaching it is actually the hardest part, as the labyrinth you are in is pretty tricky to navigate through.
13 Shadow Of Yharnam
A Terrifying & Fast Attacking Trio
|
Location |
HP |
Weaknesses |
Drops |
|---|---|---|---|
|
Forbidden Woods Forbidden Grave |
3645 / 2302 / 2046 |
|
|
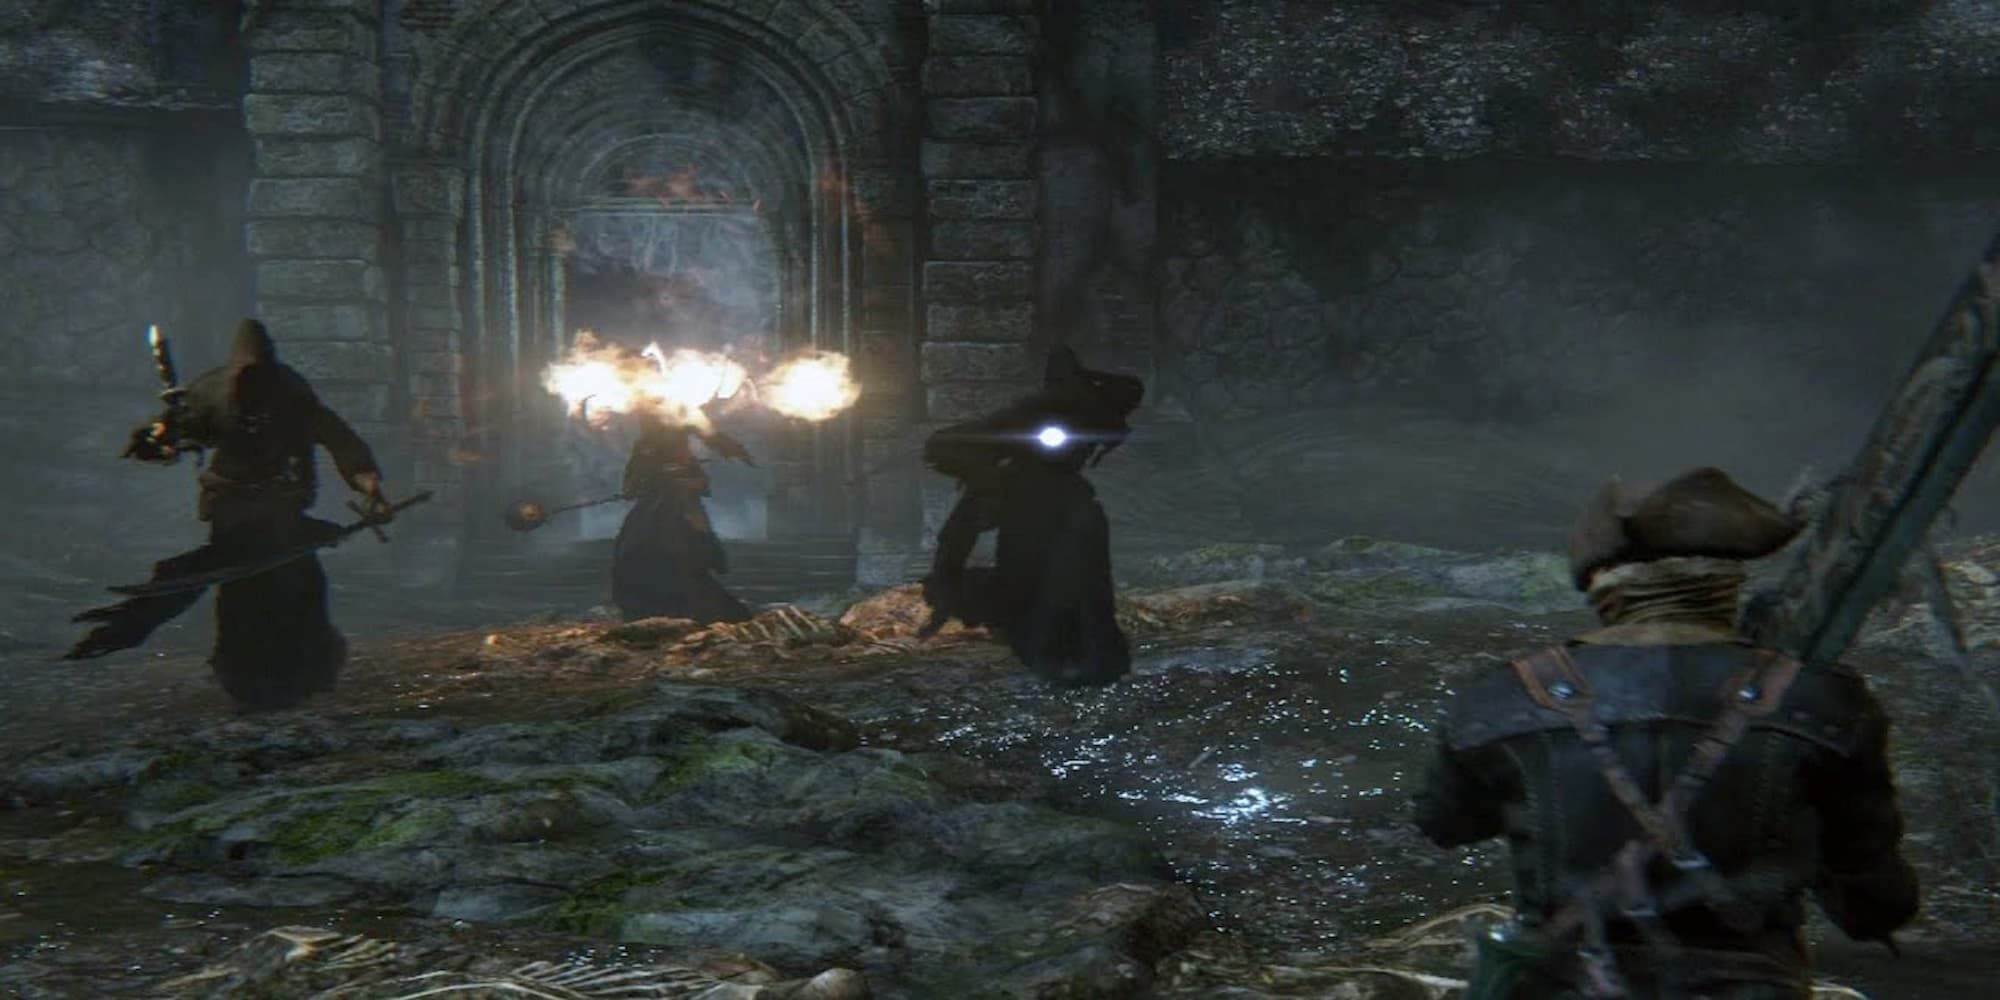
As a Soulsborne player, you're probably quite used to taking on nimble human-sized bosses. But throw players into a bossfight where they have to take on three enemies at once, and that's where the struggle begins. The Shadow Of Yharnam is a difficult boss fight, mainly due to the fact that the player is both outmatched and outnumbered. Each shadow is the same size as the player, giving them small hitboxes and nimble movements - making them rather tricky to keep track of.
Each shadow has its own strengths, and while focusing and killing one would seemingly give you the upper hand, it only strengthens those that remain. Though these bosses have distinctive ranged and melee attacks that can be learned through trial and error, each of their movesets drastically changes once they lose enough health - making each enemy encounter rather tricky to anticipate.
12 Darkbeast Paarl
Aggressive & Erratic Moving Boss
|
Location |
HP |
Weaknesses |
Drops |
|---|---|---|---|
|
Hypogean Gaol |
4552 |
|
|
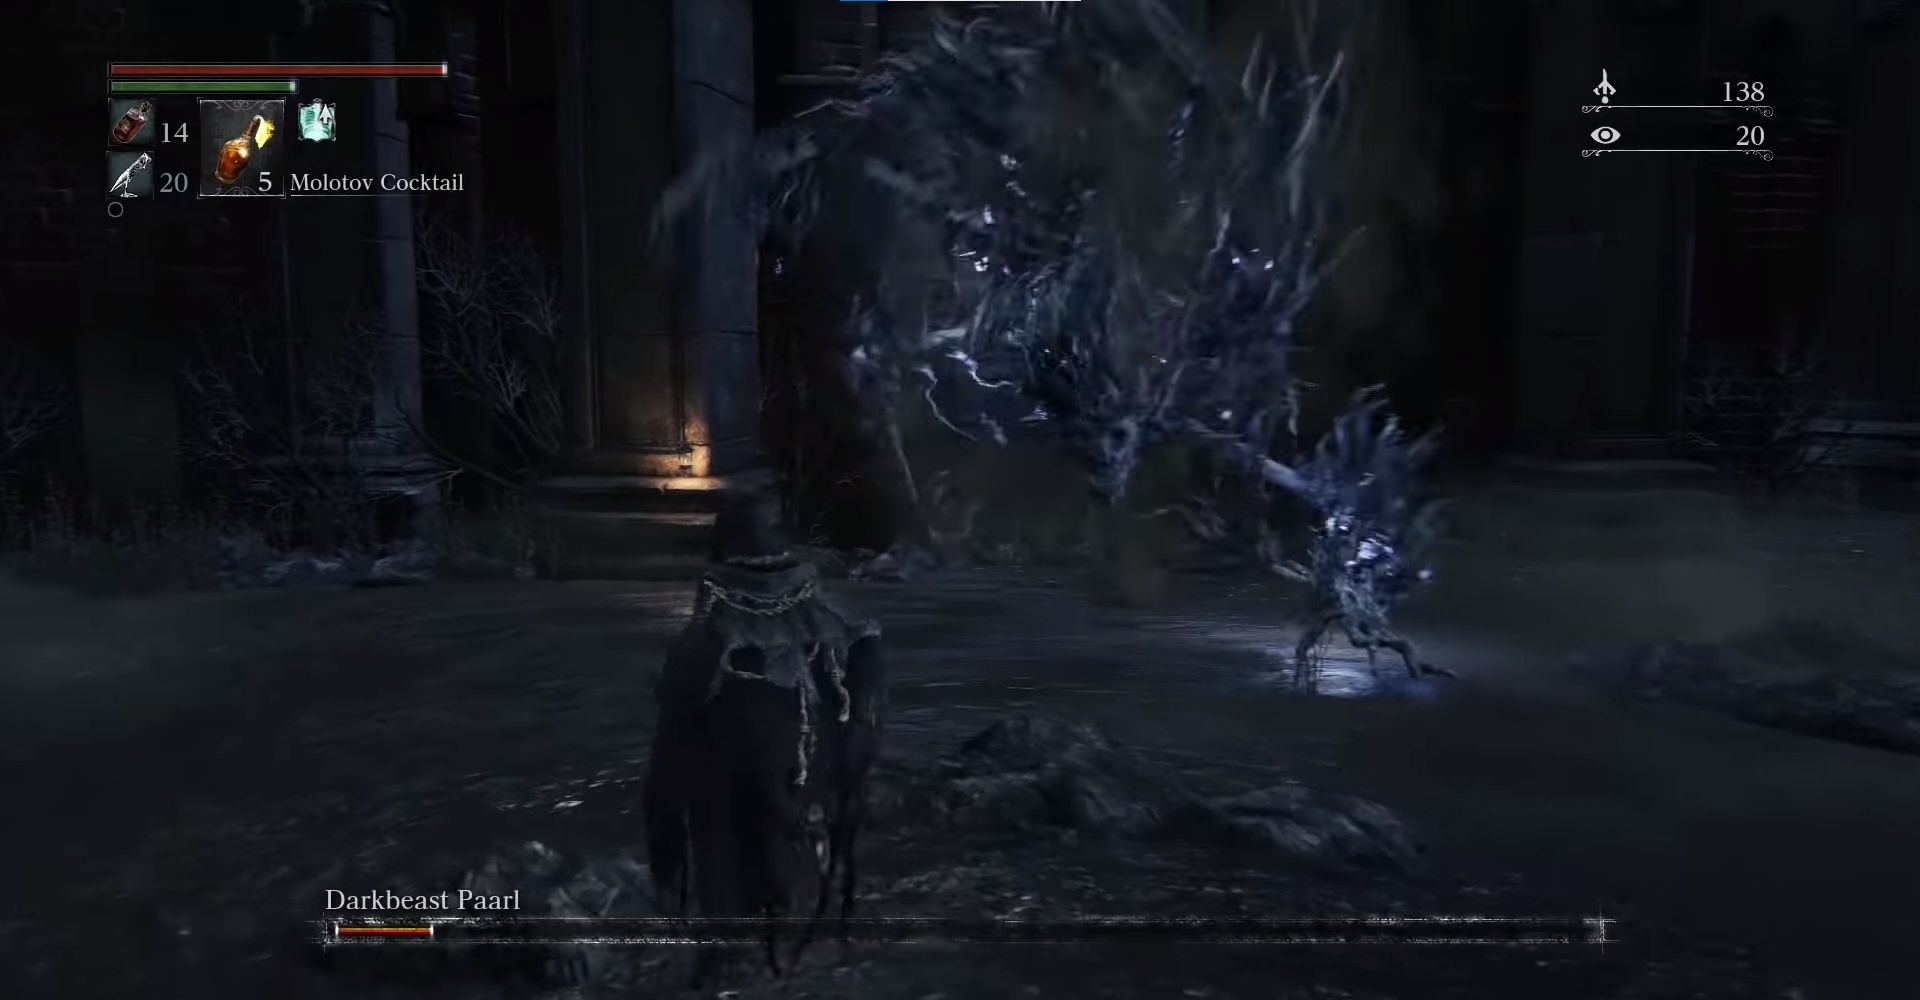
Darkbeast Paarl can be incredibly difficult to overcome, depending on when this towering Beast is fought. Paarl is an optional boss and can be encountered at vastly different levels, as it can first be battled at around level 30 (if the Hunter is taken to the Hypogean Gaol by a Snatcher early on). Level aside, however, there is one other notable aspect that makes this boss rather challenging.
Darkbeast Paarl deals quite a lot of damage and is fast, sporting erratic movements and attacks that prove to be unpredictable at times. Pair this with the tedious camera management, along with the boss's strength against Blunt and Bolt damage, and you have a powerful foe on your hands. However, if you can get into the habit of staggering this boss by concentrating on hitting its hind legs, beating it becomes quite the breeze.
11 Blood-Starved Beast
Poison Damage Boss Located In A Narrow Arena
|
Location |
HP |
Weaknesses |
Drops |
|---|---|---|---|
|
Old Yharnam |
3470 |
|
|
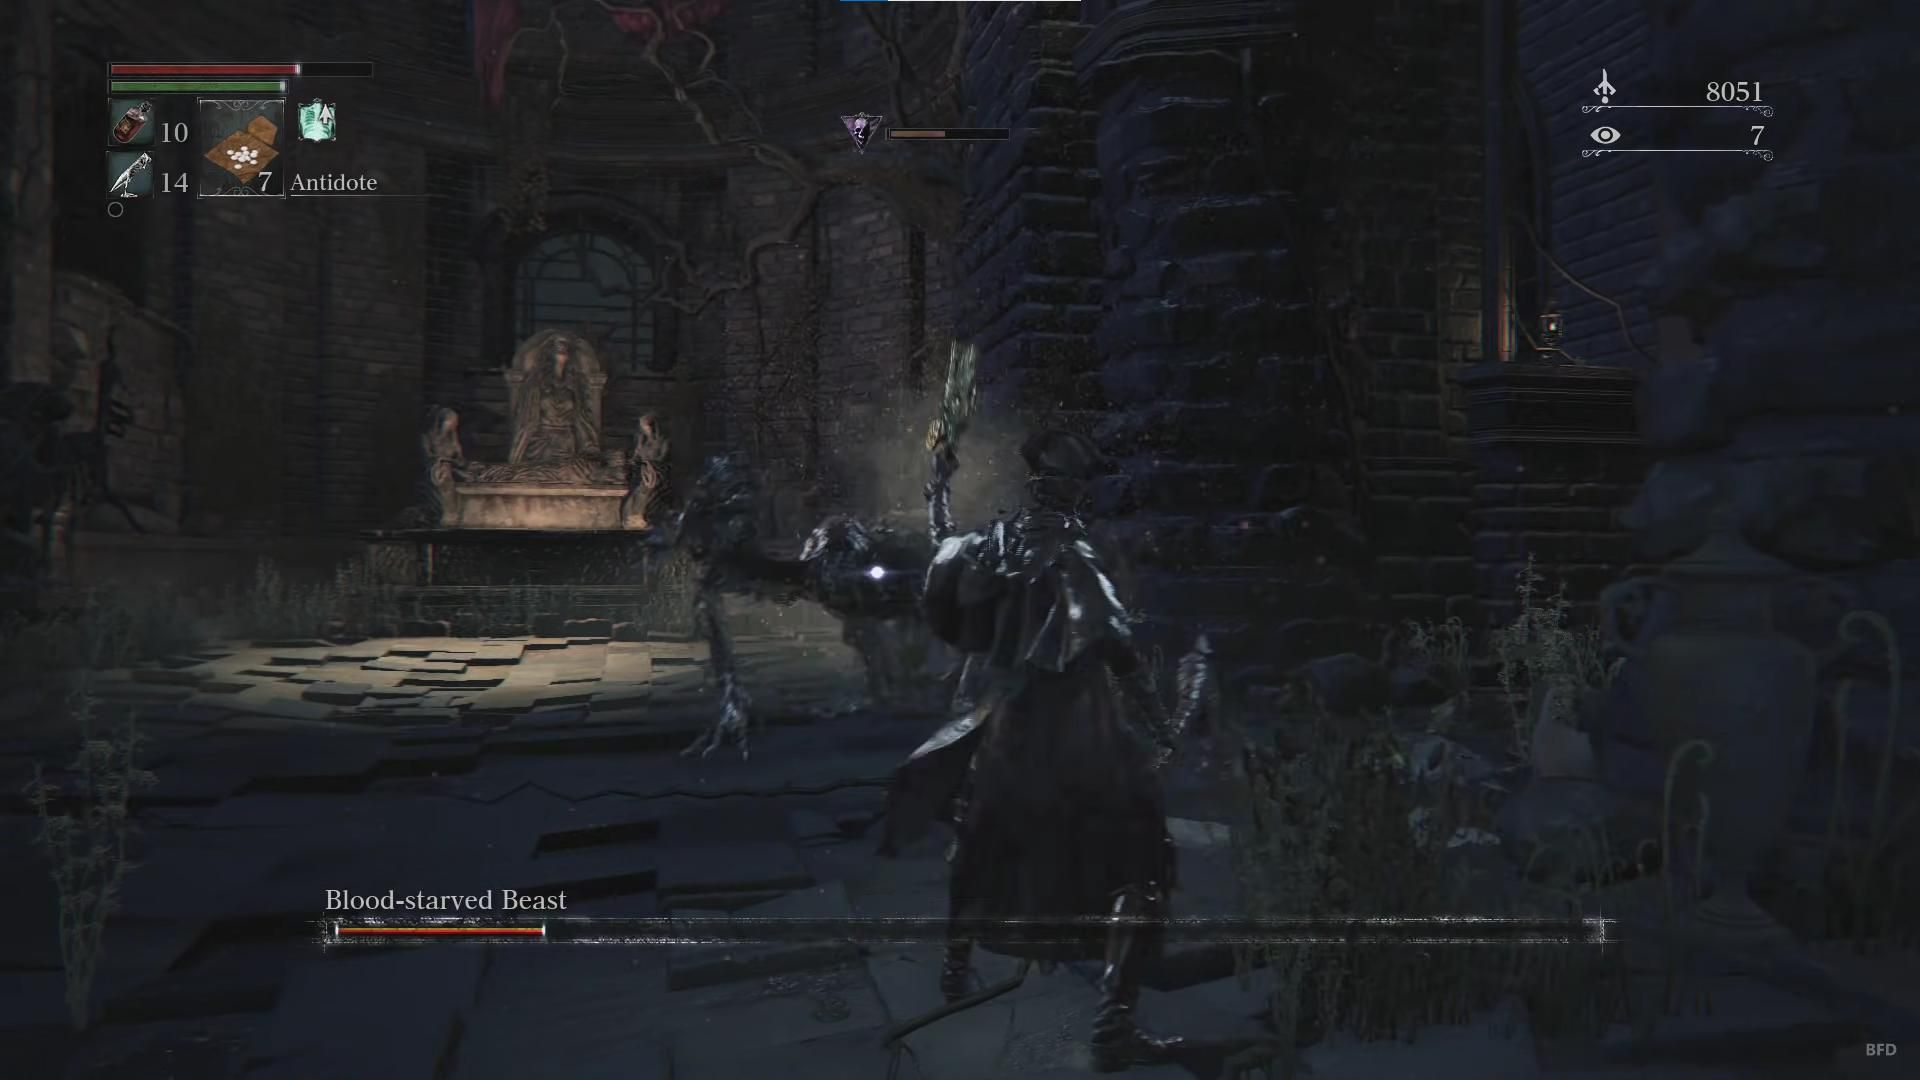
The Blood-Starved Beast is a horrific-looking creature that is relentless. Its big swiping attack from its right claws will certainly hurt, and if the Hunter gets greedy, its combo of vicious swipes can be difficult to escape from. Not only that, but this boss also deals lingering Poison damage. The Blood-Starved Beast is an early boss fight, proving to be among the first to really test players' patience - especially for beginners.
The arena itself actively works against the player too, as the Church of the Good Chalice is narrow and benefits the boss's long swiping attack. On the other hand, though, there are pillars in the arena that offer some limited protection, and weapons and items imbued with Fire are quite effective against this Beast.
10 Father Gascoigne
Fast Moving Early Game Roadblock
|
Location |
HP |
Weaknesses |
Drops |
|---|---|---|---|
|
Central Yharnam |
2031 |
|
|
Father Gascoigne proves to be an early-game roadblock for many players. He is a mandatory boss and an opponent unlike anything you may have faced before. Father Gascoigne is a fast, mobile, dual-wielding fellow Hunter, able to transform his weapon right along with the player. This brings quite a bit of variety and unpredictability to his moveset, especially once it switches up during the second phase.
Bloodborne: 10 Most Iconic NPCs, Ranked
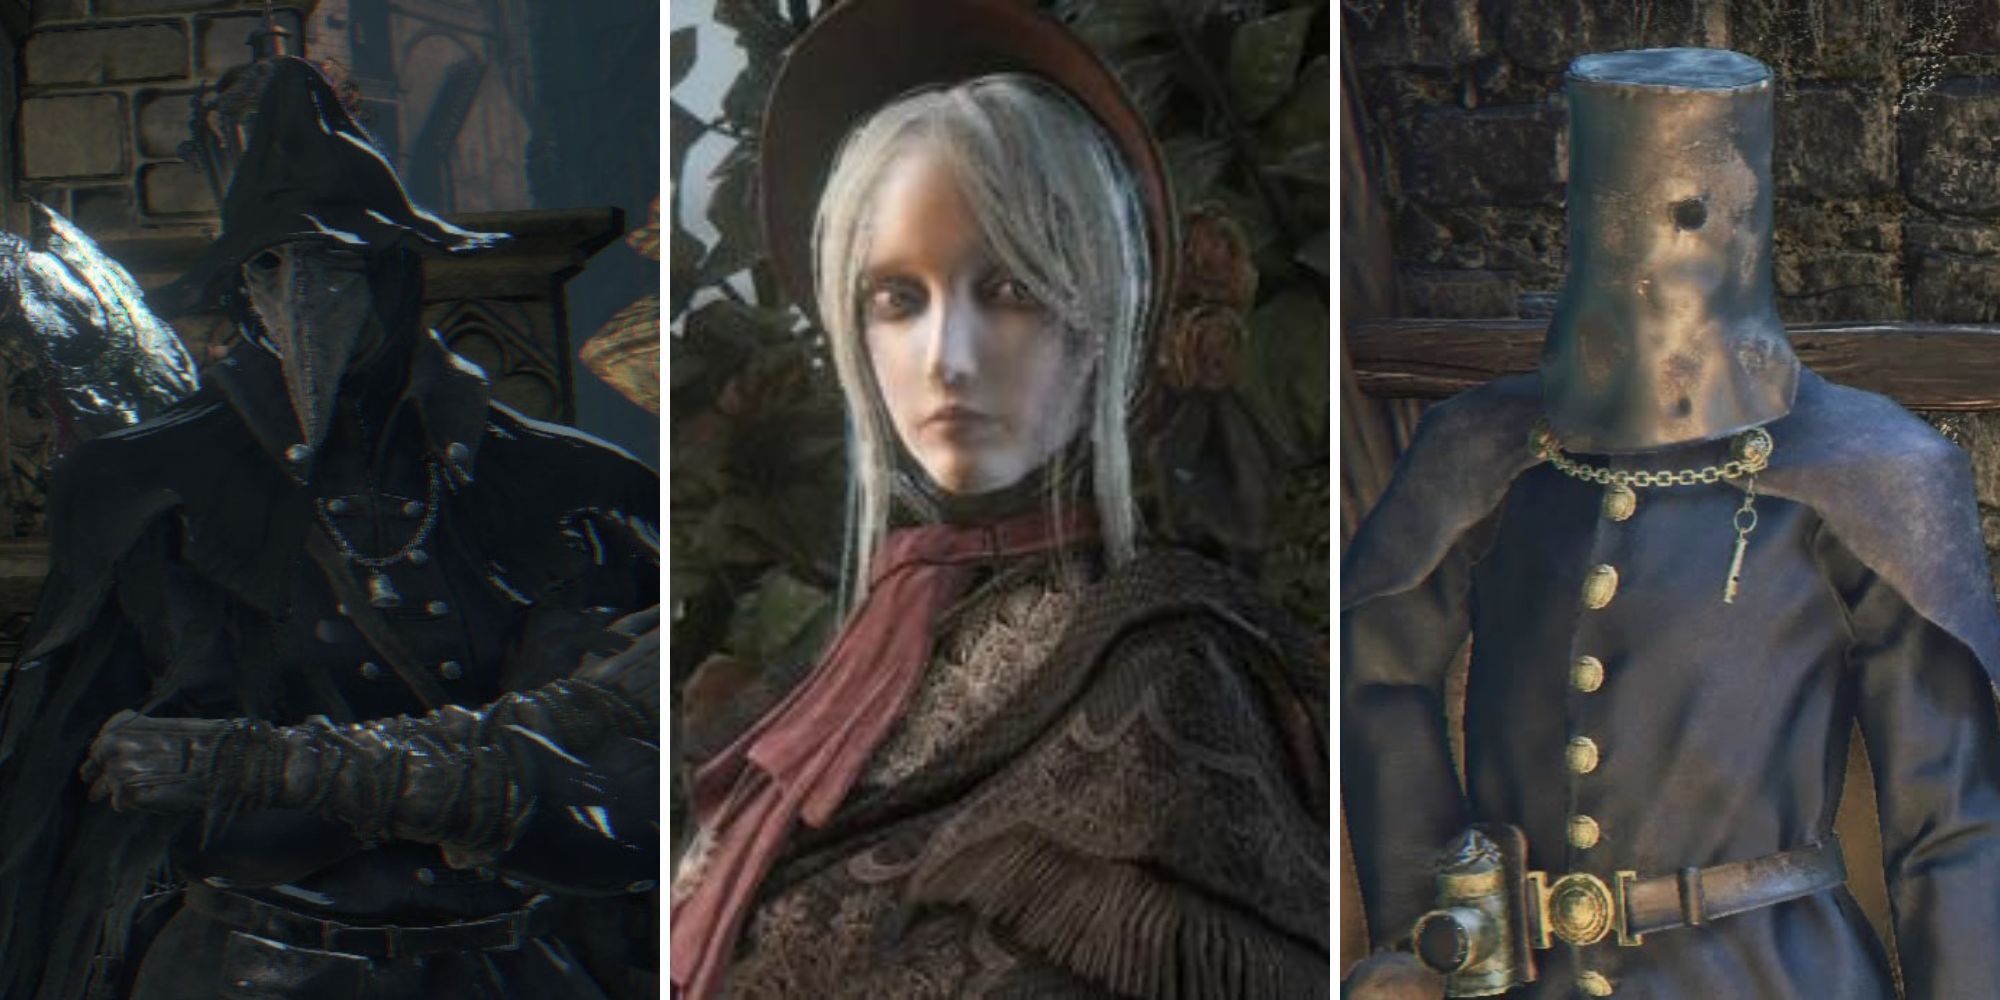
Bloodborne features many enigmatic and memorable characters. This list will cover the most iconic ones you'll encounter in Yharnam and beyond.Hunters who aren't adept at Parrying with a pistol and scoring Visceral Attack opportunities will have a hard time when entering the second phase. On transformation, Gascoigne becomes incredibly aggressive. Compounding the difficulty further, the arena is small and narrow, making dodging rather difficult. However, using the Tiny Music Box item to temporarily stun Gascoigne, along with employing Fire and Serration, will more than aid you in this bossfight.
9 Amygdala
Long Reaching, Combo Attacking Boss
|
Location |
HP |
Weaknesses |
Drops |
|---|---|---|---|
|
Cursed Pthumerian Defilement |
22081 |
|
|
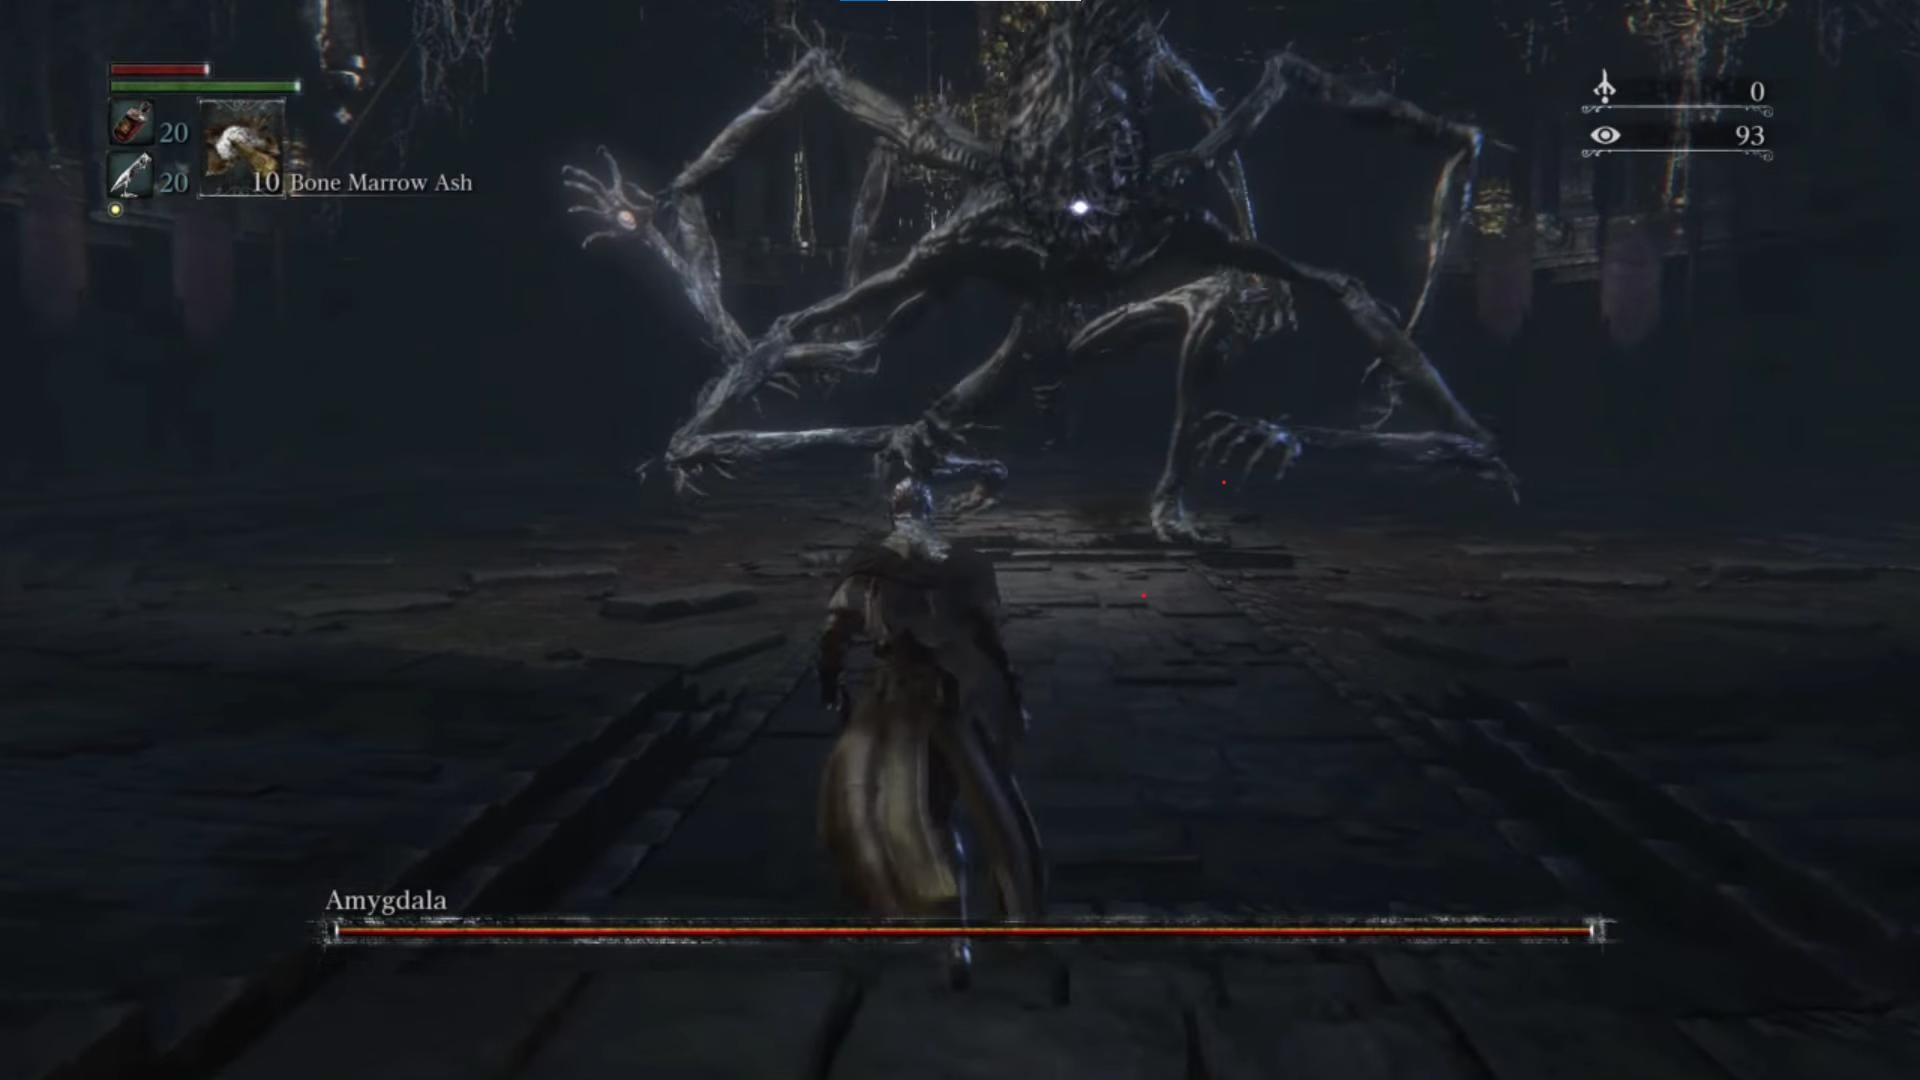
Amygdala in the Nightmare Frontier doesn't tend to be too challenging at first glance. The Defiled Chalice variant of Amygdala, however, is regarded by some as among the most frustrating battles in the game. The main difficulty of this boss is its long-reaching attacks, all of which are incredibly difficult to dodge.
To throw more salt into the wound, the player's health is halved in this Chalice Dungeon. The arena is also tiny, further hindering the player's ability to dodge attacks effectively - or find safe spots to recoup and heal. Amygdala can also just thrust from one attack to another, leaving very little room to get enough hits in. The best strategy seems to be striking the head wherever possible to deal optimal damage, but this will require patience and well-timed dodges.
8 Gehrman, The First Hunter
Swift Combo Attacking, Fast Moving Boss
|
Location |
HP |
Weaknesses |
Drops |
|---|---|---|---|
|
Hunter's Dream |
14293 |
|
|
Gehrman, The First Hunter, is deceptively agile, and his Burial Blade has surprising range and power. He can get from one side of the arena to the other in a second, taking you down if you aren't careful. Gehrman also uses swift combos that are hard to stop, especially if you aren't used to Parrying. It's a fast-paced battle for certain, one which can prove difficult for even the most veteran of players.
Gehrman has a few moves capable of one-shotting you with extreme pace, with his leaping attack being a particular threat. However, The First Hunter does have one notable weakness, which is Parries. If the player has mastered this mechanic, Gehrman can be dealt with - though it requires you to learn his moveset to get the timing right. Gehrman is also fairly weak to Arcane, so make sure to exploit its weakness as much as you can.
7 Martyr Logarius
Long-Range, Fast Dodging Bossfight
|
Location |
HP |
Weaknesses |
Strengths |
Drops |
|---|---|---|---|---|
|
Forsaken Castle Cainhurst |
9081 |
|
|
|
Martyr Logarius is a secret boss that many are lucky they never found, and is a rather challenging one at that. The major aspect of this boss's difficulty is that Logarius often resorts to fighting from a distance. For much of the fight, Martyr Logarius is able to leap away from the player and perform ranged spell attacks, making it somewhat difficult to rack up some serious damage.
This boss also has a wide pool of attacks that makes him very hard to get a read on, often catching players in his devastating combos once you do manage to get into his face. The main strategy for beating him involves closing the distance and hammering the boss early on with physical attacks, and being sure to Parry once he engages in close-quarters combat. This can be rather difficult once his attack pattern changes in the second phase, so be sure to bring Quicksilver Bullets for staggering.
6 Moon Presence
High-Intensive, Endgame Bossfight
|
Location |
HP |
Weaknesses |
Drops |
|---|---|---|---|
|
Hunter's Dream |
8909 |
|
|
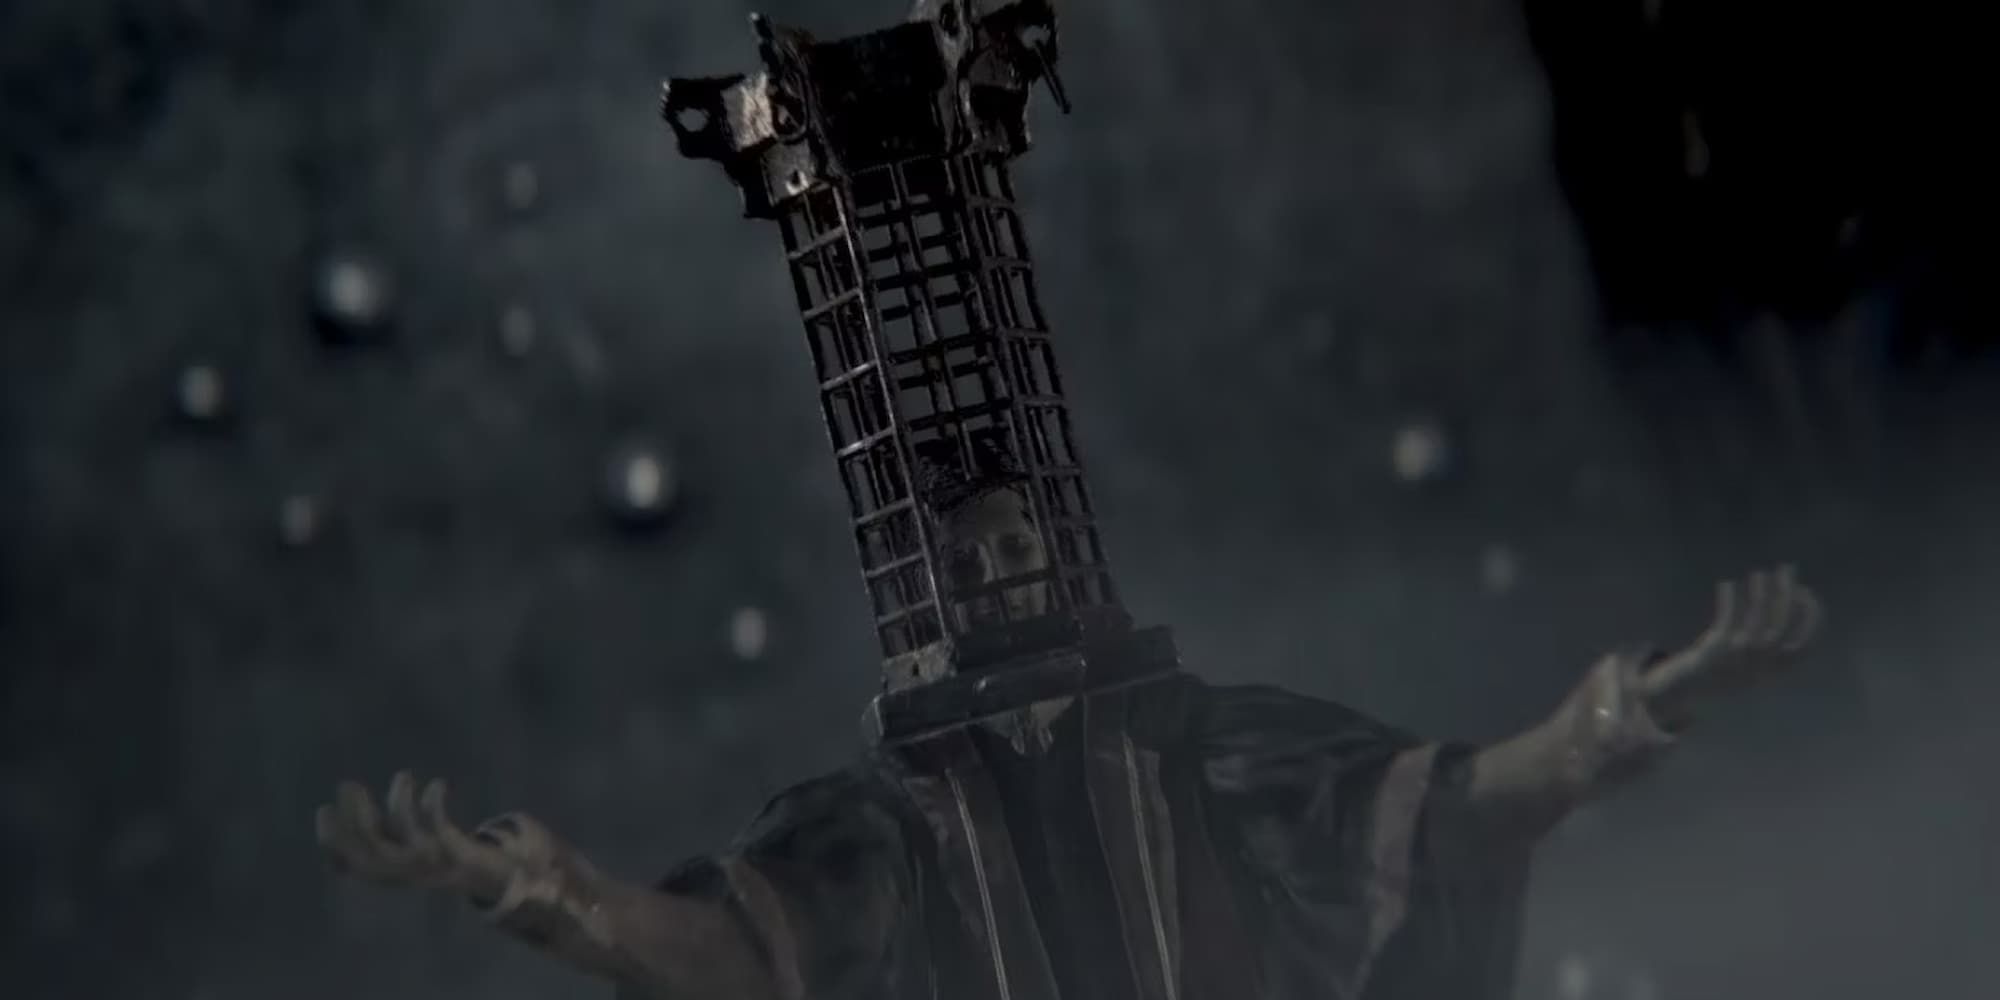
The Moon Presence is the secret final boss of the game that many players may not even know exists. After a tedious hunt for the secret items for this ending, this boss spawns directly after Gehrman is defeated, putting you in a back-to-back boss fight. This alone can be challenging for players, as you are thrown from one high-intensity fight into the next, without that much time to recoup.
10 Best Weapons In Bloodborne, Ranked
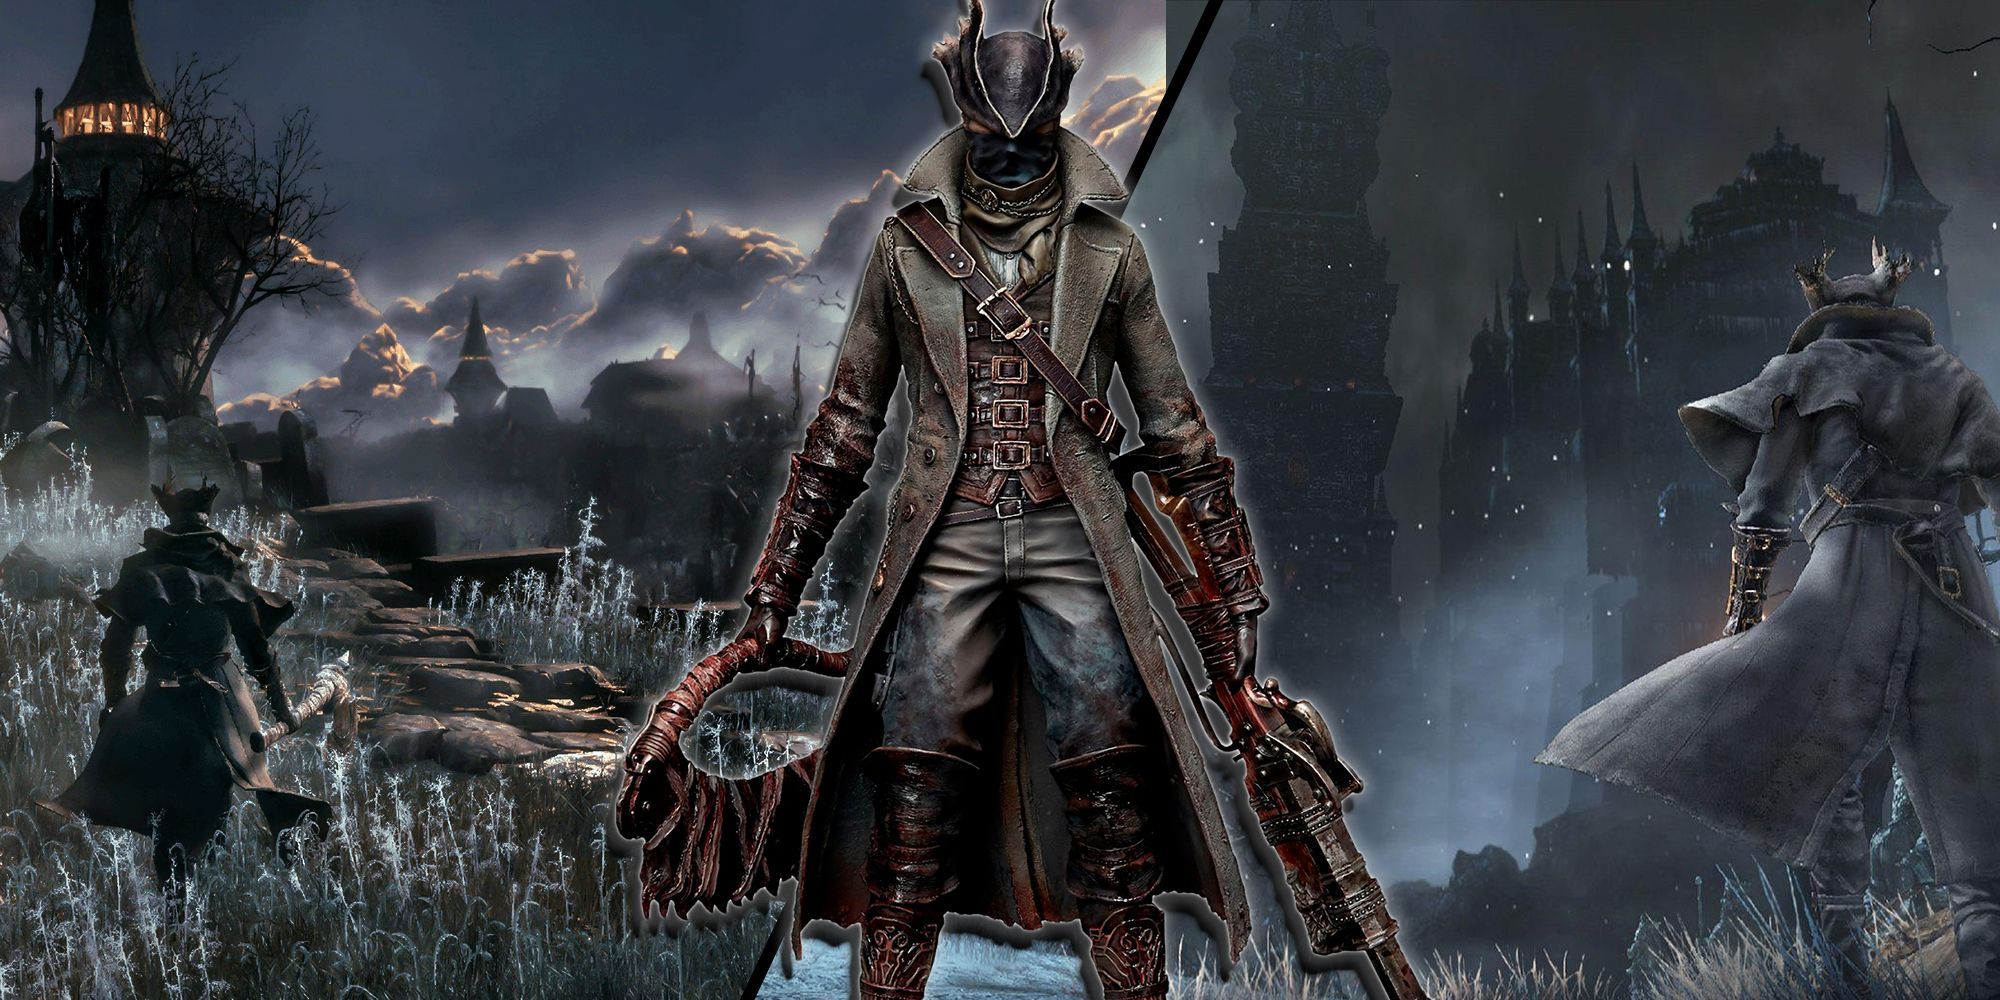
Nothing makes hunting beasts more fun than using the right weapon to cut them down quickly. These are the best weapons in Bloodborne.The main reason behind the Moon Presence's difficulty is its powerful attack that sets your HP to 1. This can be a game-breaker if you are unable to restore sufficient health during the boss's short downtime. Getting that health back by attacking is a high gamble for the player, and will often see them dying in an attempt to save a few blood vials. In terms of other attacks, however, the Moon Presence is rather generic, making him a breeze if you can get past his signature life-draining attack.
5 Lady Maria Of The Astral Clocktower
Swift Boss Capable Of Releasing Blood AoE Attacks
|
Location |
HP |
Weaknesses |
Drops |
|---|---|---|---|
|
Astral Clocktower |
14,081 |
|
|
Lady Maria of the Astral Clocktower is a fast and unpredictable opponent, extremely similar to Gehrman, but slightly harder. Lady Maria is quick and has ferocious combos that will kill the Hunter in one go. She attacks with style and ferocity, her moveset leaving elaborate trails that make it difficult to read where the impact will come from.
Her combat style is almost like a dance, and the deceptiveness of her moves makes it difficult to get a read on her. She has two blades, uses various Blood AoE attacks to her advantage, and also makes use of various Fire attacks once her health is low enough. This makes the fight progressively more difficult as it goes on. Seasoned Yharnam-dwellers, however, will be able to Parry her at the right moments, which at least blunts her edge slightly.
4 Ebrietas, Daughter Of The Cosmos
Large Boss With Incredible Reach
|
Location |
HP |
Weaknesses |
Drops |
|---|---|---|---|
|
Great Isz Chalice |
21223 |
|
|
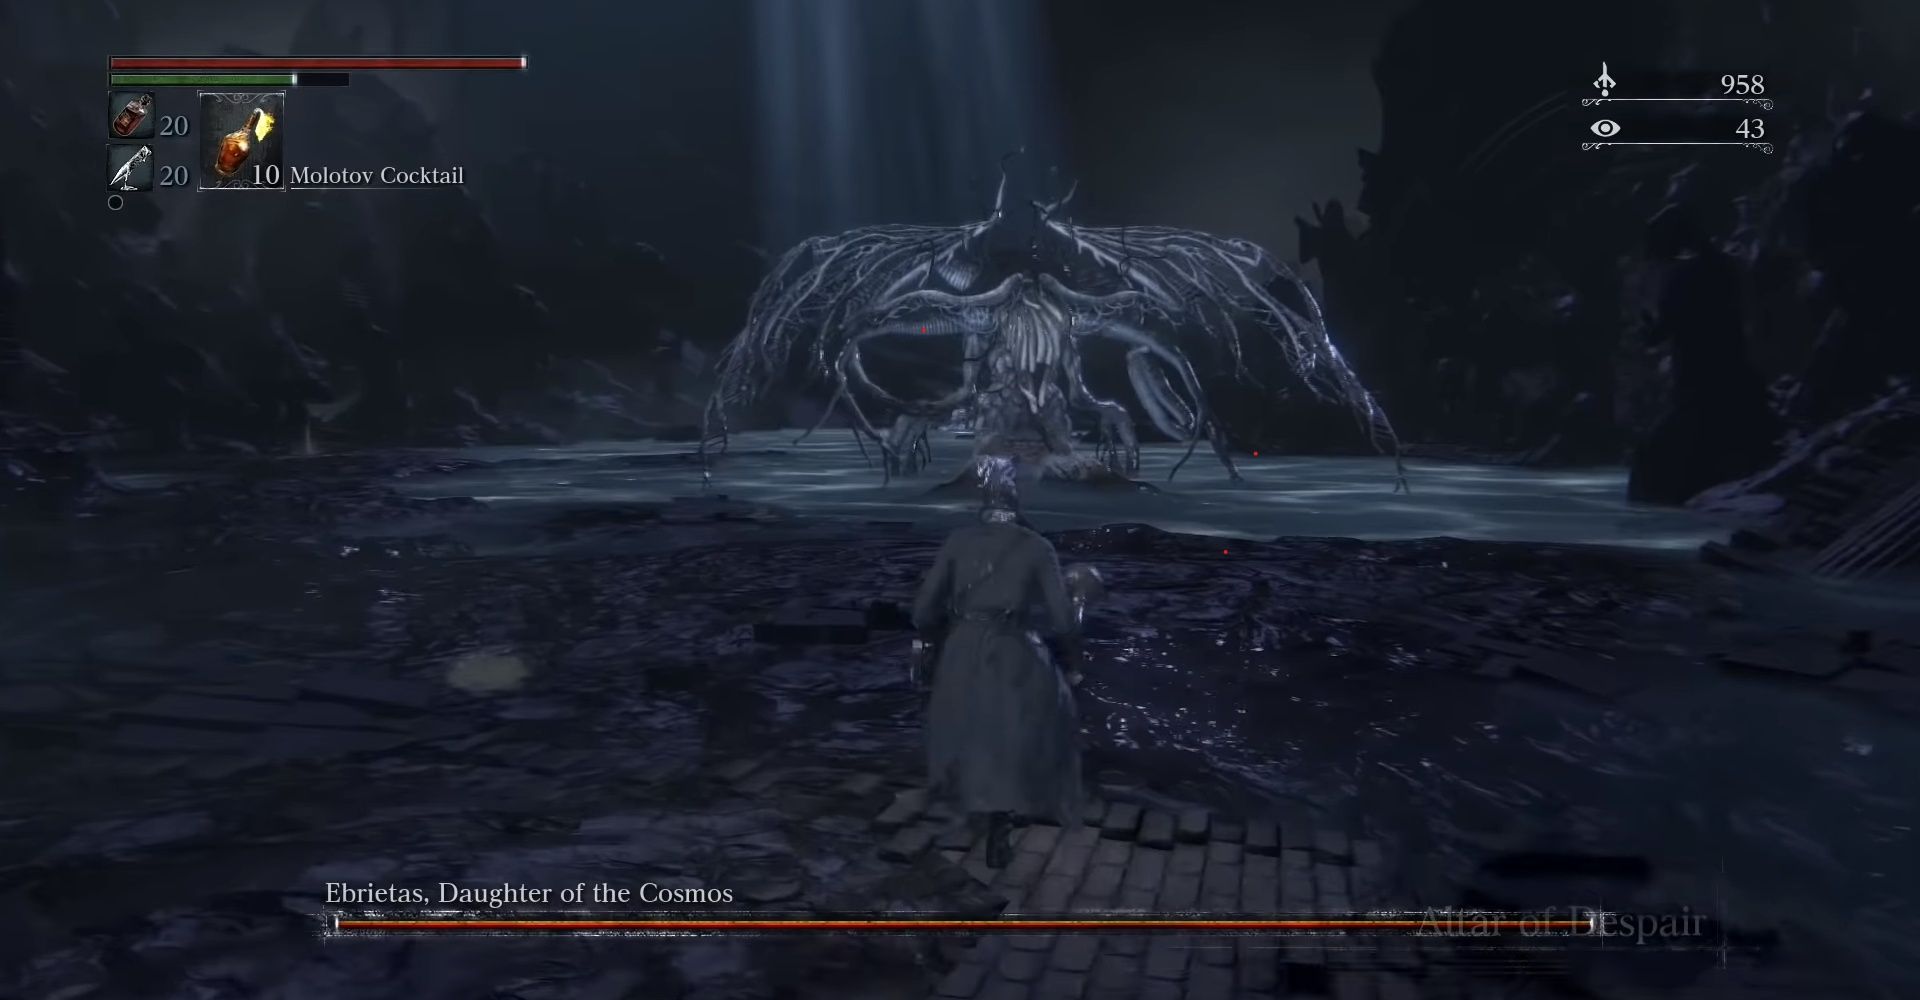
Ebrietas, Daughter of the Cosmos, is an awkward fight due to her humongous size and her ability to fly. She has a big pool of health and can escape players' attacks easily by flying away, leaving them in danger as they attempt to reposition. She also has quite a fast attack speed, along with attacks with a near 180-degree reach.
Also, when Ebrietas performs her crushing attack from the air, it can be extremely hard to dodge, and can often one-shot the player - making her one of the hardest bosses that Bloodborne has to offer. Ebrietas also uses magic which will force the Hunter to keep running and moving, which often makes it a struggle to get close to her. The goal is to get behind Ebrietas and send a storm of attacks her way.
3 Laurence, The First Vicar
Aggressive Boss Dealing Fire AoE Damage
|
Location |
HP |
Weaknesses |
Drops |
|---|---|---|---|
|
Hunter's Nightmare |
21,242 |
|
|
Laurence, The First Vicar, is similar to the Cleric Beast, but on hard mode. Laurence may not do the highest damage, but the cramped space in which he's fought limits Hunter's primary defense: their evasion. This monstrous foe also wields Fire to his advantage, with most of its attacks leaving lasting Fire AoE - making the small arena even more of a hindrance.
It's his final phase that makes him such infamously difficult. He will crawl around the arena, spurting flames from his mouth, leaving lava in his wake. This fight requires a lot of running away and a ton of patience, because if players keep wailing away at Laurence, the lava will take down the Hunter's health rapidly.
2 Ludwig The Accursed/Holy Blade
Wide Range, Speedy Attacking Boss
|
Location |
HP |
Weaknesses |
Drops |
|---|---|---|---|
|
The Hunter's Nightmare |
16,658 |
|
|
Ludwig, The Accursed is one of the most formidable enemies in the game. He begins as a Beast that charges at full speed, unleashing a flurry of attacks that cover a wide area, making them hard to avoid. This attack pattern alone can be tricky to learn. Ludwig also changes his entire attack style, making it rather tricky to get a read on him.
Then, once Ludwig gets the Holy Moonlight Sword, he becomes Ludwig, The Holy Blade - a whole new entity. His attacks are precise, sweeping, and deal a tremendous amount of damage. This fight essentially requires a few deaths to learn Ludwig's two very different move sets, but it can be mastered. This infamous boss battle is among the hardest in the series, and in Bloodborne, only one final boss is more challenging.
1 Orphan Of Kos
Relentless, Multistaged Boss Fight
|
Location |
HP |
Weaknesses |
Drops |
|---|---|---|---|
|
Fishing Hamlet Coast |
19,217 |
|
|
Orphan of Kos is the final boss of The Old Hunters expansion and without a doubt the toughest fight in Bloodborne. The creature has a tremendous amount of health and all manner of tricks up its sleeve. Not only is it super aggressive, but it can fight both at close range and afar. The Hunter has to find a sort of middle ground, forcing you to strike quickly and retreat from danger.
When phase two begins, predictably, the fight becomes much harder. The Orphan of Kos is enraged and begins slamming on the ground chaotically. It will let off a scream, and waves of lightning will come from the sea - leaving nowhere safe in its small beach arena. These AoE attacks require you to keep on your toes and await an opening to attack.
