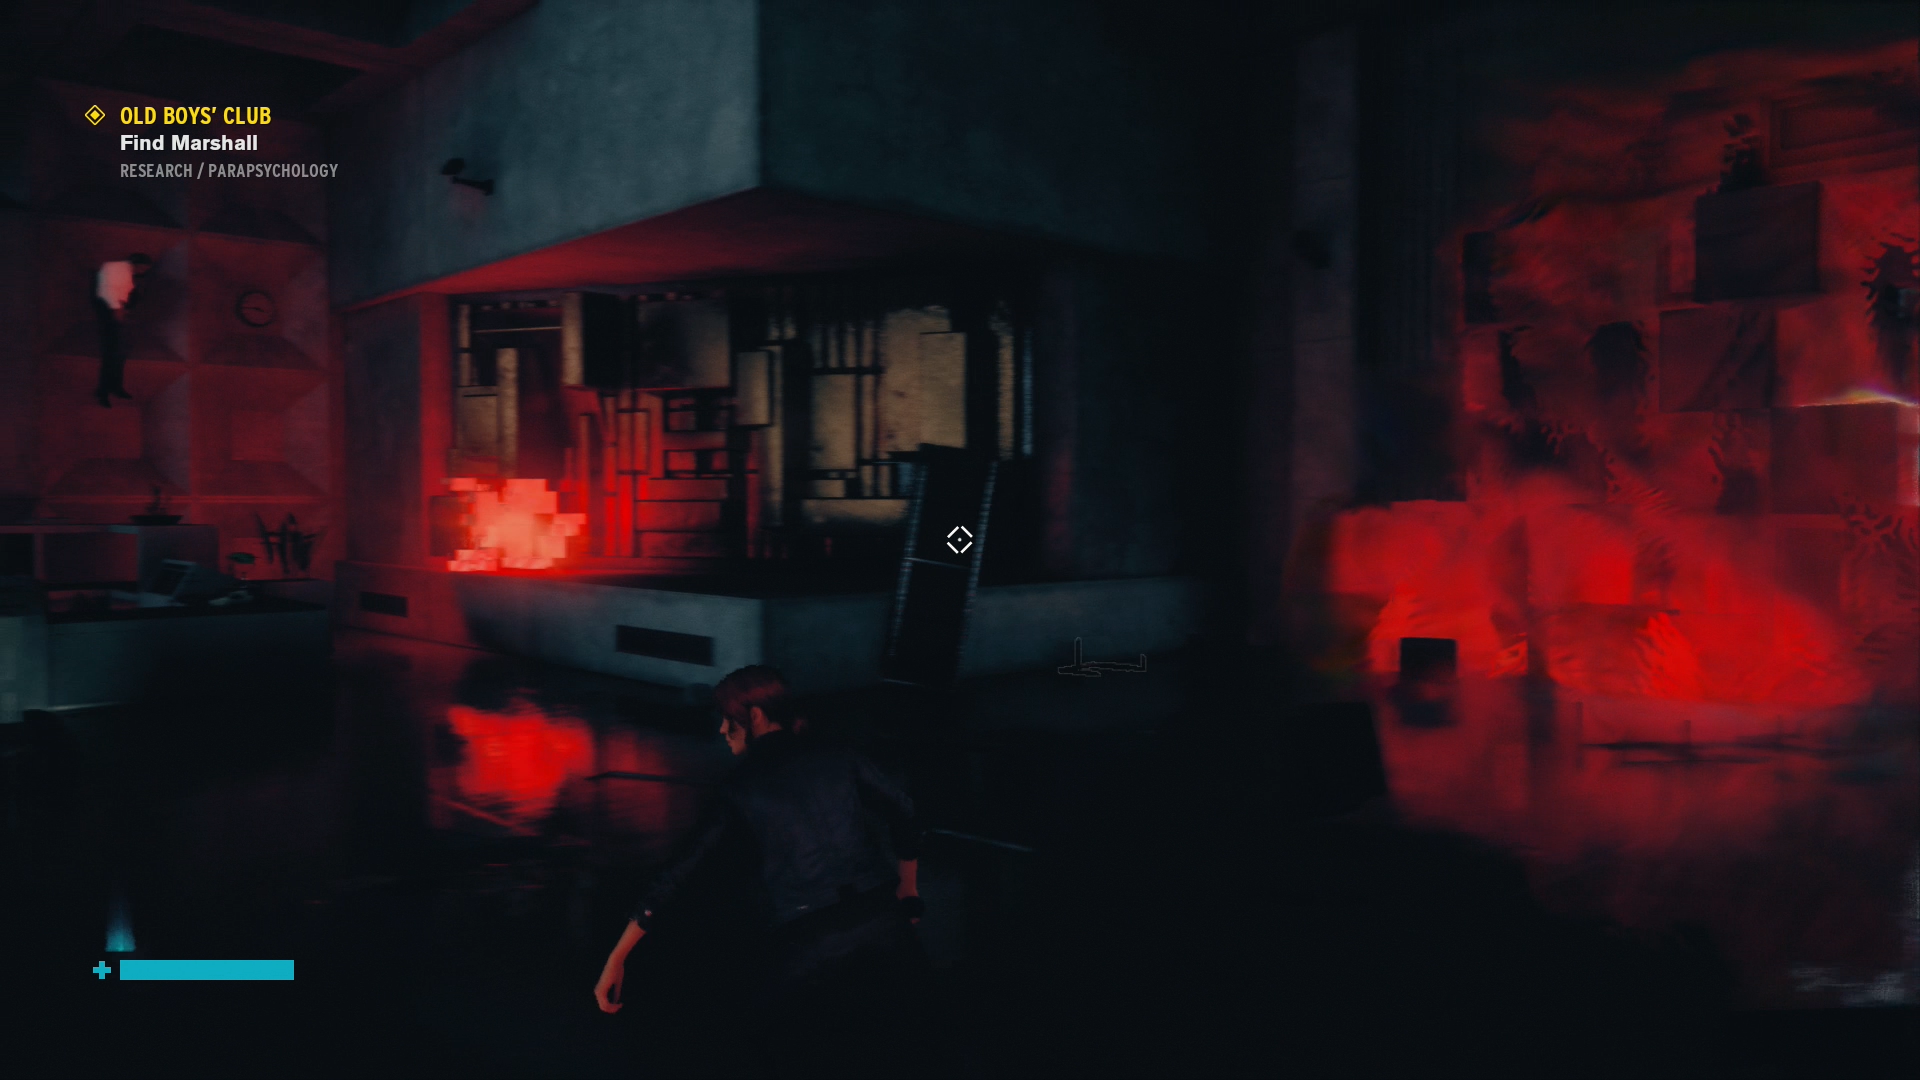
Control is the latest game from Remedy Entertainment (developers of Alan Wake and Quantum Break) and introduces players to the Federal Bureau of Control in the midst of a hostile invasion by otherworldly forces. While there are no difficulty levels to pick from, Control will still occasionally challenge players with both its many Hiss enemies, side missions, and labyrinthian layout. To help those who may get a little lost within The Oldest House, the headquarters of the Bureau and an ever-changing, living building, here are some general tips on how to persevere.
Weapon/Personal Mods
Throughout the game, you will find mods of various rarity types for both your weapons and for Jesse, the protagonist of Control. While you have the option to craft mods blindly at Control Points (checkpoints and fast travel points), generally the ones you will find in the wild and earn by completing missions will always be better than what can be crafted. Instead, you should save the resources for crafting new weapons and upgrading existing ones to add additional mod slots to them. You can also disassemble mods you no longer need, which will naturally occur as the mods you obtain become better as you progress into the game. There are five mod levels, ascending from I to V, so as you accumulate IIIs and IVs I would recommend just dumping anything II and below.
Weapons
There are five variations to your weapon, though the base version is the one you will want to stick to. Each variation has its own benefits/drawbacks, but you can only have two on hand at any given moment. Grip, the base version, is very reliable in terms of both fire rate, accuracy, and damage, and is the one I kept on hand pretty much at all times. For a secondary weapon, I mostly used Shatter, a shotgun variation, and Pierce, a charged shot.
Mix and Match
While I may recommend keeping Grip equipped at all times, there are a lot of different mods you will find that alter and boost aspects of every weapon type. While I didn’t use Spin (think SMG) much, once I found a mod that greatly boosted its damage after a kill, it became a pretty consistent weapon in the late-game. The same can be said for your abilities. While I focused on Launch (telekinesis) and health boosts, someone else might optimize for evade and energy recovery combined with Shatter in order to get up close and deliver a ton of damage quickly and being able to escape just as quickly.
Take Your Time
The Oldest House is intentionally a bit hard to get around, especially when you are first introduced to a new section. Slowly familiarize yourself with the area and check around every corner. Not only will it help you memorize the location for future exploration once you’ve unlocked all the powers and access card levels, but you’ll also likely find mod boxes lying around to help flesh out your combat options. The map generally isn’t the best thing to look at when trying to determine how to get from point A to point B, so learning the physical space will make future treks much easier.
Know When to Quit
Some side missions are super tough, and can be confronted again later on. There is no hard stop in the campaign, so you can even wait until after the credits have rolled to clean up whatever may have been left unresolved. Assessing what mods would help for a particular sequence will also help, keeping them in the back of your mind as you complete objectives elsewhere. The alerts that specify a specific set of enemies are also quite challenging, and even in the post-game, I don’t think I was able to easily clear one.
Red Hiss Doors
Should you come across a blocked off area that has red blocks of mist, you’ll want to look around the immediate area for small blocks to shoot and destroy. Once all have been wiped clean the doorway will open up.
Rotation of Abilities
As there is no finite resource when it comes to combat, the best way to win is to cycle through everything you have. Empty your clip and then throw some debris or pull up a shield of concrete while you wait for your weapon to recharge. Wound an enemy enough to where you can take them over and hide behind cover until they expire. The one option I recommend saving until you only have one enemy left and you are sure will get the kill is the ground slam, as it exhausts your entire energy meter and puts you right next to the foe, which can be instant death with certain enemies.
Exploration
There are many optional areas and secret areas to find in every area of Control, but not all of them will be accessible at the start. Once you have unlocked Levitate and the sixth level access card though, you are pretty much set to find everything. One specific side mission pertaining to mold will unlock the last few areas, but its Levitate that really lets you start to access unreachable areas and the various collectibles within.
Board Countermeasures
These will appear early on and allow you to track up to three challenges. These vary from, “Kill enemies with this weapon,” “Kill this specific enemy in this specific area,” and, “without getting hit kill enemies using power.” For avid trophy hunters, you’re going to want to actively do these as early as possible as the trophy related to these challenges was one of the last ones I earned since I hadn’t paid too much attention to them and the end-game will still have enemies spawn but not as much as during missions.


