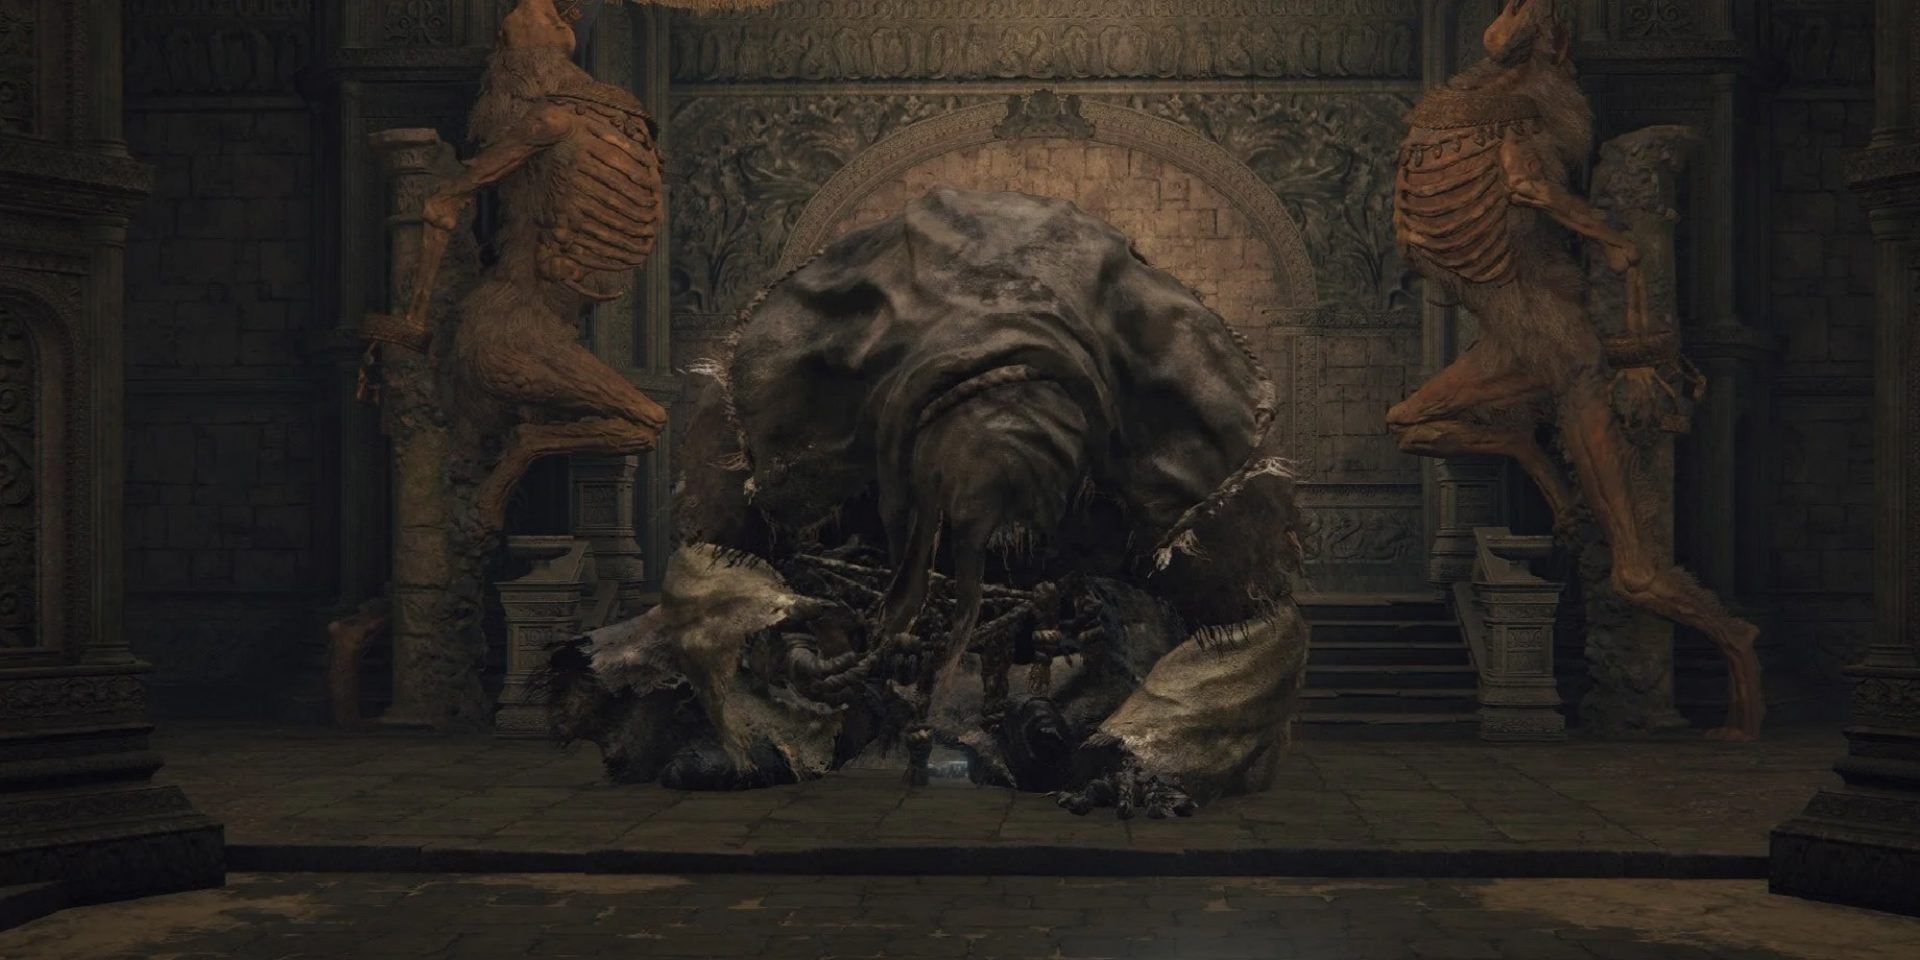
Fairly early in your adventures in Elden Ring, you’ll come across a Key Item known as Deathroot. You’ll want to take any Deathroot you find to Gurranq, Beast Clergyman found at the Bestial Sanctum in Caelid. There is a total of 9 Deathroot found across the Lands Between, and each will offer a unique reward when handed over to Gurranq.
Many of these will not become accessible until the end of the game, but there are several available early on in the starting area of Limgrave.
Limgrave
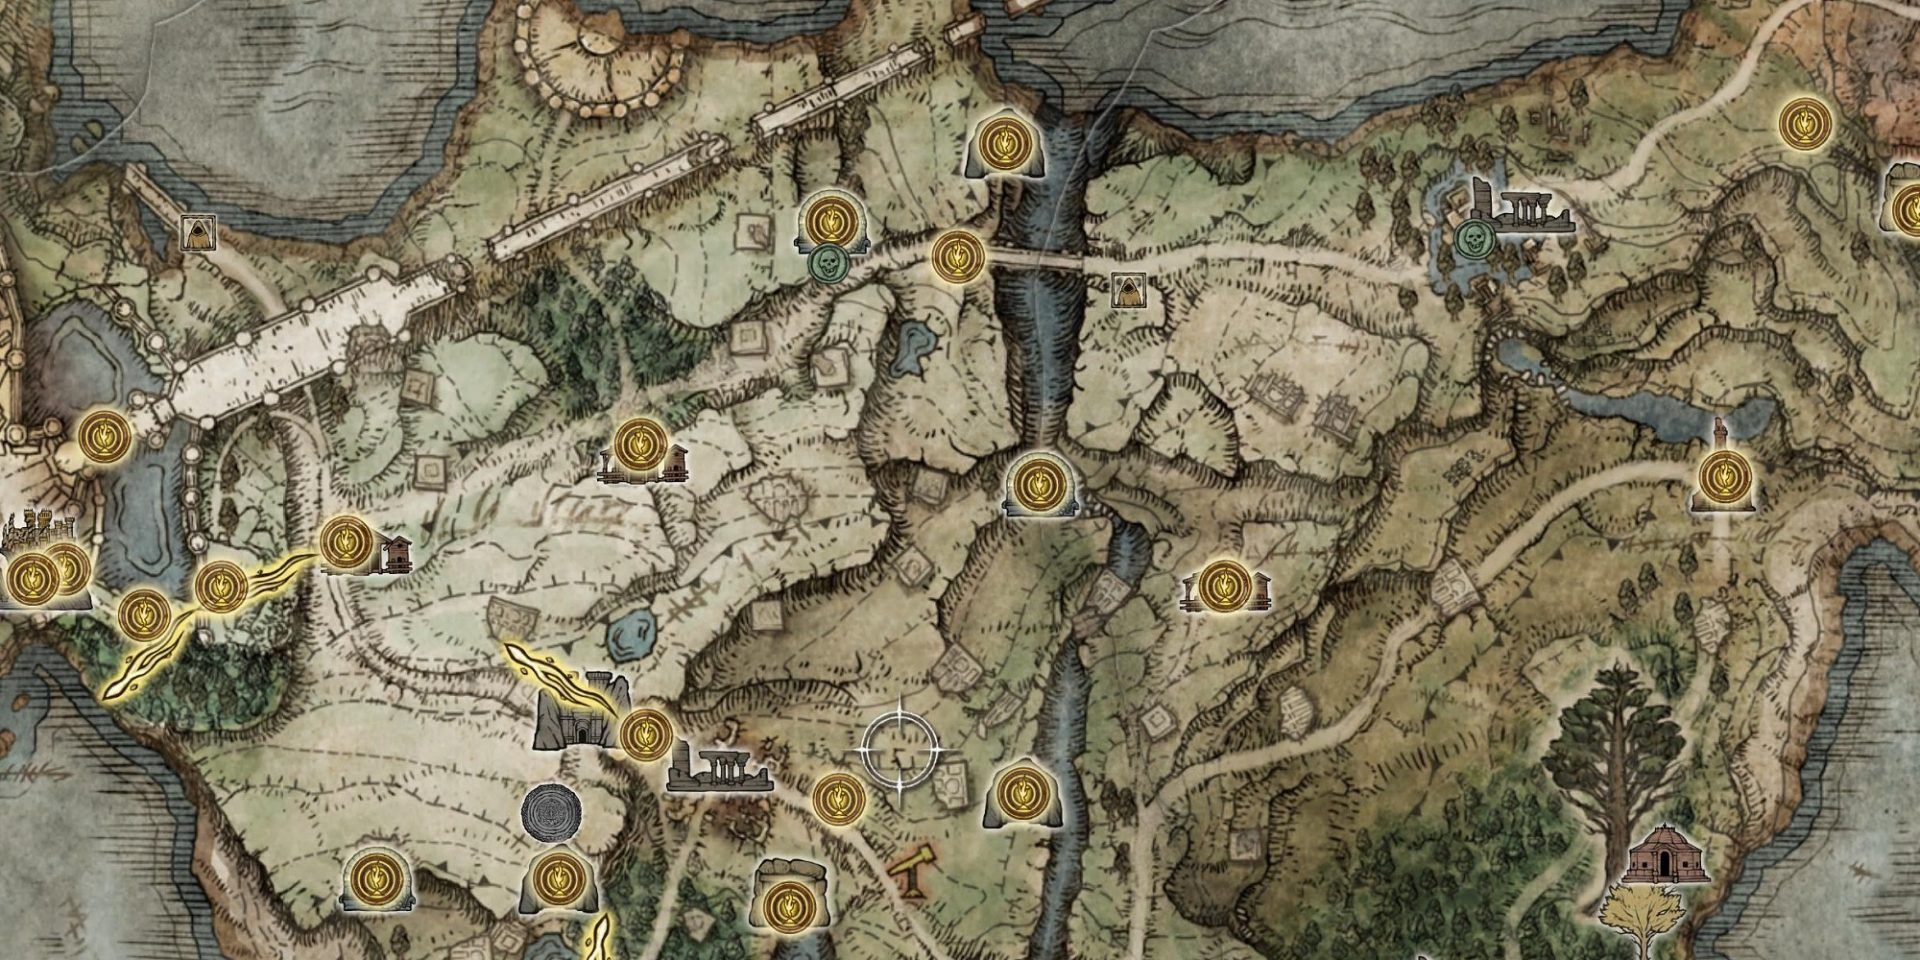
In the Limgrave region, you'll find two Deathroot items. One in Deathtouched Catacombs, and one for defeating the Tibia Mariner in Summonwater Village.
Deathtouched Catacombs
After defeating the Black Knife Assassin at the end of the catacombs, don’t forget to loot the chest in the boss room. You will find the Deathroot within.
Tibia Mariner
From Deathtouched Catacombs, follow the road east across a bridge. This road will continue to Summonwater Village. Upon arriving at the location, the Tibia Mariner’s health bar will pop up at the bottom of the screen. Defeat this field boss to earn a Deathroot.
Liurnia of the Lakes
In Liurnia of the Lakes, you can find two more Deathroots. You'll find one in the boss room of Black Knife Catacombs, and the other can be earned by defeating the Tibia Mariner in eastern Liurnia.
Black Knife Catacombs
In the boss room with the Cemetery Shade, you will find a chest containing a Deathroot.
Tibia Mariner
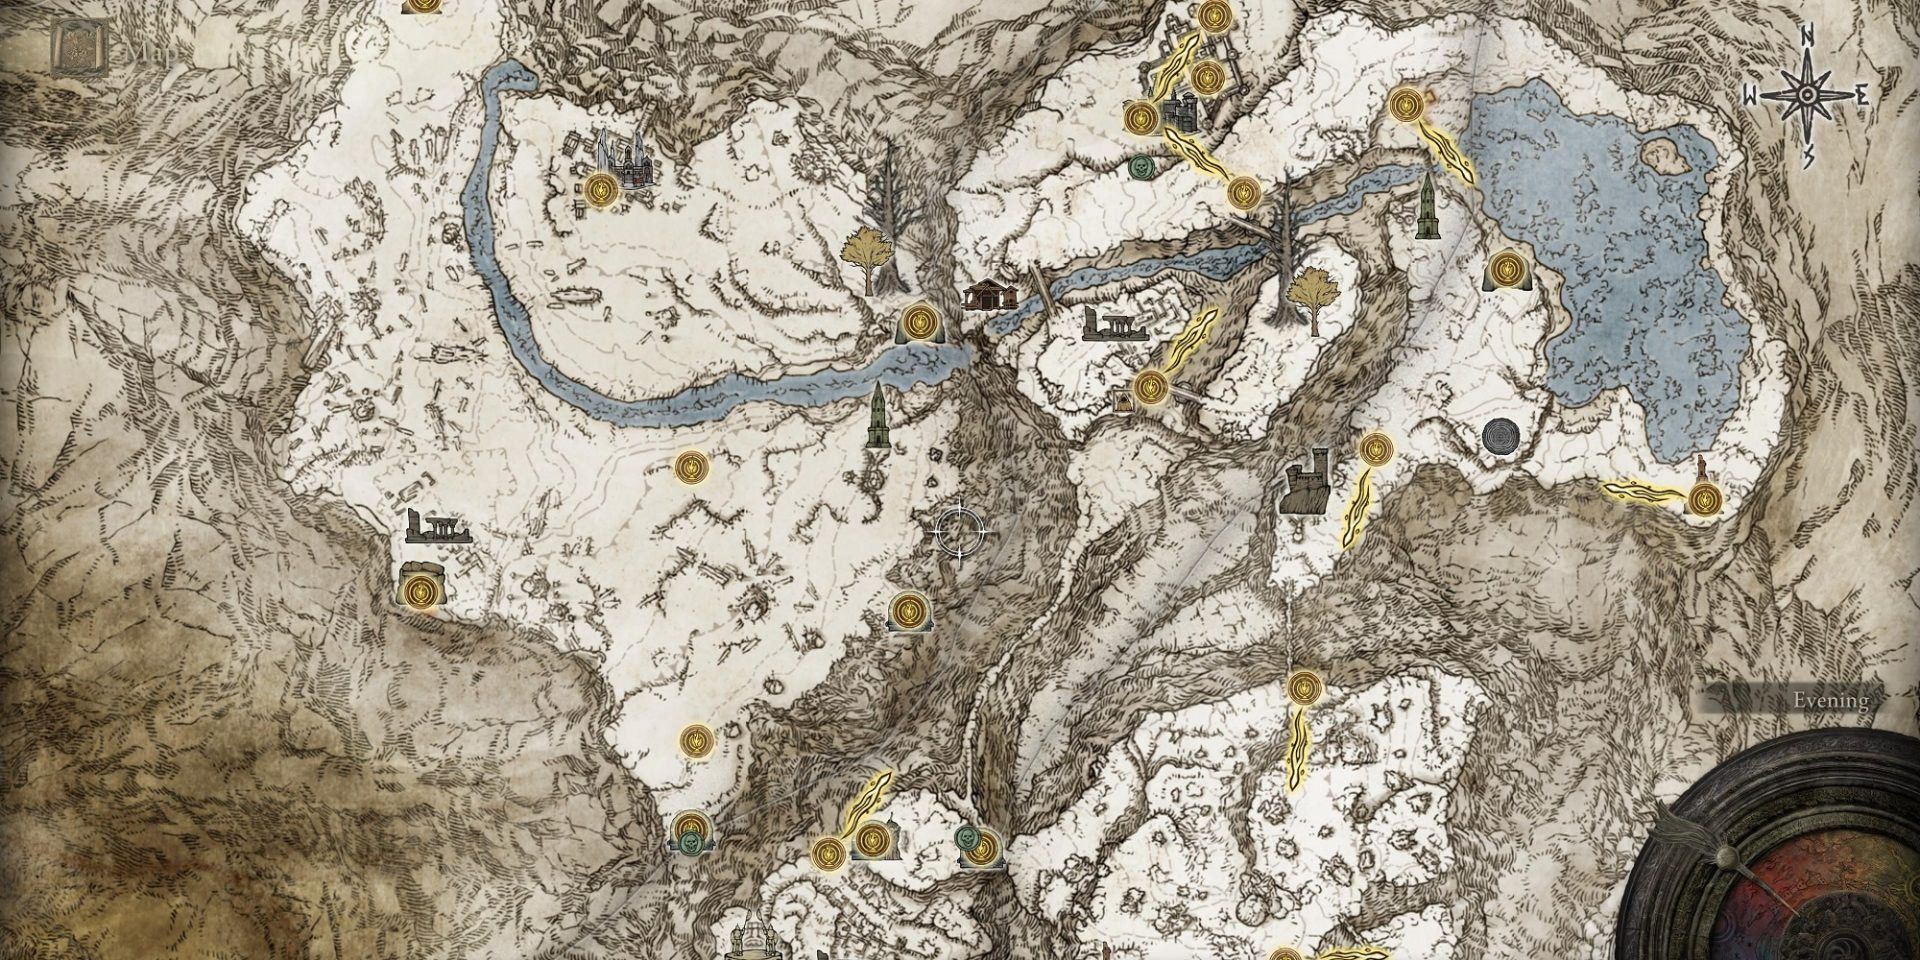
Begin at the Liurnia Highway North site of grace—this is located in Eastern Liurnia of the Lakes. From the site of grace, follow the road east and then north. Along the road and south of Carian Study Hall, you will encounter the Tibia Mariner field boss. Defeat this boss, and you will receive a Deathroot as reward.
Altus Plateau and Mt. Gelmir
Altus Plateau and Mt. Gelmir contain the next two Deathroot items. The regions can be tricky to navigate due to terrain elevation--especially Mt. Gelmir--so you'll want to know where you're going ahead of time.
Tibia Mariner
The boss can be found in the hills north of the Grand Lift of Dectus. Beginning at the Erdtree-Gazing Hill site of grace (located adjacent to Lux Ruins), follow the thin path leading directly north. Once you reach the half-submerged Wyndham Ruins, you will initiate battle with the Tibia Mariner field boss. Defeat him to earn another Deathroot.
Gelmir Hero’s Grave
Your most direct path in Mt. Gelmir will begin at Hermit Village and the Primeval Sorcerer Azur site of grace. From there, head north across the jagged rock extending across a gap. On the far side, you’ll find a small building. Enter this building, and take the elevator down into Gelmir Hero’s Grave. At the end of the Grave, after battling the Red Wolf of the Champion boss, make sure to loot the chest in the boss room. You will find another Deathroot within.
Mountaintops of the Giants And Forbidden Lands
As you traverse the Mountaintops of the Giants, keep an eye out for the next two Deathroot locations: the first you can find in Giants' Mountaintop Catacombs, and the next you will find upon defeating the 3rd and final Tibia Mariner. Finally, in the Forbidden Lands, you'll find the 9th and final Deathroot in the Lands Between.
Giants’ Mountaintop Catacombs
Begin at the Zamor Ruins site of grace in Mountaintops of the Giants. From there, head east/southeast through the ruins, following the path as it turns north around the mountain. When you encounter some fire monks, look for a small ledge/path below and to the right. Follow this path to the entrance to the catacombs. After defeating the Ulcerated Tree Spirit boss in the catacombs, search for a chest in the boss room. This contains your Deathroot reward.
Tibia Mariner
The Tibia Mariner is located directly south of Castle Sol in Mountaintops of the Giants, waiting on the ridge overlooking the castle. Starting from the Castle Sol Main Gate site of grace, ride west and back up the slope to the east. You will find the Tibia Mariner on the lowest ledge overlooking Castle Sol. Defeat this field boss to earn a Deathroot.
Forbidden Lands Hidden Path to the Haligtree
This is the trickiest Deathroot to acquire as it is extremely easy to miss and utilizes invisible walkways. From the Hidden Path to the Haligtree site of grace, turn back toward the interior (away from the Consecrated Snowfields) and return to the central platform in the cavernous room. Drop down from the broken railing onto an invisible platform. On either side of the room, you will see two doorways. The one closest to you has an invisible wall and a chest. You want to follow the invisible walkway north (it’s a straight line) across to the far side of the room. Right before entering the room, turn left. You will see another doorway to the west. Line up with that doorway and walk straight toward it. At the end, before entering the western doorway, you can look down to the left/south to see a platform and a glowing piece of loot. Drop down there and then continue through one of the windows into the next room. On the north side of the room, you will find a lever—this unlocks the boss room directly to the south. Follow the path to the south until you reach the boss fog. Defeat the Stray Mimic Tear boss to earn the final Deathroot.
- RELATED: Every Sacred Tear Location
Claim Your Rewards
After you've collected each Deathroot, it's time to visit Gurranq, Beast Clergyman at the Bestial Sanctum in Caelid to claim your rewards.
|
Deathroot Number |
Reward |
Item Type |
|
1st Deathroot |
Clawmark Seal and Beast Eye |
Sacred Seal and Key Item |
|
2nd Deathroot |
Bestial Sling |
Incantation |
|
3rd Deathroot |
Bestial Vitality |
Incantation |
|
4th Deathroot* |
Ash of War: Beast's Rawr |
Ashes of War |
|
5th Deathroot |
Beast Claw |
Incantation |
|
6th Deathroot |
Stone of Gurranq |
Incantation |
|
7th Deathroot |
Beastclaw Greathammer |
Warhammer |
|
8th Deathroot |
Gurranq's Beast Claw |
Incantation |
|
9th Deathroot |
Ancient Dragon Smithing Stone |
Upgrade Material |
*After turning in the 4th Deathroot, Gurranq will become hostile. This is not permanent. Once you reduce his HP down to about ¾ of his total, he returns to his normal state, and you can continue offering him Deathroots for the rest of the rewards.


