After some time, in a player's journey through The Lands Between, they will inevitably encounter Godfrey, The First Elden Lord. He can be found in Leyndell Capital of Ash, only after completing Crumbling Farum Azula. He is one of twelve bosses in Elden Ring that are not optional.
Like many other boss fights, Godfrey is divided into two phases. Upon reducing Godfrey's health to 40%, the boss will shed his armor and fight as Hoarah Loux Warrior. This guide will offer methods and advice for effectively defeating this foe, taking you one step closer to becoming the Elden Lord.
Godfrey, The First Elden Lord's Location
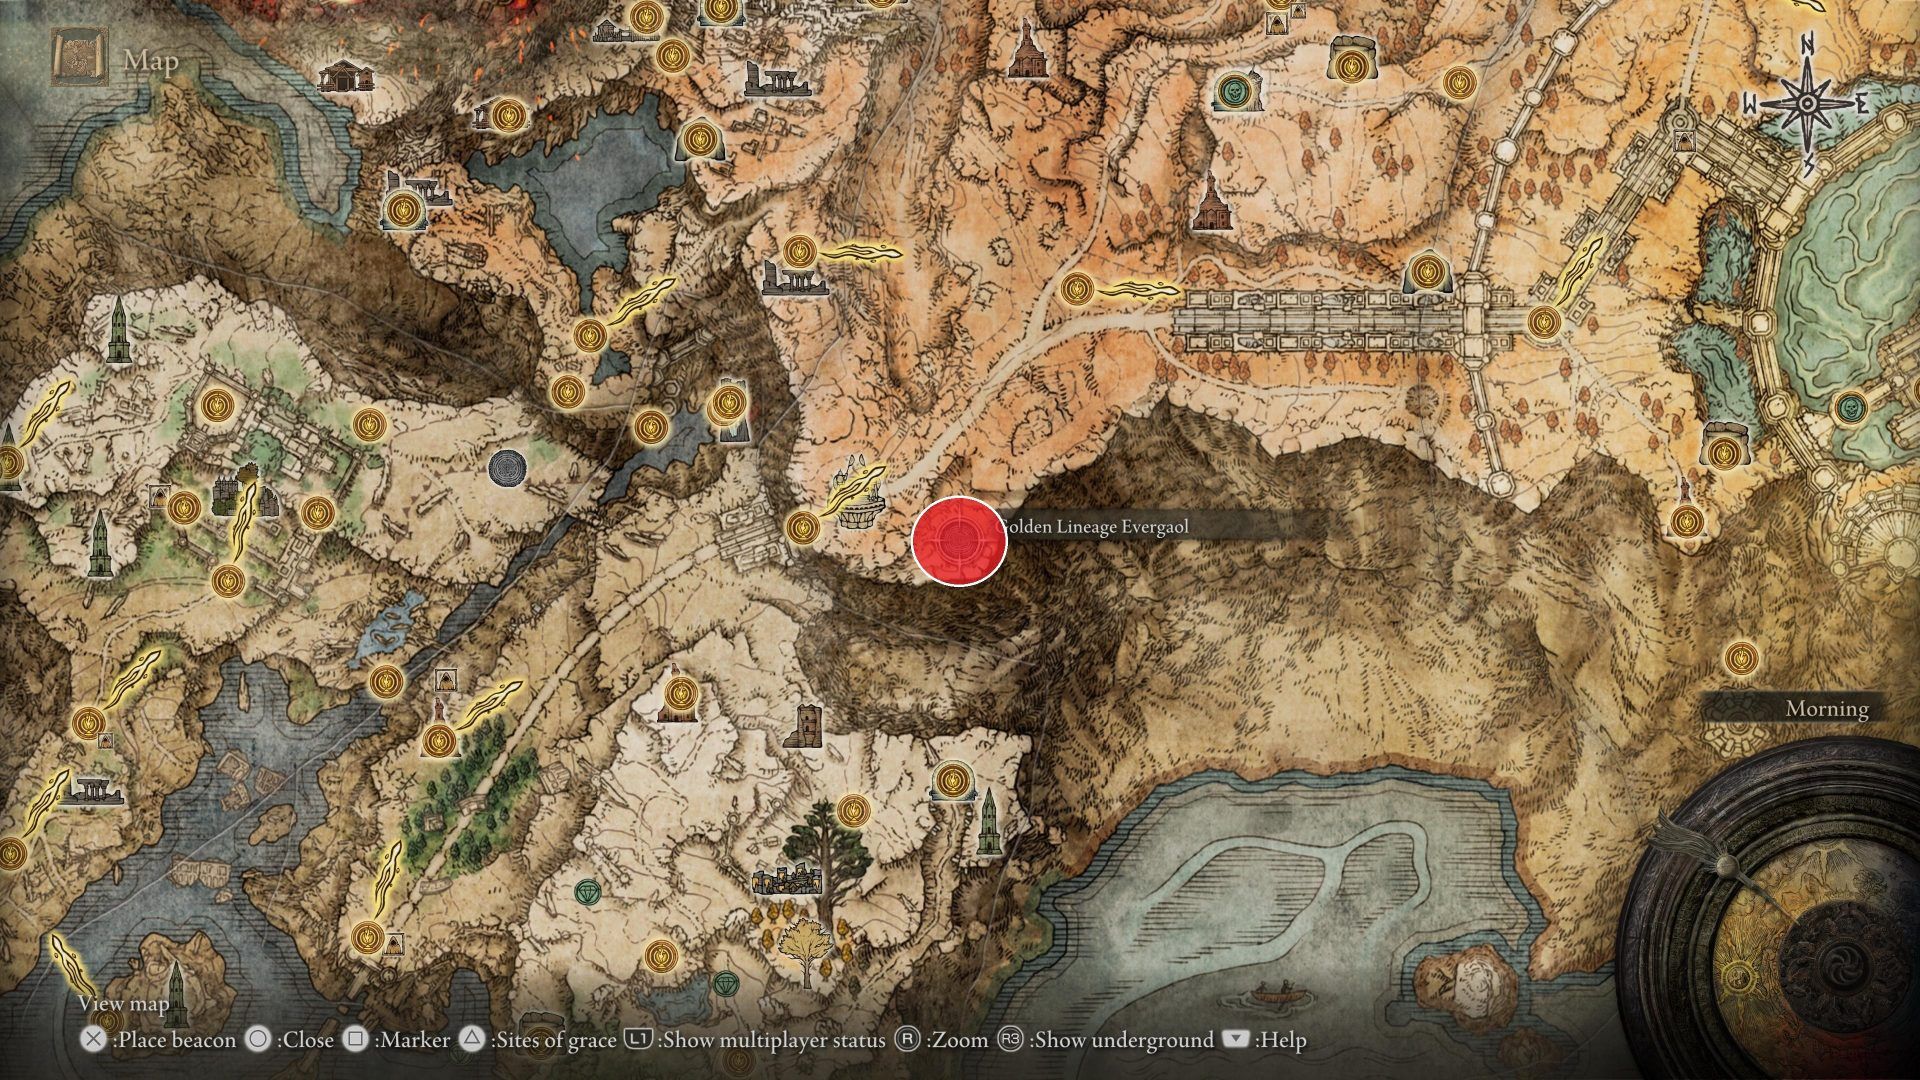
The First Elden Lord dwells in Leyndell, Capital of Ash. This chamber is southeast of the Queen's Bedchamber, at the top of a long staircase. The closest site of grace is the one inside the Queen's Bedchamber.
It is important to note that this boss fight can only be accessed after the city falls, upon completion of Crumbling Farum Azula. This, in itself, is a quest that also has many of its own prerequisite missions. If you are early in your journey through The Lands Between, consider turning back and focusing on other endeavors until you become stronger and more well-versed in the game.
Godfrey, The First Elden Lord's Stats
Here are some stats about Godfrey that could prove useful in your efforts. Information is power!
- HP: 21,903
- Phase two activation: 11,831 HP damage dealt to Godfrey
- Seven types of attack as Godfrey
- Seven types of attack as Hoarah Loux
Preparation For The Battle
For almost all ventures in the Lands Between, it is wise to make preparations beforehand. This is especially true when attempting to vanquish the original Elden Lord himself. Of course, countless strategies can be employed to accomplish any task in this game. However, here is a suggested inventory for a particularly effective strategy. You will need to acquire each of the following items. The amount of each item listed is technically not mandatory, though acquiring these amounts will allow for a much smoother effort.
- Keen Scimitar: 2
- Serpent Bow: 1
- Serpent Arrows: 99
- Golden Beast Crest Shield: 1 (Ash of War "Barricade Shield" should be applied)
- Finger Sacred Seal (for using Rotten Breath)
-
Crucible Knight armor set
- Crucible Axe Helm: 1
- Crucible Tree Armor: 1
- Crucible Gauntlets: 1
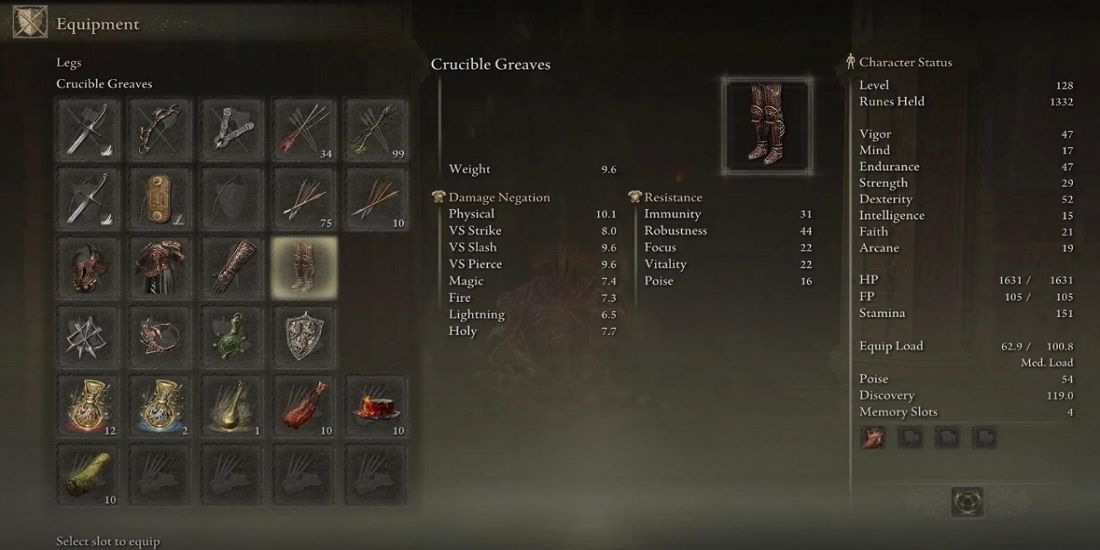
- Crucible Greaves: 1
- Arrow Sting Talisman
- Kindred of Rot's Exultation
- Green Turtle Talisman
- Dragon Crest Shield Talisman
- Flask of Crimson Tears: 12
- Flask of Cerulean Tears: 2
- Flask of Wondrous Physick: 1 (mixed with Crimson Burst Crystal Tear and Greenburst Crystal Tear)
- Exalted Flesh: 10
- Pickled Turtle Neck: 10
- Fire Grease: 10
- Starlight Shards: 3
Defeating Godfrey - Phase One
When you first traverse the mist, it is helpful to save and quit immediately after entering the fighting area. After loading back into the game, Godfrey should spawn much further back. This gives you much more time to get oriented and fire off a handful of poison arrows. Before you traverse the mist a second time, however, don't forget to consume your starlight shards.
Immediately upon stepping foot inside, you should use your spirit ashes and combat lock onto Godfrey. Then, begin peppering him with Serpent Arrows, using the Serpent Bow. Try to land at least five good shots. At this moment, switch to the sacred seal and apply scarlet rot. At this point, Godfrey will be rushing you, so prepare to block or dodge.
Try, now, to put some distance between Godfrey and yourself. Allow Godfrey to become distracted by your Ancestral Follower. During this time, consume a Flask of Wonderous Physick and Exalted Flesh. Then, switch back to sword + shield, and apply fire grease.
Now, it is up to you to decide whether to play aggressively or defensively. It is usually a good idea to try and deliver some damage while your Ancestral Follower is still alive. You can attempt some hit-and-run tactics by approaching and dealing damage then retreating, to allow Godfrey to become distracted again by the Ancestral Follower.
Ultimately, it is up to you to demonstrate your combat skills and destroy the boss. Don't forget to use your Flasks of Crimson Tears or your bow and arrows. Here is a list of Godfrey's attacks and ways you can counter them.
- Ax toss: Run under him, avoiding the ax and successive slam.
- Fissure: Move away from the fissure.
- Plunging ax: Dodge precisely when he lands.
- Regal Roar: Jump as his foot slams down. Continue jumping to evade successive combo hits.
- Triple ax combo: Dodge towards the direction that each attack comes from.
- Stomp: Jump as his foot slams down, or simply dodge out of the way.
- Overhead smash: Simply dodge to either side.
Once you have dealt 11,831 points of damage to Godfrey, he will discard his armor and fight as Hoarah Loux the Warrior, finally activating phase two of the fight.
Defeating Hoarah Loux - Phase Two
At the beginning of phase two, usually, Hoarah Loux will spawn much closer than he did for phase one. Sometimes, however, you can get lucky and he will spawn farther away. At this time, using the recommended strategy set out above, your primary objective is to apply poison, Scarlet Rot, or both. It is worth tanking a charge or two of his, to apply the Scarlet Rot.
Once the Scarlet Rot has been effectively applied, all you need to do now is evade Hoarah Loux's attacks. Run around the arena and avoid getting hit. You will notice a red aura around Hoarah Loux and that his health is slowly chipping away over time. Here is a list of the attacks available to Hoarah Loux and some ways to counter them.
- Choke Slam: Dodge to the side or backwards, avoiding the grab. Expect this attack to come after him knocking you down with a kick.
- Earth Shattering Stomp: Jump just has his foot slams down and avoid subsequent combos with additional jumps
- Power Bomb: Dodge to the side. Time it well.
- Running Power Bomb: Can be dodged in the same way as the regular Power Bomb
- Hoarah Loux's Earthshaker: Develop distance between yourself and Hoarah Loux while he roars. Time a dodge for the following slam. Clear out of the area.
- Claw Barrage: Block or dodge toward the direction each attack comes from. Since you are equipped with the Golden Beast Crest Shield, blocking is most likely the better option here.
- Kick: A simple sidestep or dodge to the side will suffice. The hitbox for this attack is relatively small.
Continue to avoid taking damage and allow his health to slowly tick away. If you are feeling impatient, don't forget you have a bow and arrows. Create distance, if you can, and fire some serpent arrows. Eventually, his life will drain, due to the scarlet rot, and the boss will be defeated. You are now ever closer to becoming the Elden Lord and can proceed on your journey under the light of the Erdtree.


