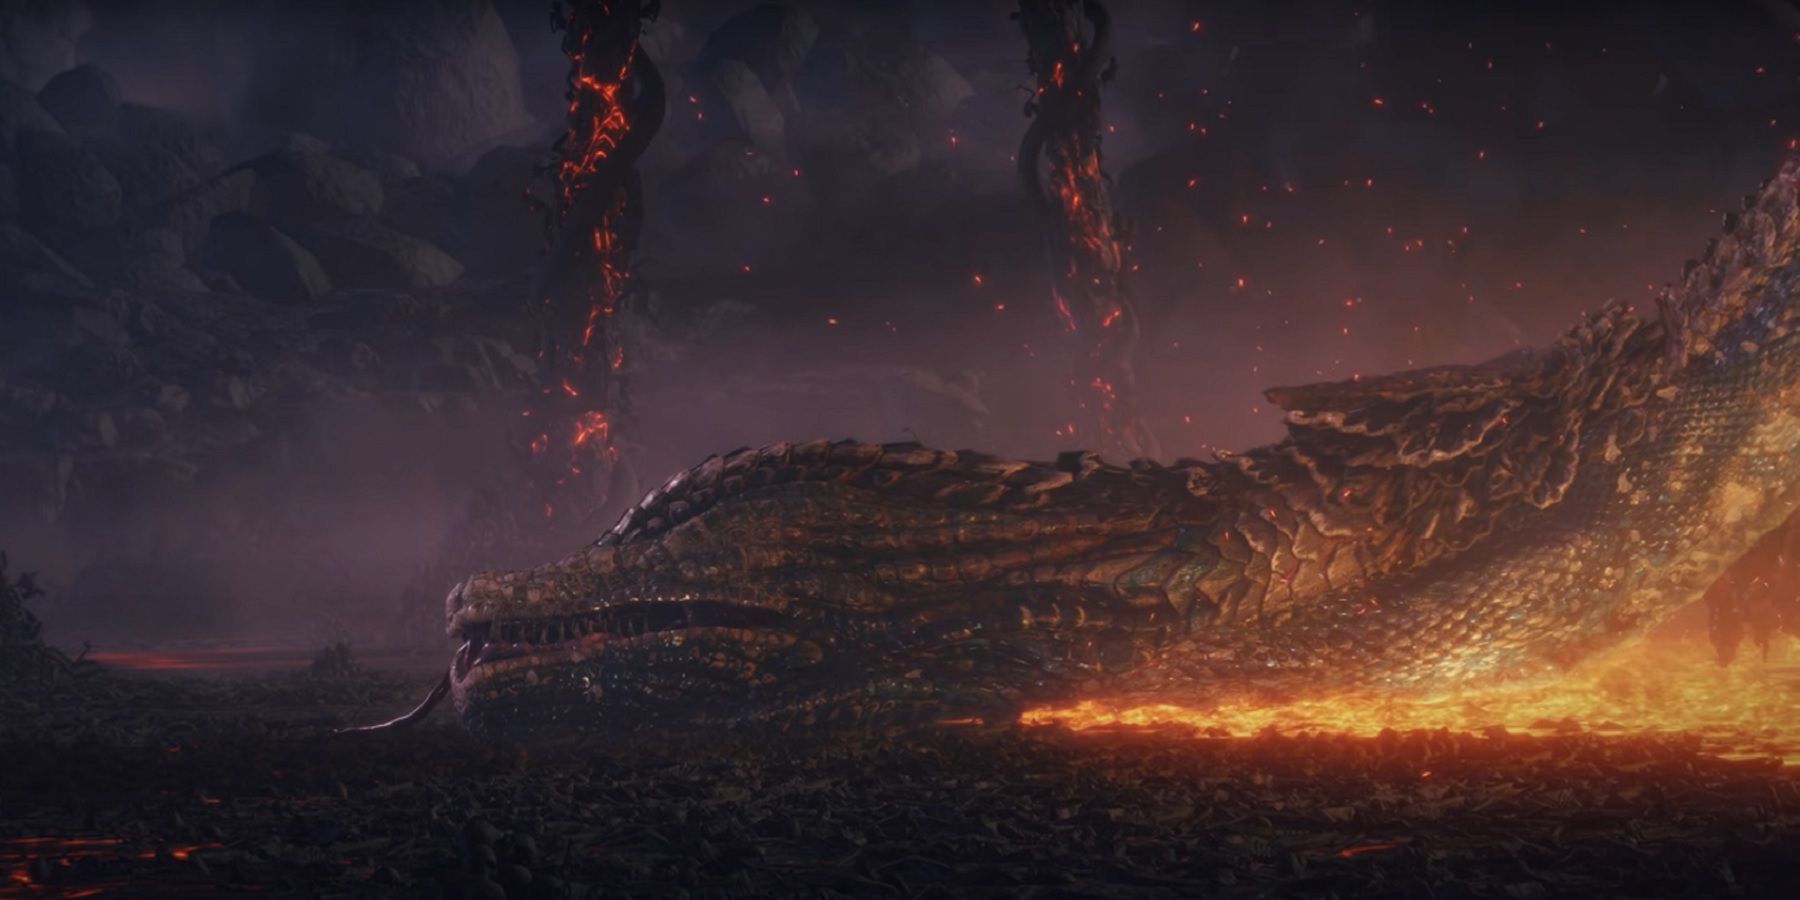
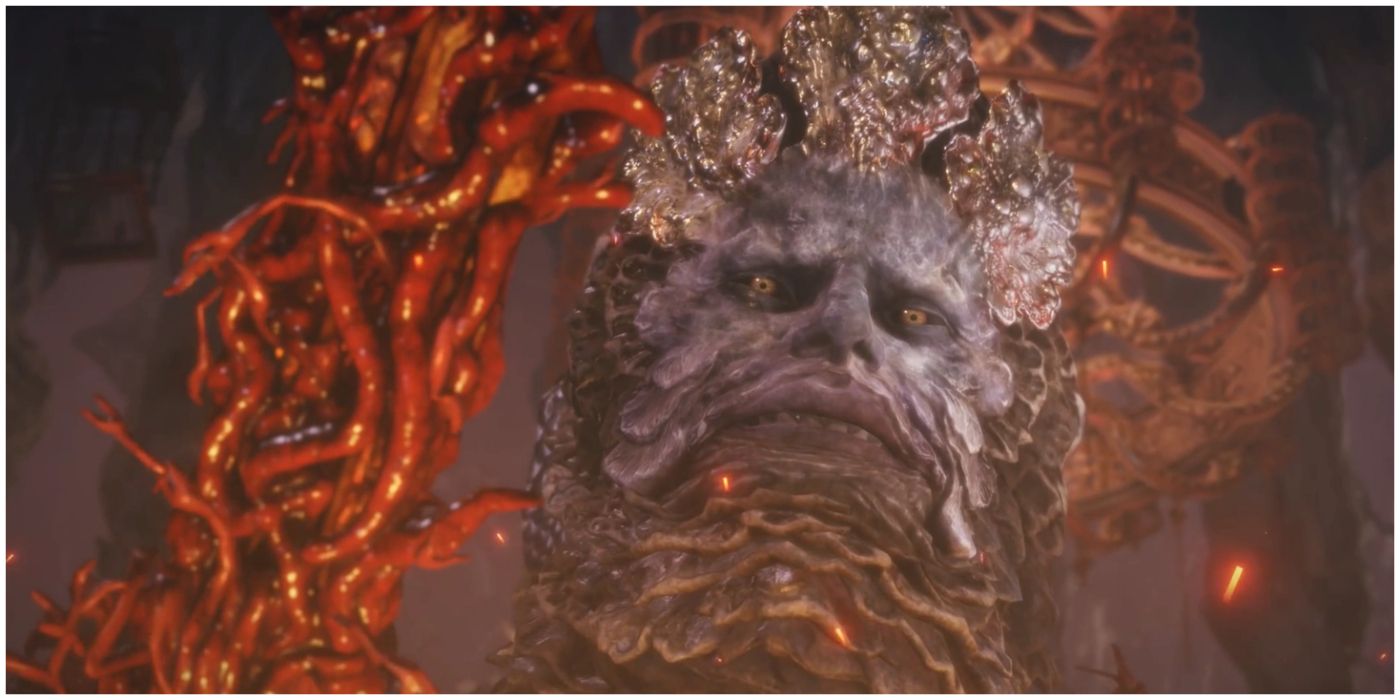
Along your journey in search of the Elden Ring, you’ll battle with many powerful demigods—but none quite so grotesque or strange as Rykard, Lord of Blasphemy. Rykard is the final boss of Volcano Manor, a lava-filled dungeon found on Mt. Gelmir. While he might be considered one of the easier demigods you fight in the game, he boasts an erratic variety of attacks that, if you’re not careful, can quickly send you back to the previous Site of Grace.
Not everyone can defeat bosses using a dance pad, so if you’ve already faced this serpent demigod a few times and are eager for some tips, you’ve come to the right place.
Grab The Serpent-Hunter Great Spear
After making your way through Volcano Manor (or completing the Volcano Manor quest line), you will find yourself at the final boss fog for the area. Unlike most bosses in Elden Ring, the boss will not immediately trigger once you step through the fog. He only becomes hostile once you approach the center of the room — use this delay to your advantage. When you first enter the room, you’ll find a weapon sticking out of the ground just ahead and to the left. Pick this up and equip it. It is the Serpent-Hunter Great Spear. FromSoftware has a history of ‘gimmick’ boss fights — specifically those with a special weapon in their boss arena intended for that fight — and Elden Ring is no exception. You can certainly attempt to take Rykard on without using the Serpent-Hunter Great Spear, but it is not recommended.
The Serpent-Hunter Great Spear can of course be used outside of the boss room, but during the fight with Rykard, it has special weapon effects to help deal with the boss’s large size and range. Each melee attack is accompanied by an extended blast of wind/energy which will hit the boss from a good distance away — not quite outside of the boss’s own attack range, but far enough to keep most of him on the screen. The light attack (R1) offers a quick stab, while the heavy attack (R2) is a wider sweep. The weapon’s skill (L2), Great-Serpent Hunt, also offers a powerful lunge/thrust combo attack that will pile on the damage. Jump attacks are also very effective here, not only in dealing out damage but also in building and breaking the boss’s hidden Poise meter, allowing you some extra free hits while he’s stunned.
Phase 1: God-Devouring Serpent
Like many bosses in Elden Ring, Volcano Manor’s final boss is broken up into 2 phases. In Phase 1, you will face the God-Devouring Serpent — a massive, writhing snake curled up in a pool of lava. He doesn’t move much, but he will occasionally shamble toward you. You’ll want to keep your distance (the Serpent-Hunter helps with this) to avoid taking damage from the lava at his base. The God-Devouring Serpent’s attacks are fairly well telegraphed due to his size, with a long wind-up. But when he strikes, he strikes fast, so be on your toes. Playing aggressively with the Serpent-Hunter Great Spear can quickly burn down his health bar.
As with many Elden Ring bosses, generally, you want to dodge into his sweeping attacks and grab attacks. Be prepared to deal with possible poison spray. One attack to keep an eye on is when he thrusts his head into the ground. After a short delay, he rips his head out, sending rocks and lava erupting up in front of him. You might be tempted to dodge away here, but dodging into the attack at the right moment offers a better chance of avoiding damage completely.
Phase 2: Rykard, Lord Of Blasphemy
After a particularly bizarre cutscene, you now face Rykard, Lord of Blasphemy. The same combat principles apply. Dodge into any sweeping attacks or thrust attacks, and be ready for the slow wind-up on some of his moves. The major difference in phase 2 comes from the various area hazards/attacks now in play.
Rykard will regularly shoot out a slow-moving lava projectile that arcs up from his body and toward you. If you keep moving to the side, this is easily avoided. Rykard will also spit out a volley of red ethereal skulls which then rain down upon the battlefield. During this attack, you might find it more effective to unlock your view and simply run away. Rykard will also spread his lava and shift (deceptively quickly) toward you, so you might suddenly find yourself much closer than you expected. All of these area hazards, in combination with the bulbous pillars scattered around the room, make spatial awareness the major key to victory against phase 2. Be wary of blind backpedaling, though—it’s easy to get stuck on a pillar or find yourself at the edge of the area. If Rykard closes the distance then, you’re in trouble.
Additional Tips
There’s a lot to keep track of during Rykard’s fight, but if you manage to keep your distance and regularly pepper him with your attacks, you will achieve victory—even if it takes a few attempts. Rykard, Lord of Blasphemy can be a tricky demigod due to his size and often erratic movements. The rhythm of the fight offers ample time to heal with your Flask of Crimson Tears, so use them when needed—but be careful not to over-rely on the flasks. If you find you’re running out of flasks, it might be worth hunting down some Golden Seed locations you’ve missed so far—it’s also worth hunting down any missed Sacred Tear locations to increase the potency of your flasks. It can be easy to run out if you’re careless. Learning the right times to dodge, heal, and attack—plus learning how to move around the battlefield without getting stuck on the room’s geometry—will earn you Rykard’s Great Rune, a powerful boon for exploring the Lands Between.


