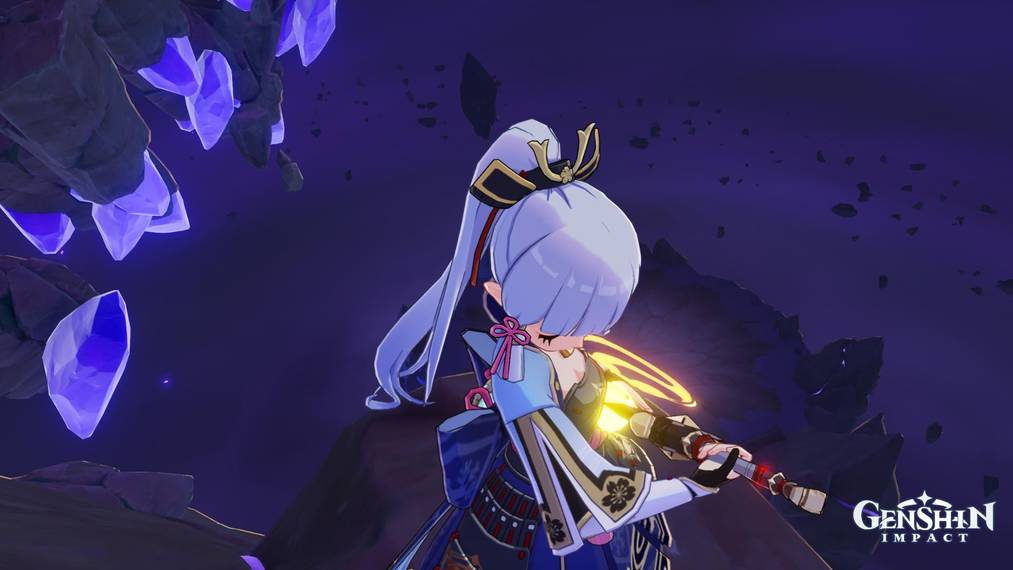
Seirai Stormchasers is one of the new World Quests added with Version 2.1 of Genshin Impact - It's a mandatory Quest for those who plan to pull Raiden Ei, as it unlocks the Thunder Manifestation World Boss, which drops her Ascension Material: Storm Beads.
- HORIZON CROSSOVER - How to get Aloy
First, to start the Seirai Stormchasers quest, you need to speak to the Katheryne of the Inazuma Adventurer's Guild. Be sure to activate Navigation on the Quest.
Next, teleport to the East of Tatarasuna, to the Waypoint seen in the screenshot below. Summon the Waverider and sail till you reach Seirai Island. Keep going toward the Quest's Navigation point. Once you reach Seirai Island, be sure to activate the Waverider Summoning point and any Teleportation point you come across. You'll eventually end up right near the Seven Statue too so activate it to reveal the map. Or keep it hidden if you like that thrill.
Genshin Impact 2.1 - Seirai Stormchasers Part I, Warding Stone 1 puzzle solution
As you kep following Navigation, you'll reach an NPC named Eiko. She'll indicate your next destination through Navigation, where you'll meet Taisuke and spot the Warding Stone. After a short dialogue, you'll need to follow cat tracks. They're indicated by the Navigation feature, so simply follow it. They're easily noticeable too.
Keep going and you'll end up reaching the Asase Shrine and meeting Neko. After a short cutscene, you'll be asked to check out the Donation box and then head to Koseki Village to get materials for repairs. These destinations will all be pinpointed by the Navigation system so just follow them.
Before heading to the village, switch to your battle-hardened party if you haven't yet, as you'll need to fight a group of Treasure Hoarders. Now that you've beaten them, they'll mark on your map the location of their camp to take their materials.
You'll have to fight a few more Hoarders, and then pick all the materials in the camp. Teleport back to Asase Shrine. Repair the donation box, and then talk to Neko, who'll explain how to solve the puzzles of the Warding Stones. Go back to the Stone and solve it.
Warding Stone puzzle 1 solution: To solve this one, you need to rotate the bottom section of the stone two times. Get near it and select "rotate bottom". Once it's done moving, select it a second time.
Seirai Stormchasers Part II, Warding Stone 2 solution
Next, we need to move to the second Warding Stone. Normally, the Navigation should still be set on the quest, so simply follow the blue symbol as it pinpoints the location of the second stone.
You'll have to defeat some samurai enemies there. Once you're done and start touching the poles, Paimon will note there are only two poles. The third one is at the location I'm standing at in the screenshot below. You can fly to it using an Electrogranum or the Phase Gate thing that turns you into an auto-guided Electro particle (you can cancel it at anytime by opening your glider).
- FISHING SYSTEM - How to unlock, getting your first Rod and Baits
Warding Stone 2 solution: Pick Rotate Top three times. Once the cutscene ends, speak with Eiko and move on to Part III of the quest.
Genshin Impact - Seirai Stormchasers Part III, Warding Stone 3 solution
This is the first part that actually requires players to think for a bit. Once you get to the designated area by the Navigation and speak to the NPCs, you'll have to look for the third Warding Stone yourself.
Basically, you need to take the Phase Gate right in front of you after you're done speaking to the NPCs. Be sure to not interrupt the transfer and just wait until you reach the other Phase Gate, quite far up.
Be careful to not enter the new Phase Gate or you'll go back were you came from. Once you're up there, after you pick the Electroculus, a Thunder Sakura Bough twill appear. Use it to summon an Electrogranum and then keep zapping away higher and higher.
You'll end up on floating debris with multiple Thunder Sakura Bough, each leading to different directions. You basically need to look for the poles, which are scattered on these floating debris. You can either go everywhere for some loot and fun exploration, or go directly to the poles.
- MORE - Best Fishing locations so far
if you wanna directly go to the pole, pick the right Thunder Bough, highlighted above. On the next platform, take the left one, and you'll find the first pole.
After that, there's only a single Bough and a single way, so follow it, and you'll find the second pole, the Warding Stone, and a teleport Waypoint. Lastly, pick the Thunder Bough I highlighted in the screenshot below to reach the third pole. Once you've touched it, teleport back to the Warding Stone.
Warding Stone 3 puzzle solution: Rotate Top 3 times and Rotate Bottom 5 times.
Seirai Stormchasers Part IV, Warding Stone 4 solution, Thunder Manifestation boss fight
To reach the final Warding Stone, simply follow the Thunder Bough leading to the Navigation point. Keep in mind at some point you'll have to slowly approach those fragmented platforms for them to glue together and make a path.
Once you get there, all the poles are right near the stone, no more puzzles. You'll have to rotate the top part 2 times, and the bottom part 2 times as well.

Peculiar Pinion
After that, it's a beeline from there. The only thing left is a boss fight against a Thunder Manifestation. Basically an Electro version of the Oceanid. This is how you unlock the boss as well, and you'll need to farm it for Ascension Materials for the Raiden Shogun if you pull her: It drops Storm Beads.
After you defeat the boss, Keep climbing by following the Navigation, and you'll eventually reach treasure chests and the Peculiar Pinion. Be sure to pick everything. And go back to the NPCs to clear up this quest.
Genshin Impact is available on PC, PlayStation, and Mobile. With a Switch version coming. You can always reach me on Twitter @A_iyane07 to chat about the game or Japanese stuff.