After finding the Map Room beneath Hogwarts, you will be tasked with taking on each of the four Keepers’ trials in order to learn more about the ancient magic you wield, and prevent the evil goblin Ranrok from getting his hands on it.

Hogwarts Legacy’s Broom Kinda Ruins The Game
Like getting San Andreas’ jetpack or Doom’s ‘noclip’ cheat early in the game.Only after completing Percival Rackham’s trial will you be formally introduced to the late Charles Rookwood. Once Charles learns of his descendant being a dark wizard and collaborating with Ranrok, he’ll set you on the path to complete the second Keeper trial. While the first trial indeed challenged your wits, it pales in comparison to what lies ahead. This guide will show you how to complete every puzzle and battle, and return to Charles victorious.
Updated on November 14th by Emma Ward: This article has been updated with additional formatting and related links to help improve the reader's experience.
Starting The Trial
Solving A Sigil Puzzle
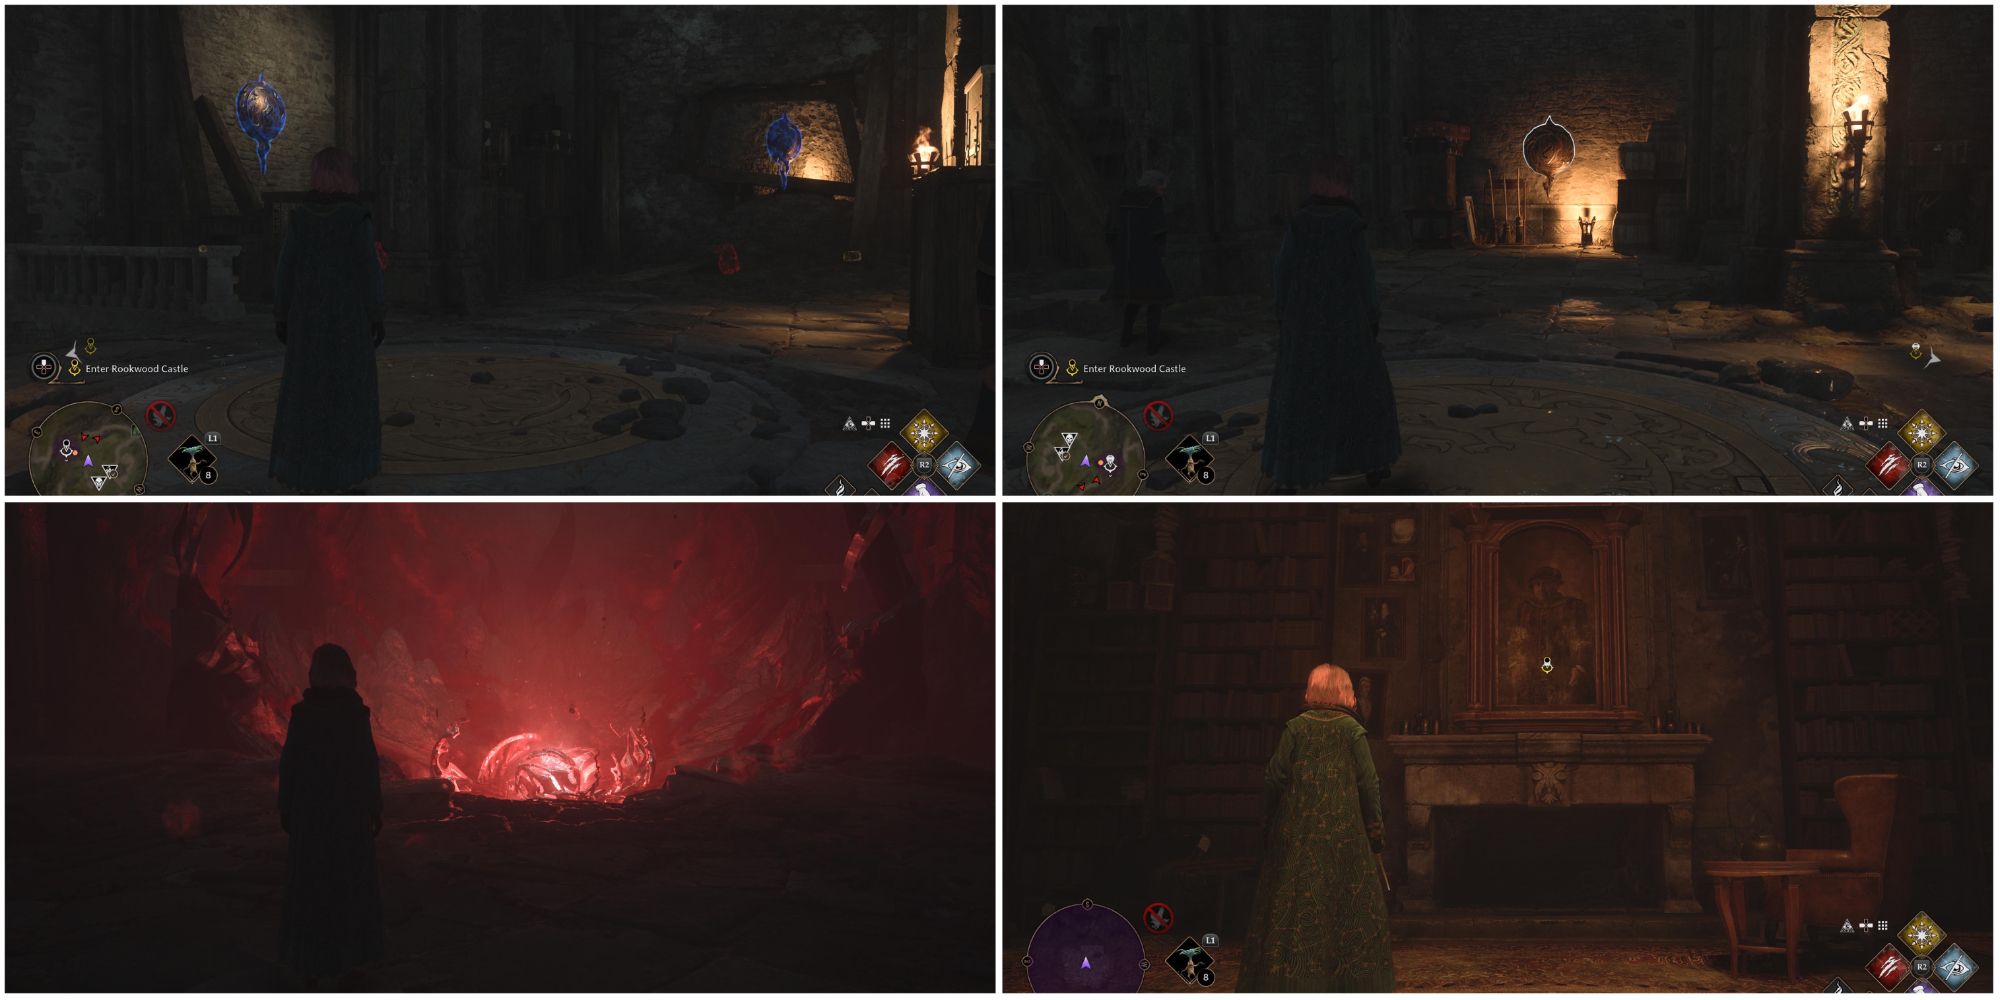
After arriving at Rookwood Castle, you’ll first need to purge the enemy from its grounds. Afterward, you’ll head into the castle and will solve a timed, sigil puzzle. You find two of the sigils near each other, and the third on its own. Starting from the paired sigils, hit the left, then the right one with your basic cast, and then finish by hitting the adjacent one to open the door.
Once inside, you’ll make your way down into the cellar where you’ll find an ancient magic repository that has been drained of its power. Continue forward into the library where you’ll find Rookwood's portrait. After speaking with him, you’ll activate the ancient magic and walk through the portal to begin the trial.
Part One
Bring The Cube Through The Portal
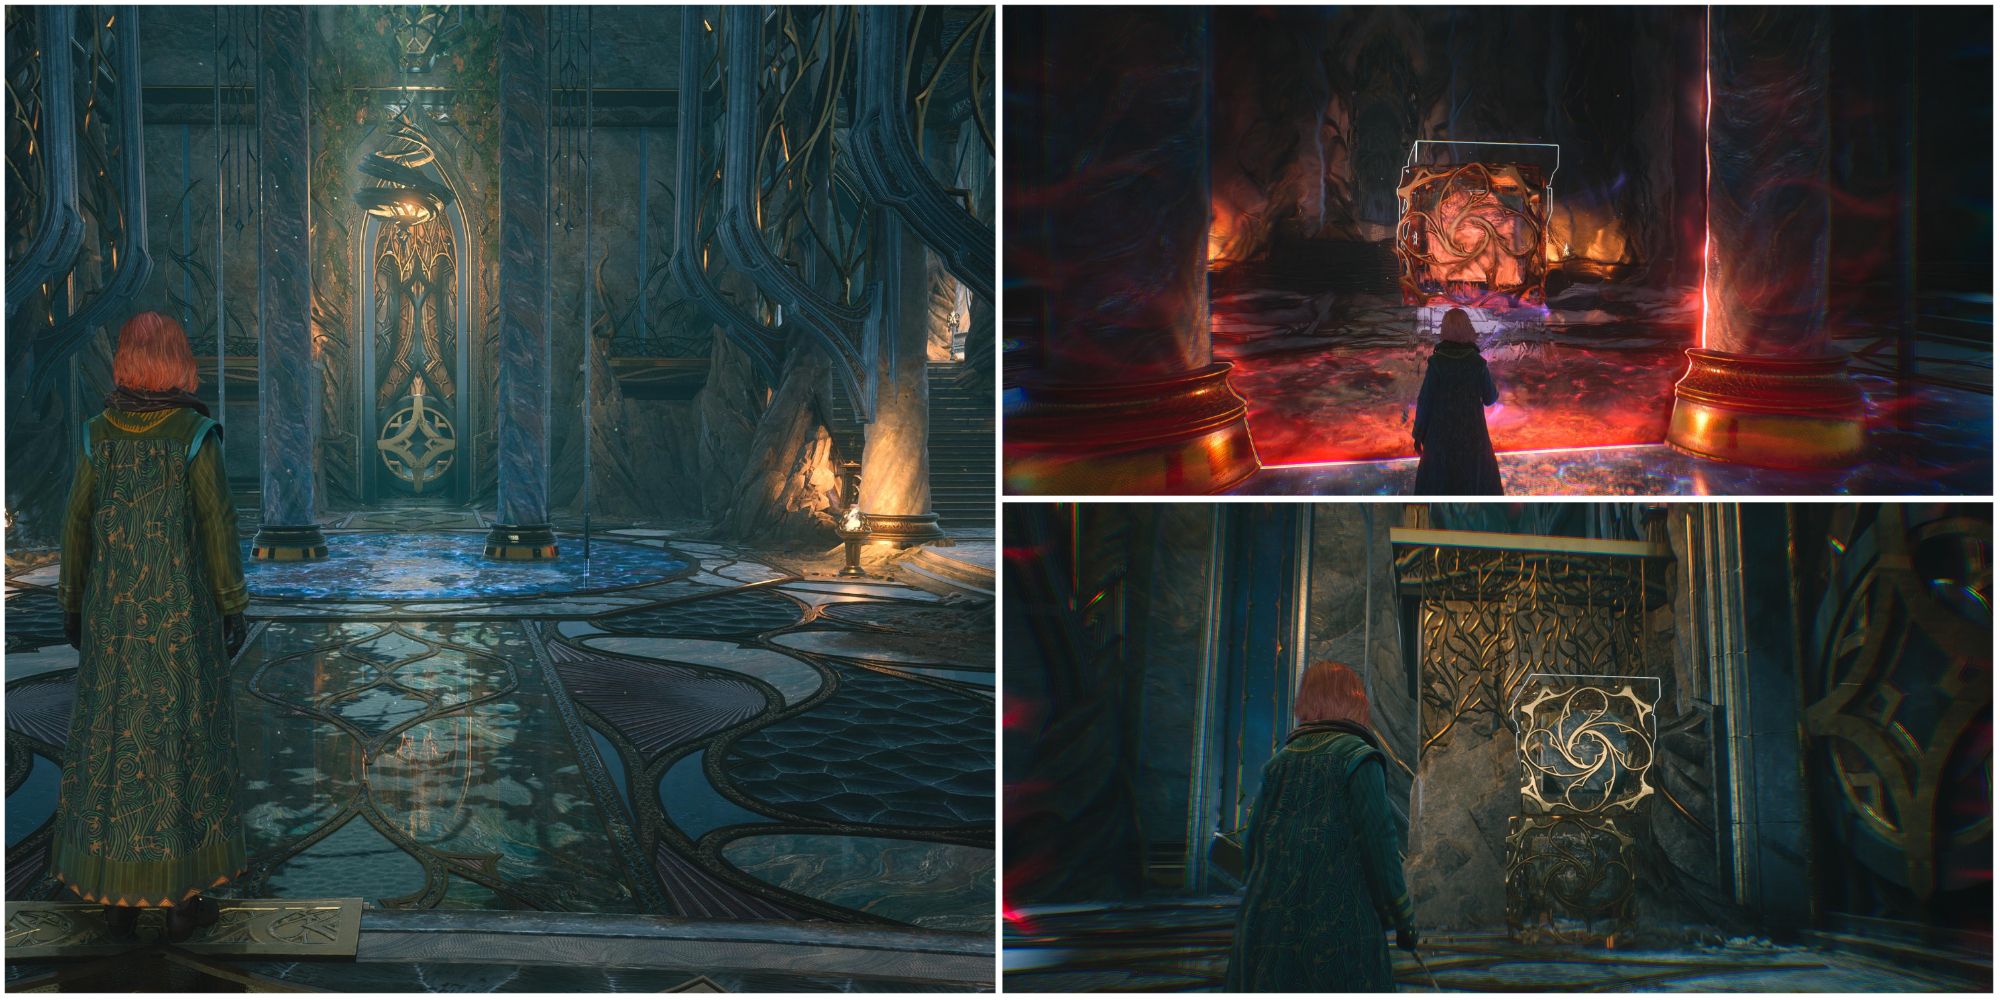
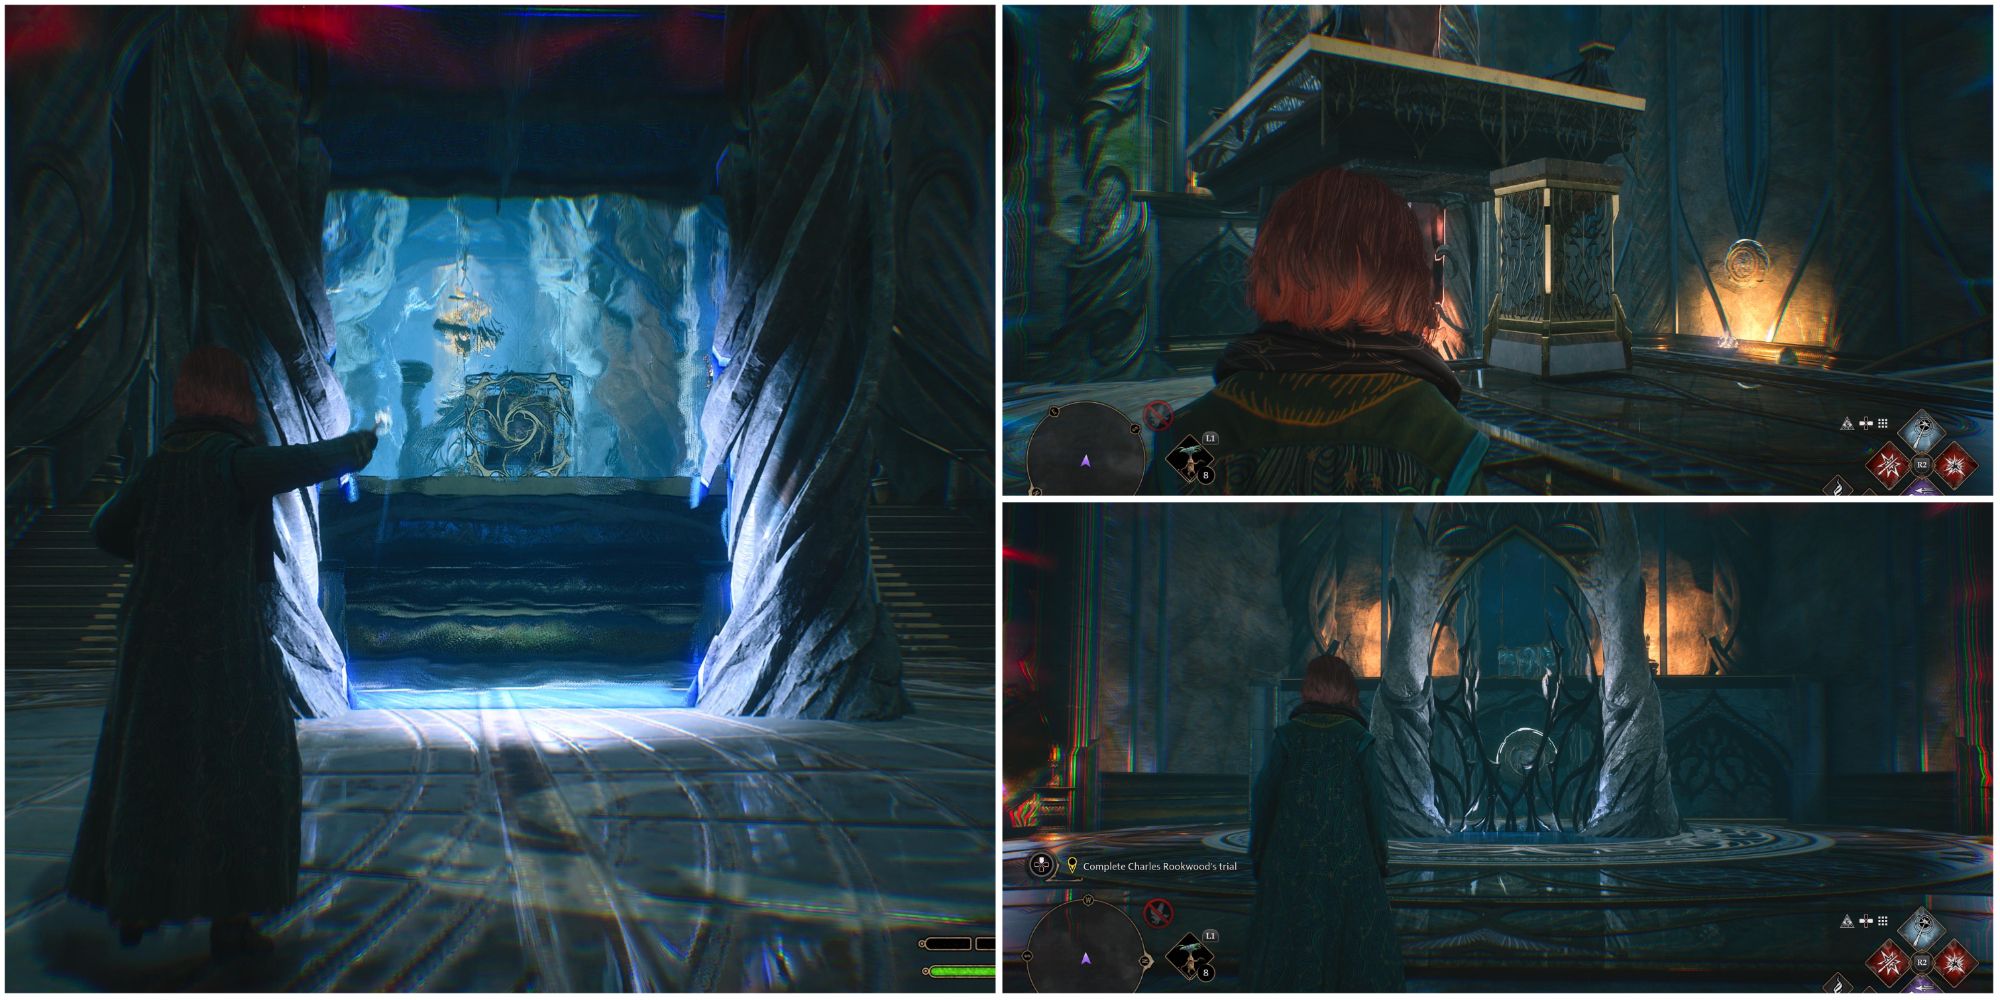
Once inside the trial, head to the first room and up the stairs on the right. On the walkway above, you’ll find the ancient magic spot. Activate it and head downstairs to start the first puzzle. As you’re facing the portal, you’ll notice a pillar on your right and a cube behind a gate on your left. Head through the portal, and once you’re on the other side, what was initially an immovable pillar will now be a cube that you can manipulate with Accio and Wingardium Leviosa. Grab the cube and bring it through the portal with you.
Once on the other side, you’ll also be able to grab the cube that was behind the gate. Using both cubes, stack them on top of each other near the walkway on the left and climb up the stack to reach the walkway.
Part Two
Unblocking The Exit
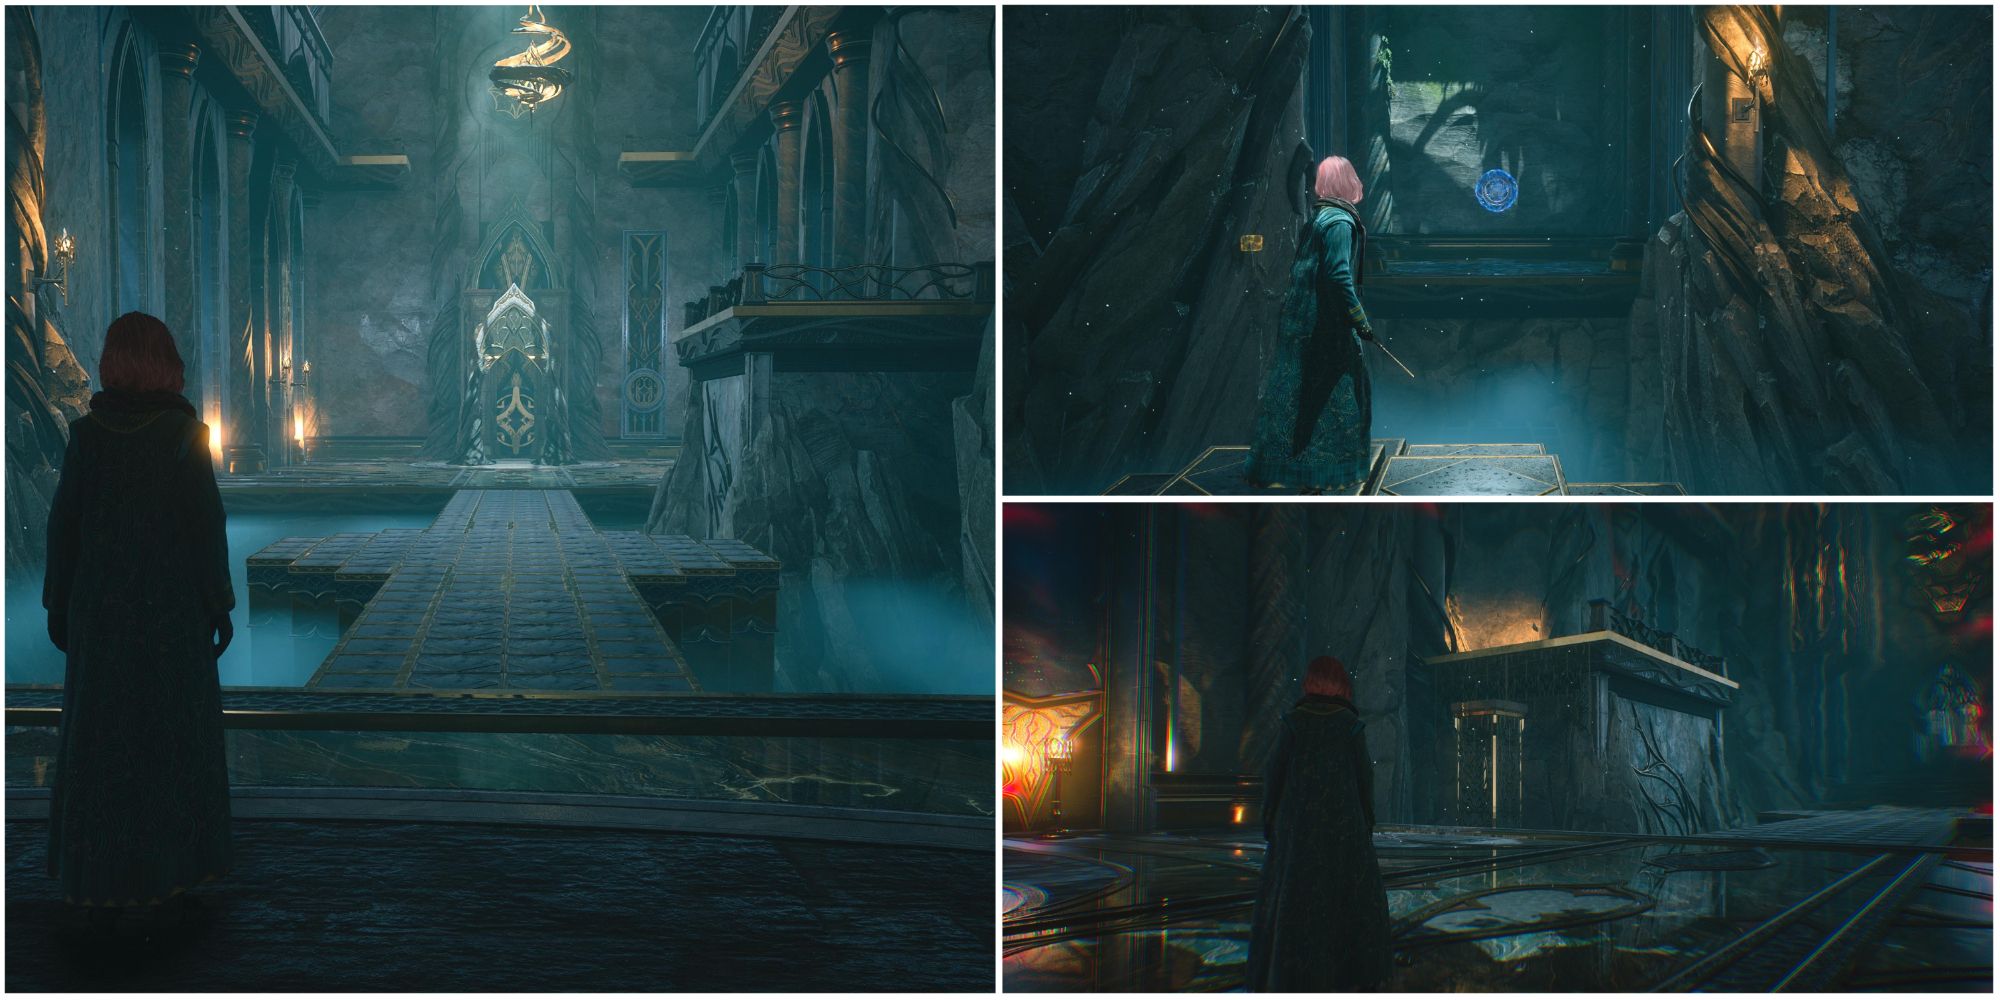
In the next room, you’ll find a long bridge. Halfway across the bridge, you’ll see a path to your left. Cast a basic attack at the sigil to summon the bridge and get the chest on the other side. Once back on the main bridge, make your way to the far side of the room and activate the next portal. Once activated, you’ll notice a pillar blocking your exit.
Rotate the archway using the sigil on the wall, and you’ll see the pillar turn into a cube. Cast Accio and continue holding it down to use Wingardium Leviosa, and pull the cube through the portal. Now the exit is unblocked. Before you leave, there is also a chest above you, near the bridge you initially walked across.
You can get to the chest a couple of ways. The first way is to use the cube you just pulled through the portal and drop it in the gap between the floor and the second level above you. Then head back through the portal to switch the cube back to a pillar and jump up to get the chest. You can also drop the cube there and run around to grab the second cube behind the gate to the left of the portal. Stack both cubes to reach the top. Once you have gotten the chest, exit this room and defeat the Sentinels in the following room.
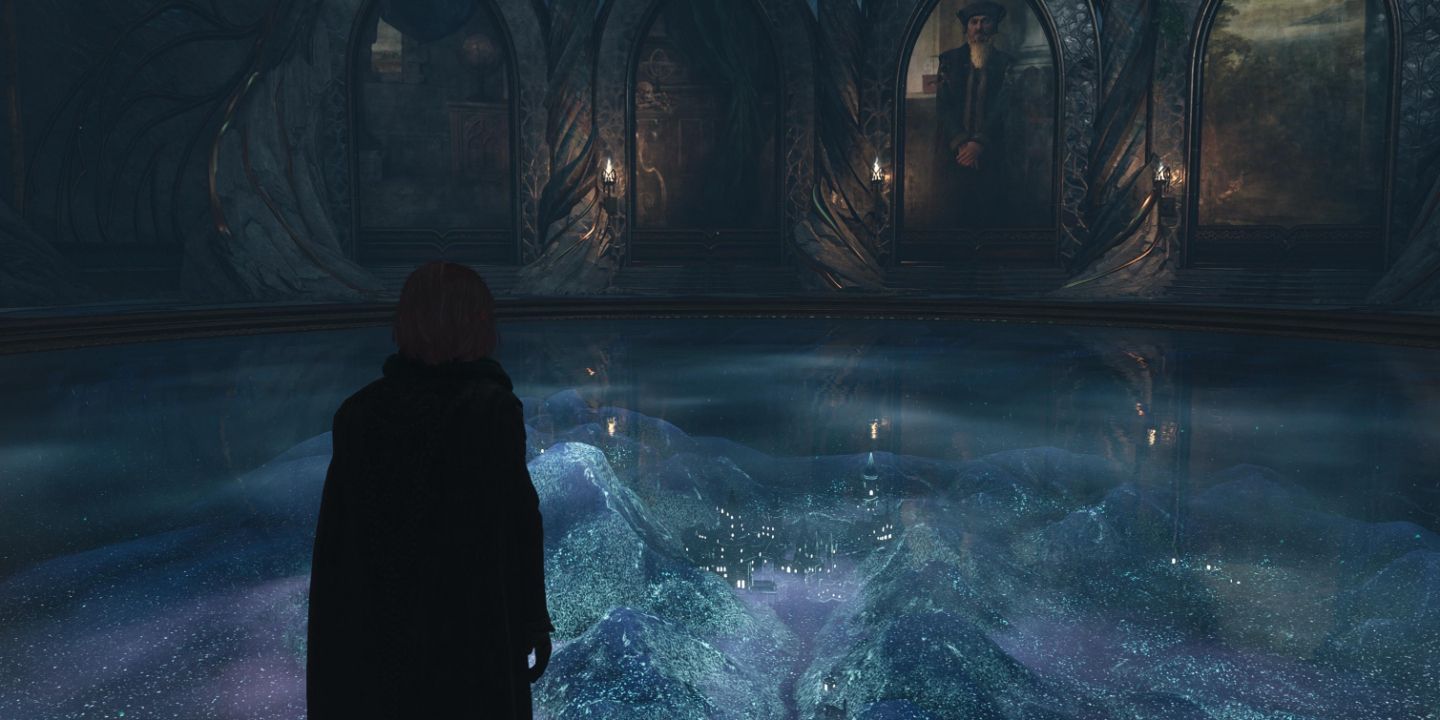
Hogwarts Legacy: How To Find The Map Chamber
One of the best-kept secrets in Hogwarts is right beneath your feet. Here's how to find the legendary Map Chamber.Part Three
Beware The Invisible Sentries
After defeating the Sentinel, head into the next room and activate the portal. Then hit the sigil on the other side to rotate the archway to your right. Head through to the newly formed bridge and look down to your right to find a cube. Bring this back through the portal with you, hit the sigil again to rotate it, and the cube will turn into a chest. Rotate the portal again until you see the path leading to the next room and continue forward.
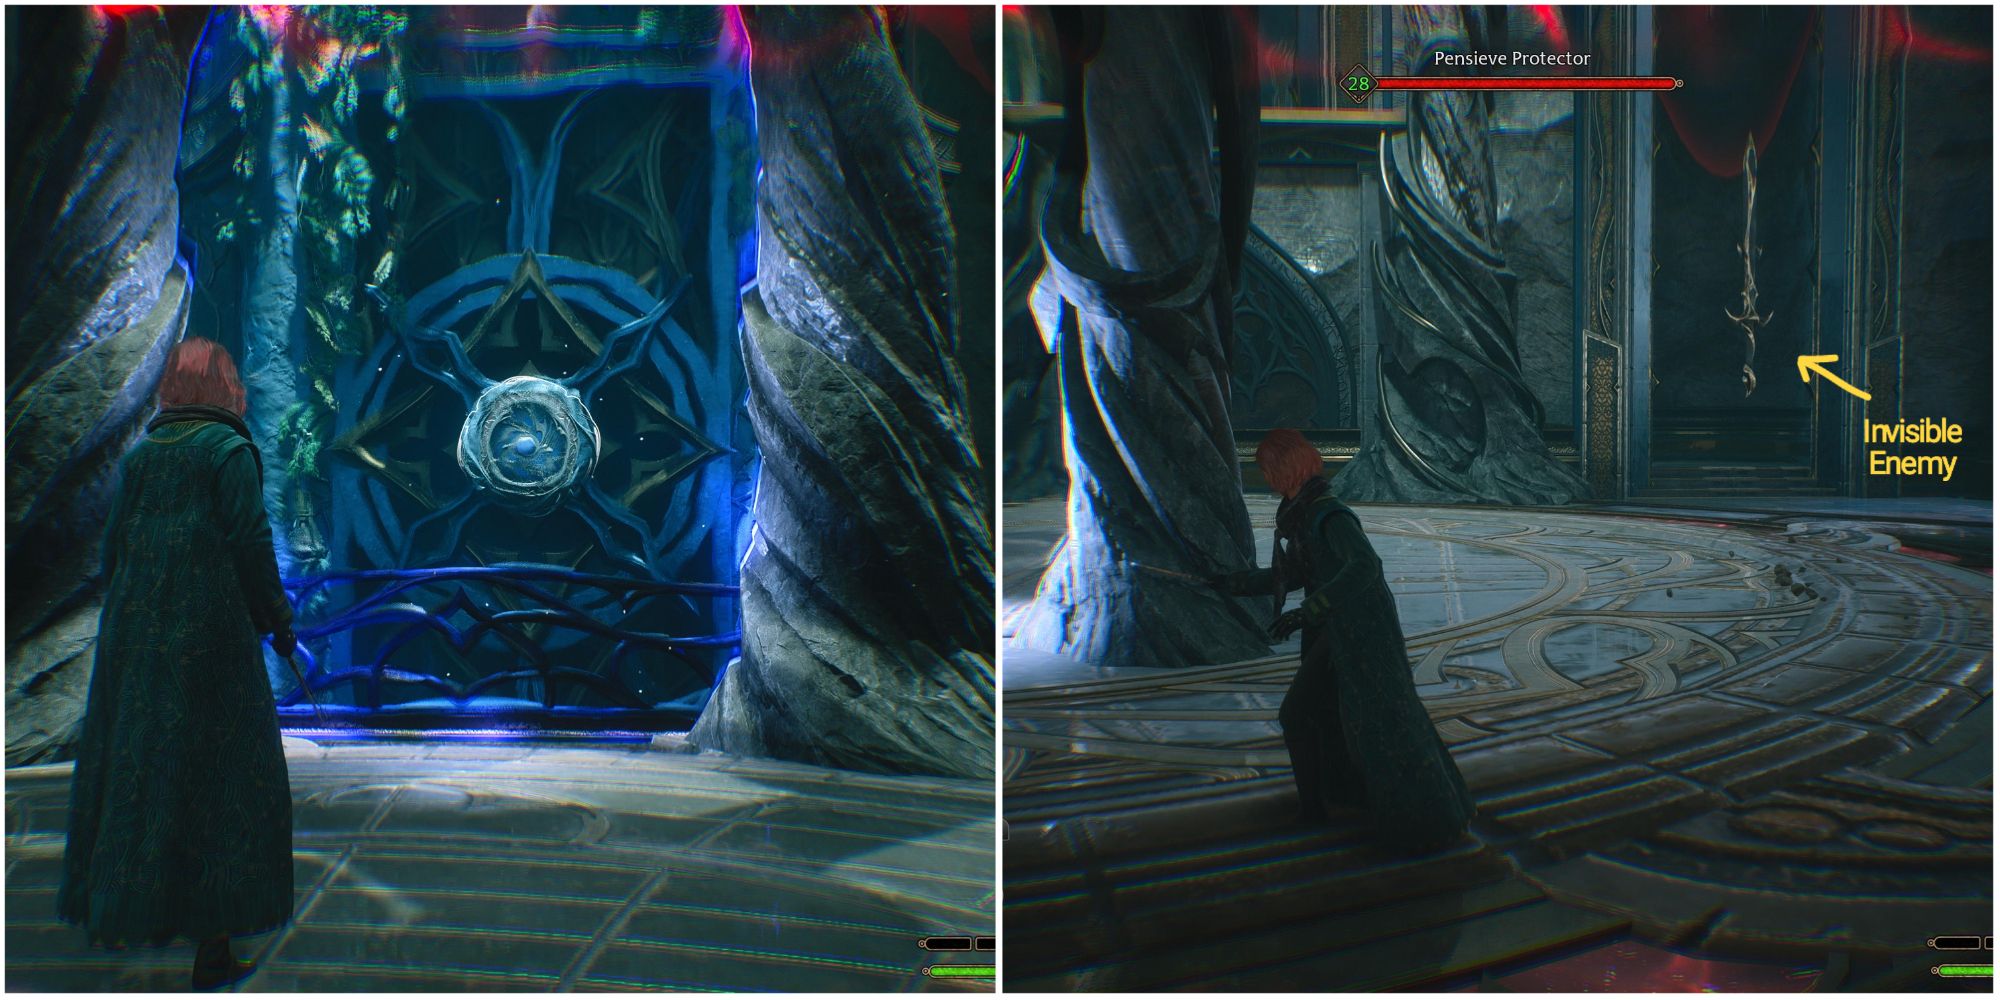
In the next room, you’ll find another portal that you’ll need to activate. After doing so, the Sentries on the opposite side of the room will wake up. Initially, one of them will appear to be invisible, so be careful not to let it get the better of you. You can still attack them while they’re invisible, or you can make them visible by going through the portal.

Hogwarts Legacy's Open World Is Surprisingly Big, Yet Cozy
Takes me back to the good ol' days of open-world games.Part Four
Aligning The Walkway
After taking out the Sentinels, you’ll need to solve the puzzle in this room. With the portal activated, a pillar will appear near the ancient magic spot where you first entered the room. To solve the puzzle, you’ll need to align the walkway above the portal with the pillar near where you entered the room.
Start by heading down and running around the portal. Then, move it by hitting the sigil on the wall, and it will show the pillar now as a cube. Pull the cube through the portal and carry it back up and place it where it initially was. Then go back downstairs and run through the portal, so it turns red. Now the cube will be a pillar again, and the walkway above will be reachable by climbing the pillar. Once on top of the walkway, hit the sigil to rotate the portal and walkway, and then hop to the other side of the room.
In the next room, you’ll fight two small Sentries. After defeating them, there is an optional puzzle you can solve that is adjacent to this room. To solve it, hit the sigil to rotate the archway. This time around, it will rotate in a circle once and then reset. You’ll need to hit the sigil to begin the rotation, then grab the cube and drop it down to your level. This will turn it into a chest for you to open.
Pensieve Guardian Battle
Choosing The Right Counter-Spells
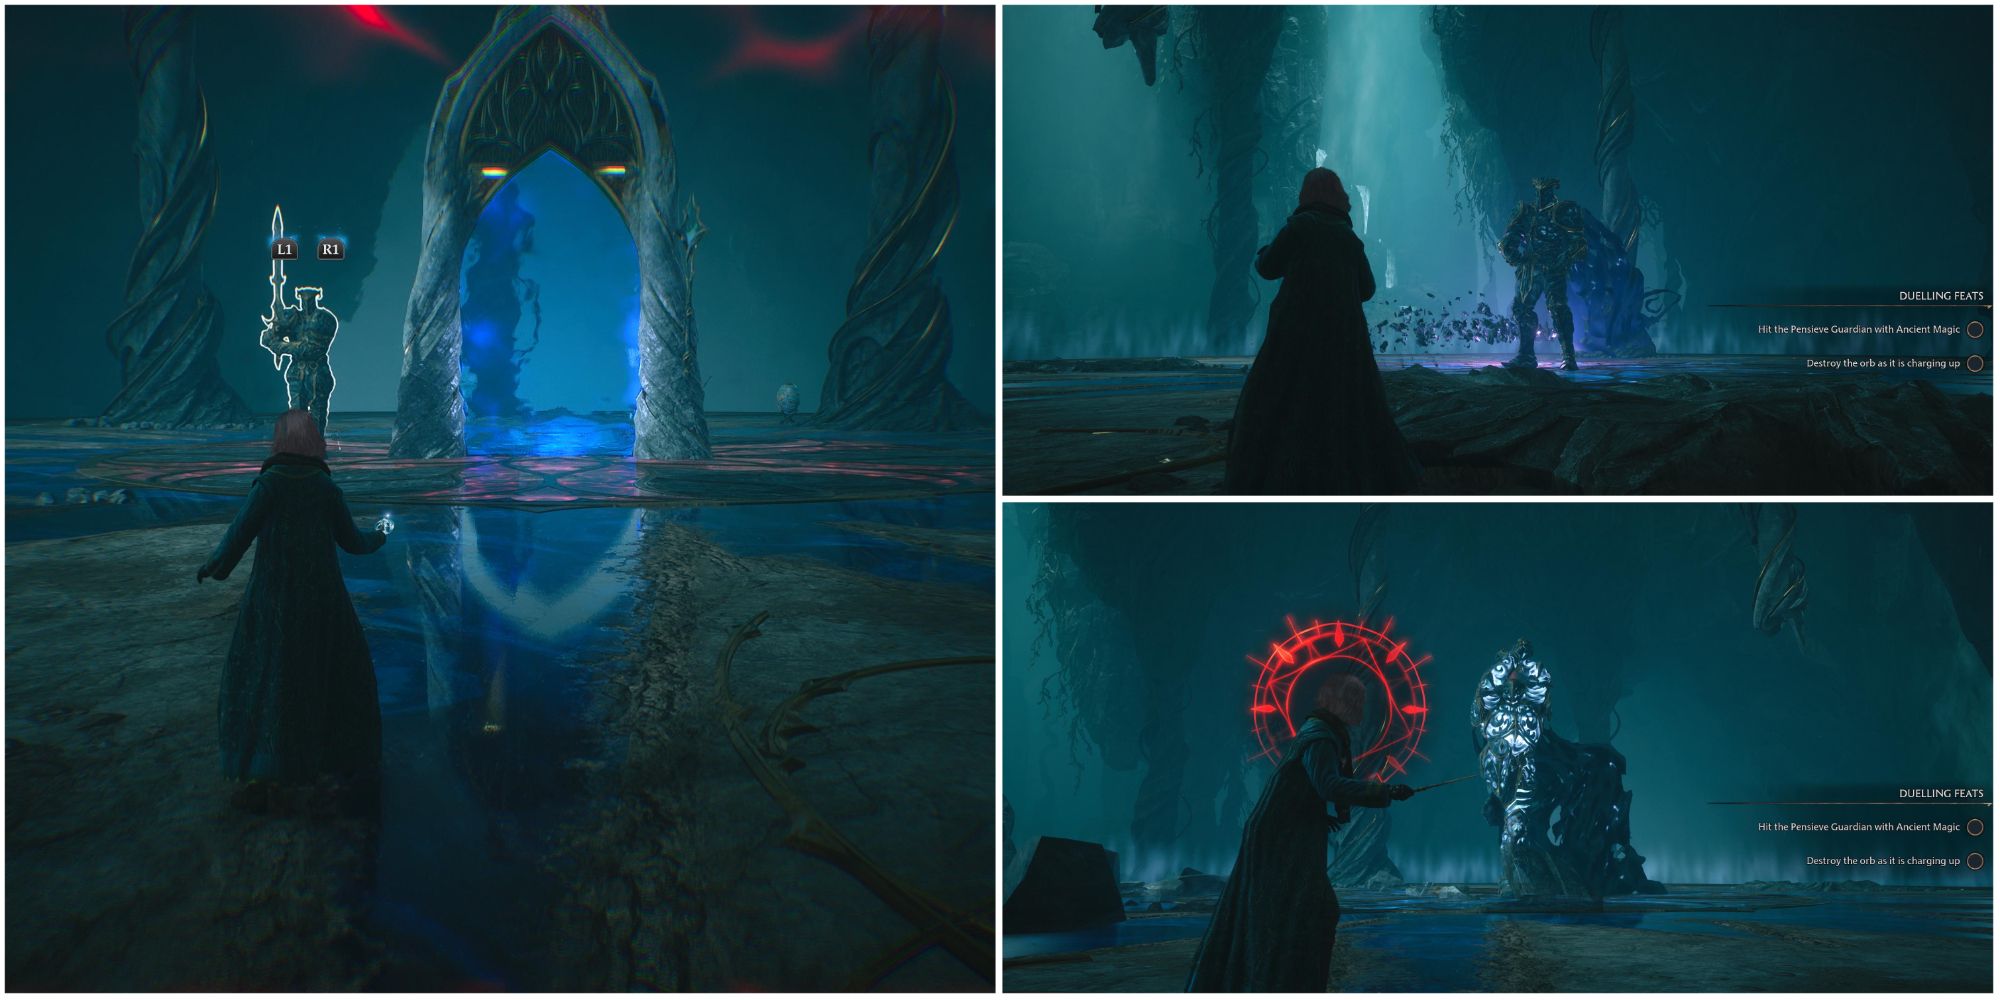
You’ll face the final boss in the next area, so make sure you are prepared before heading across the bridge. This time around, you’ll battle some smaller and large Sentries first, some of which will be invisible. Take out the ones you can see first, and then use the portal in the middle of the arena to make the others visible.
After defeating the wave of Sentries, the Pensieve Guardian will appear. For the most part, this boss functions just like the one in Percival’s trial. You can do damage and stun him by attacking the magic orbs he summons with a spell of the same color. You’ll need to dodge his stomping attacks, as well as the blast wave he unleashes after being stunned. After doing significant damage, he’ll start using a ball and chain on you too. This one you can block and parry, sending the damage back at him. It is also good to save your ancient magic for this part of the battle as it will help you finish him quickly. After defeating him, head to the next area to view Rookwood’s pensieve memory and finish the trial.

