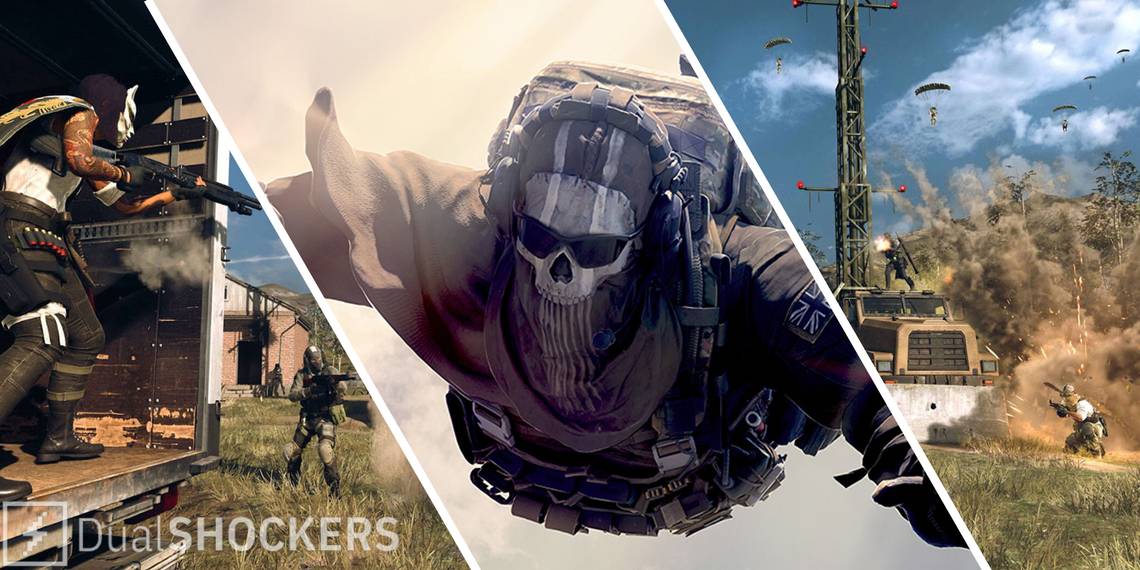
Modern Warfare 2 Season 1 sees the release of Warzone 2 and DMZ, taking players to an all-new Battle Royale experience on the new map -- Al Mazrah. Among the addition of these two new modes, players can also enjoy the first ever Battle Pass and three new weapons at launch: the BAS-P Submachine Gun, the M13B Assault Rifle, and the Victus MXR Sniper Rifle.
With the release of Warzone 2 comes an all-new set of exclusive settings for the mode, some of which you might just want to alter. Ensuring your Gameplay Settings are optimized to their best will aid you in coming out on top during your Battle Royale and DMZ matches. Read on to find out how you can get the finest settings possible for Warzone 2.
Controller Settings
Controller

The first setting you will want to change for the controller is Weapon Mount Activation, which we recommend you set to Double-Tap ADS. This option is more convenient, in the sense that you can easily mount your weapon with a single input action, and complex enough to not accidentally Weapon Mount during a gunfight.

The next thing you should alter under Controller settings is Interact/Reload Behavior, which should be set to Prioritize Interact. This setting performs very similarly to Contextual Tap in Warzone, prioritizing the interact action over reloading. With this option selected, the game will ensure that tapping the interact button will set to interact, and holding it will reload your weapon but only in situations where both are available simultaneously. Otherwise, both options can be triggered via tapping.

Lastly, go ahead and set Armor Plate Behavior to Apply All. By default, players will only be able to apply one armor plate at a time by pressing the button bound to plate-up. We recommend setting this option to Apply All, as you will only have to press the input once to apply all your armor plates. If you find that you need to cancel plating-up during your play-through, you are able to cancel this process.
That's it for the Controller Settings; now head over to Advanced.
Advanced Settings

The first Advanced setting you might want to alter is your Aim Assist type, which you can set to Black Ops. Your Aim Assist Type will largely be down to personal preference. However, many Pros claim that the Black Ops option provides a stronger form of Aim Assist than the other options available.

Next, go ahead and alter your Aim Response Curve setting to Dynamic, which is a preferred option. As described in Warzone 2, this option allows for more fine aim rate control.

Now, head down to Inputs Deadzone and make a few alterations. Here you will want to change your Left Stick Min and Right Stick Min to the lowest setting possible. This will be different for everyone, but essentially you will want to possibly set this setting as low as you can without experiencing stick drift. If you are experiencing stick drift, then you will need to up the value of this setting. Lowering your Deadzone is important for the game to read your input even by the smallest movements you make, allowing you to react to situations much faster. Likewise, lower your Left Trigger and Right Trigger settings for the same reason. Your Left Stick Max and Right Stick Max should be the highest value possible.

Now, scroll down and turn off Automatic Airborne Mantle and Automatic Ground Mantle. Doing so will eliminate instances where you'll accidentally mantle during a gunfight.

Next, ensure that you set Parachute Auto-Deploy to off. Disabling this setting will prevent you from auto-deploying your glider when dropping into a game of Warzone 2. This is especially useful for ensuring you are as low to the ground as possible during your descent onto Al Mazrah, allowing you to reach the ground before other players. However, remember to manually deploy your glider during your descent. Otherwise, you'll take a quick trip to the Gulag.

The final setting you will want to change is Backpack Alternate Control, which is located under combat behaviors. Go ahead and set this option to On. This means that when you are looting a backpack in Warzone 2, you will use your movement stick to navigate, which is so much easier than utilizing the d-pad.
That's it for the Controller Advanced Settings. Next, we will be taking a look at the Gameplay Settings for keyboard and mouse players.
Keyboard and Mouse Settings
Mouse Settings

Most of your Mouse Settings can be left as default. However, we recommend altering your ADS Sensitivity Type to Relative. Relative performs much like Legacy, but your rotation speed is adjusted to travel a specific monitor distance regardless of your field of view. This will lead to a more consistent aiming experience.
Gameplay Settings

The first setting under Gameplay you will want to alter is Automatic Airborne Mantle, which you will want to turn off. Doing so will prevent those instances where you accidentally mantle during a gunfight. The same applies to Automatic Ground Mantle, though this is usually disabled by default.

Next, go ahead and set Share Slide and Dive Inputs as Independent. Keeping these two inputs separate will give you more control over when you slide and dolphin-dive. Ensure you set separate Keybinds for Crouch and Prone for this to work.

Also, much like in Controller Settings, go ahead and change Weapon Mount Activation to Double-Tap ADS.

Lastly, just like for the Controller Settings, go ahead and set Armour Plate Behavior to Apply All. Doing so will allow you to apply all your plate with one click instead of one at a time.